Finlayson Sweater Sew-Along: Day 3 - Sewing the neckline facing and shoulder seams
Welcome back to the Finlayson Sew-Along! We get to start sewing today! I will be adding the optional Decorative Facing to both sweater Variations and then we will sew the shoulder seams.
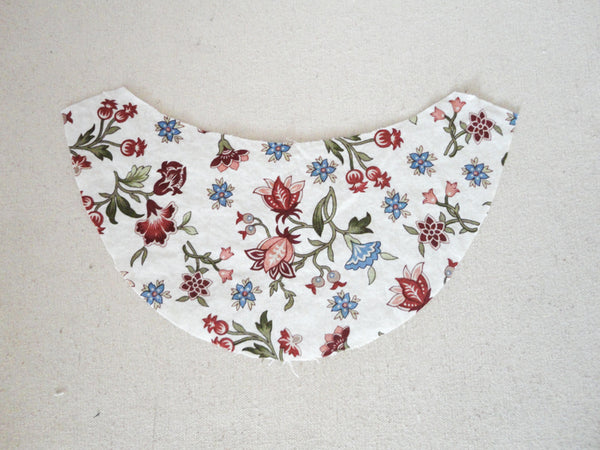
Begin by stay stitching along the lower facing edge using a 5/8" seam allowance and a regular length straight stitch. This stitching will help you create a smooth curve and even seam allowance when you iron under the seam allowance.

Next, clip up to the stitching line at regular intervals along the sharpest area of the curve. I find using sharp embroidery scissors to be the most accurate way of clipping up to the stitches like this - it is easy to clip into the stitching by accident, so be careful with each snip!
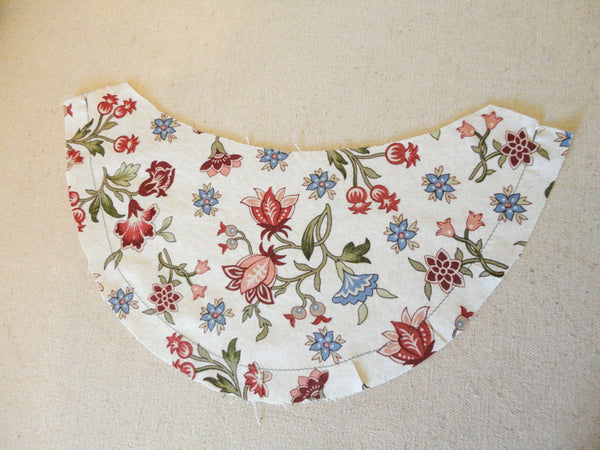
Press the entire curve under as evenly as possible so that the stitching is hidden on the wrong side of the Decorative Facing.

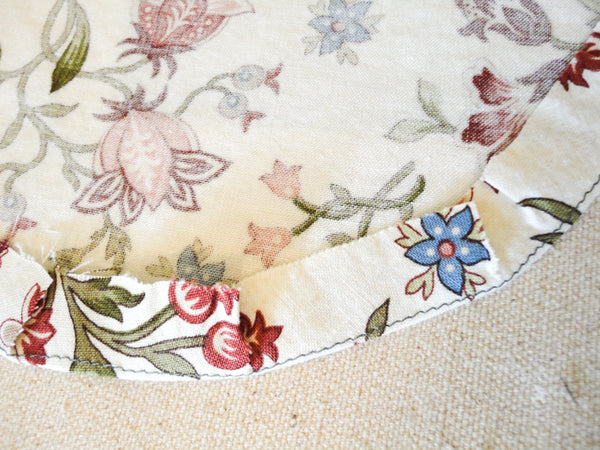
You can see that the clips you made in to the stitching allow the seam allowance to overlap slightly so that the outer edge of the curve can be manipulated into this smaller area.
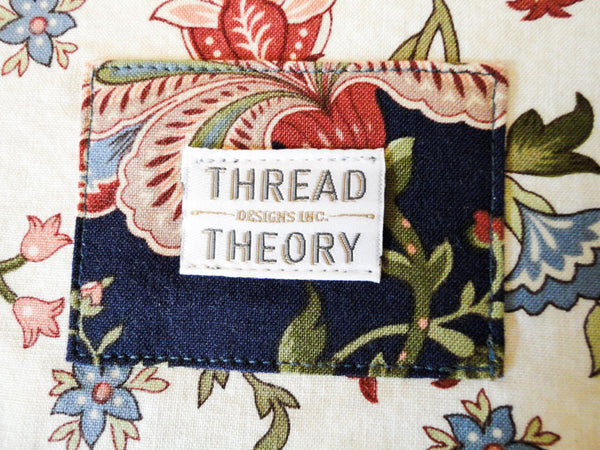
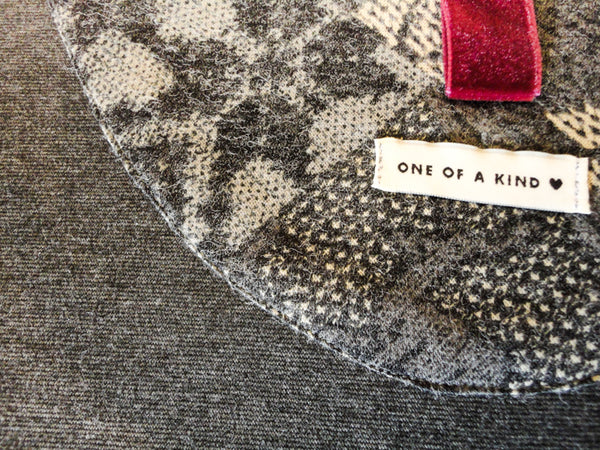
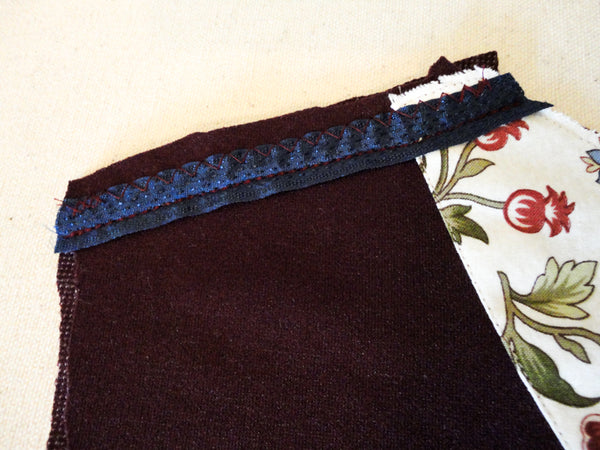
If you would like to apply a garment tag or other sort of decoration, now is the time! I top stitched a Thread Theory tag and a square of contrast fabric to my Facing for Variation 1:
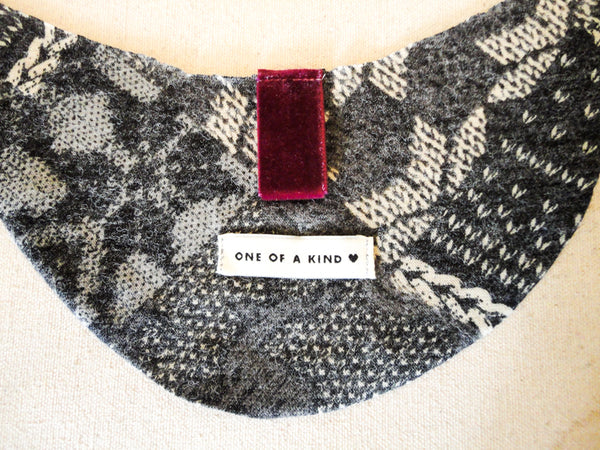
...and one of the lovely Sewaholic garment tags along with a 3" piece of velvet ribbon (as a hanger) to my Facing for Variation 2:
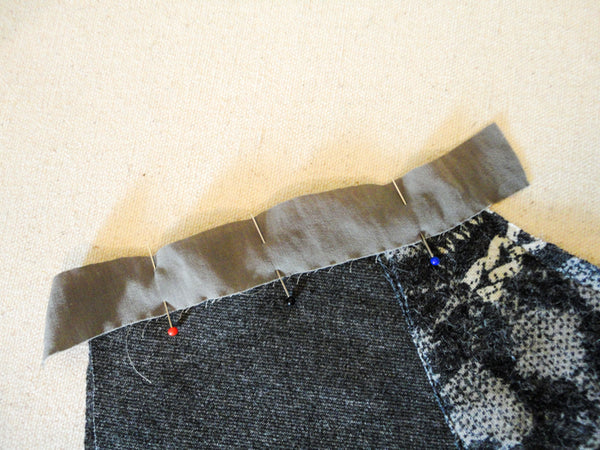
To attach the Decorative Facing to the sweater Back, pin the facing so that it is even with the neckline's raw edge so that the wrong sides are together (so that the facing will be on the inside of the sweater).
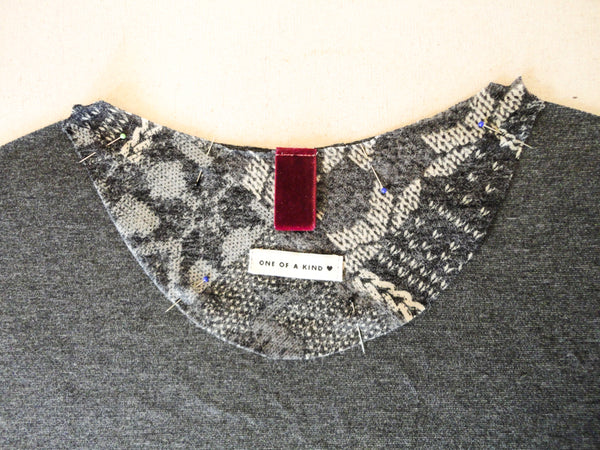
Top stitch around the entire facing - make sure not stretch one fabric layer more than the other!
With the Decorative Facing applied, we're now ready to sew the shoulder seams.
First, let's begin by deciding which method of stabilization to use! Have a look at the post on materials if you haven't already. There are some close up pictures of the materials for you to examine. For Variation 1 I will use Option 1 (from the instruction booklet) and apply rayon hem tape (you could use the ribbon, twill tape, clear elastic, or stay tape with the same results).
Apply the tape to the sweater Back by centering the tape over the seam line and pin the sweater Front and sweater Back with right sides together. Sorry, I didn't get a photo of the tape and fabric layers pinned. But you can see a similar photo when I show you Variation 2 in a little bit! For Variation 1, I am using a reinforced stretch stitch (otherwise known as a triple stitch) to stitch all seams. This is the lower stitch in the photo below - it looks like a straight stitch. While the reinforced stretch stitch isn't the best option for delicate knits, most medium weight knits can handle it just fine. For this stitch, the needle moves backwards and forwards to stitch over the same area three times so the stitch is very strong and can be pulled without snapping (important for knit garments!). It can wear delicate fabrics out though since the needle punches into the same spot so many times, so test it on a scrap first!
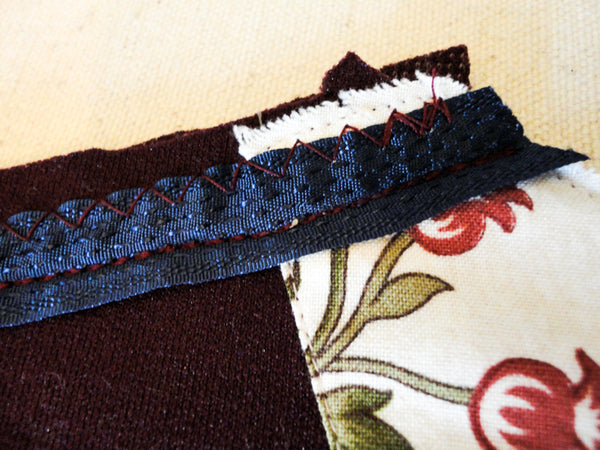
I am finishing the seam allowances with a wide zig zag stitch. If you prefer, you can use a narrow zig zag stitch to sew all your seams (rather than the reinforced stitch) and then a wider zig zag stitch to finish the seam allowance.
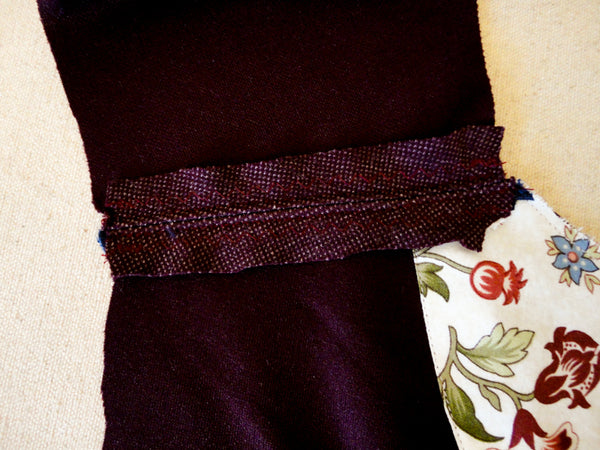
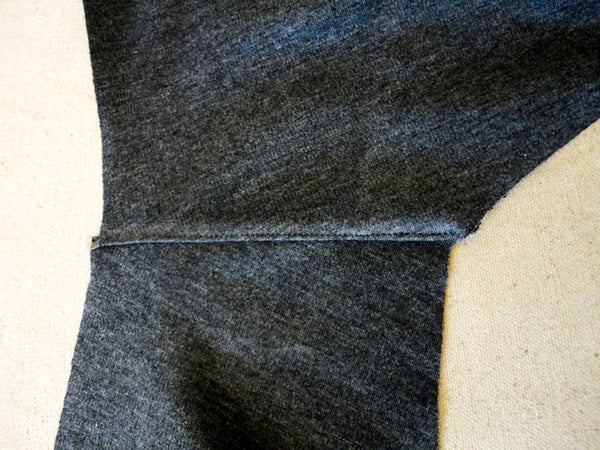
Here is how my finished shoulder seam looks:
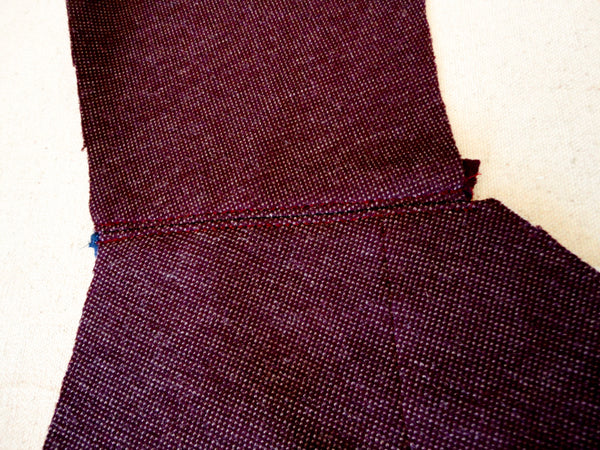
And from the front of the sweater:
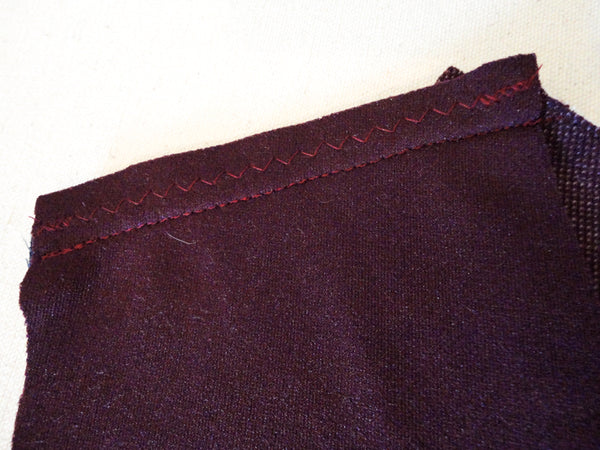
Once the shoulder seam has been sewn and the seam allowances have been finished, press the shoulder seam open.
I like to topstitch along either side of my shoulder seams to keep the seam allowances pressed flat. It looks quite pretty from the right side and helps to reinforce the shoulder seam even further to prevent it from stretching out when the sweater is worn.
And now, on to Variation 2! For this variation, I will use Option 2 (from the instruction booklet) and apply a strip of silk lining. I'll be using my serger to sew this sweater. Here you can see the three layers (Sweater Front, Sweater Back and the silk lining) all pinned together:
Stitch through all three layers. If you are using a serger, make sure to use the 5/8" seam allowance - you will be cutting the excess seam allowance off with your serger blade.

If using a serger, press the finished seam allowance towards the back (this covers the fabric or tape you've used to reinforce the seam).

I top stitched the seam along the back for this sweater but not along the front (because there is no seam allowance along the front):
Our Facings and Shoulder Seams are finished!
