Finlayson Sweater Sew-Along: Day 7 - Finishing the cuffs and hem band
Can you believe it? Today we'll be adding our cuffs and hem band...and finishing the day with a cozy sweater to wear!
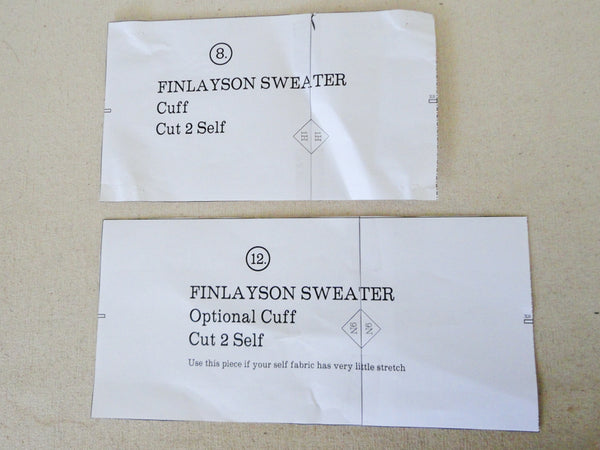
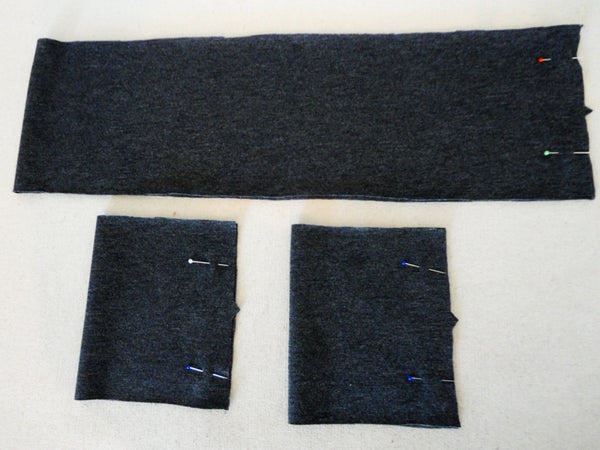
You may have noticed that we included two Cuff pattern pieces - I probably should have mentioned this second cuff piece when we cut our Finlaysons out of fabric early on in the sew-along. But, alas, I forgot to! So we'll discuss it now: We included the second, larger, cuff piece for you to use based on the extremely helpful advice of our test sewers. You may have noticed that I am adamant about the versatility of the Finlayson Sweater pattern when it comes to fabric choices. One of our test sewers noted that fleece fabrics (a great choice for a cozy sweater!) REALLY vary in the amount of stretch they contain. So that you won't be constrained in your choice of fleeces (as long as they have a little bit of stretch), we created the Optional Cuff for you to use. Cut your cuffs from this piece so that you won't have to ease so drastically when attaching the cuff to the larger sleeve...much easier to sew if you don't have much stretch to work with!
With that in mind, onward with our sewing of the cuffs! Whether you use the main Cuff pattern piece of the Optional Cuff piece, the sewing process is essentially the same:
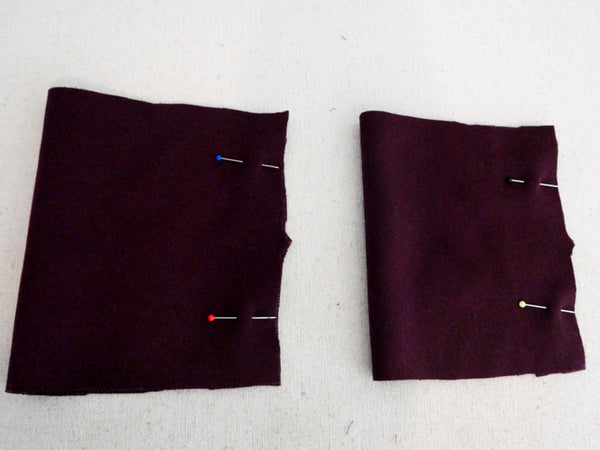
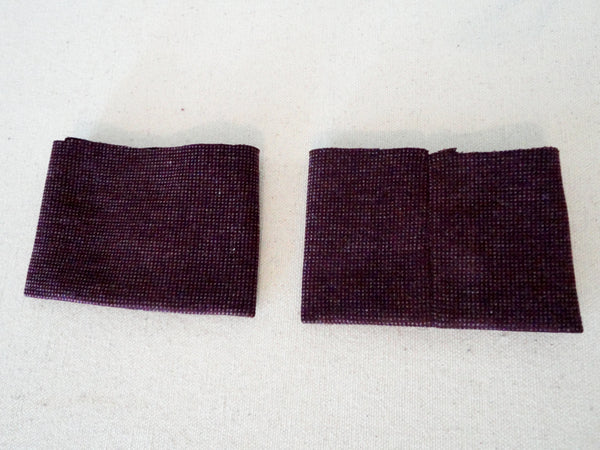
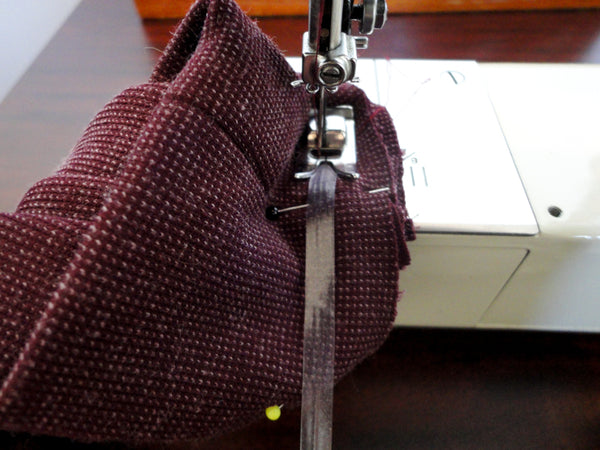
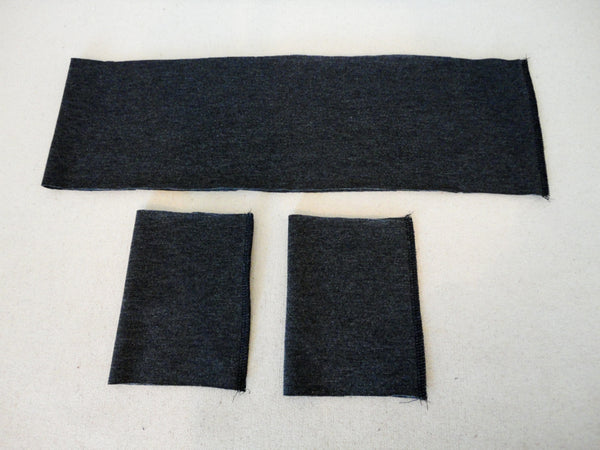
Fold your cuffs in half to match notches together. Pin along the notched edge (in the photo above, the fold is on the left hand side).
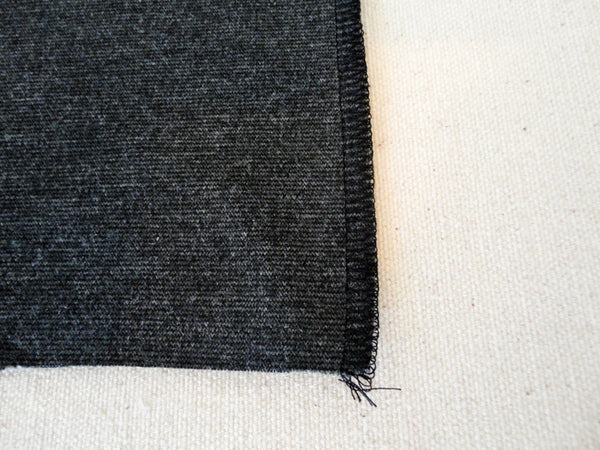
Sew along this notched seam. I used the reinforced stretch stitch as per with the rest of the sewing process for my Variation One sweater.
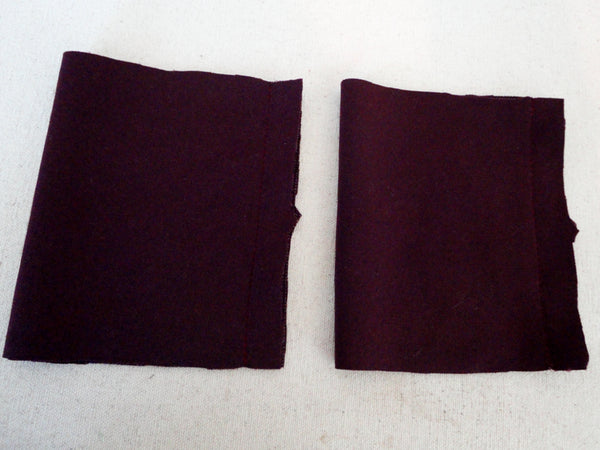
If using a stitch that allows you to open the seam, press your seam open. Otherwise, you can simply press the seam to one side.
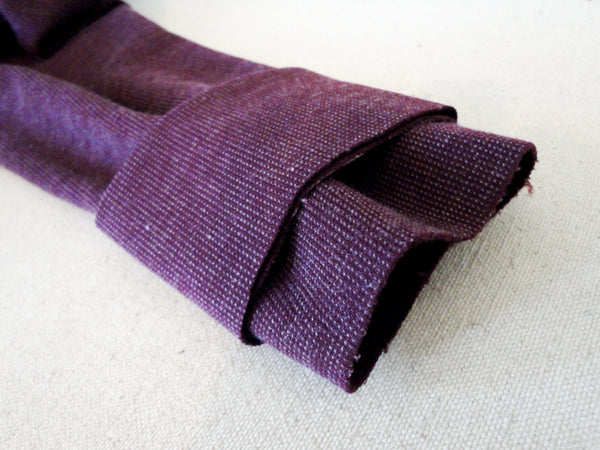
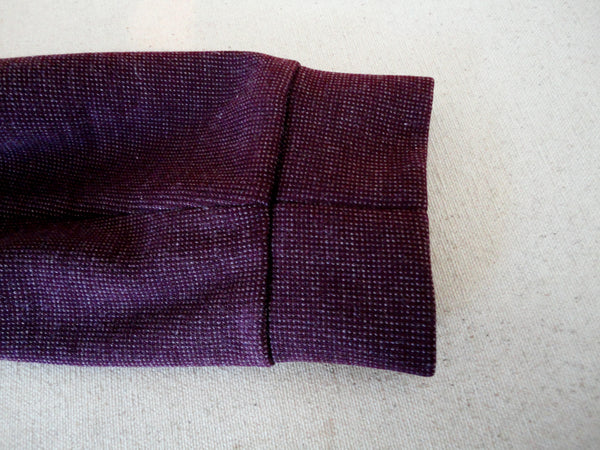
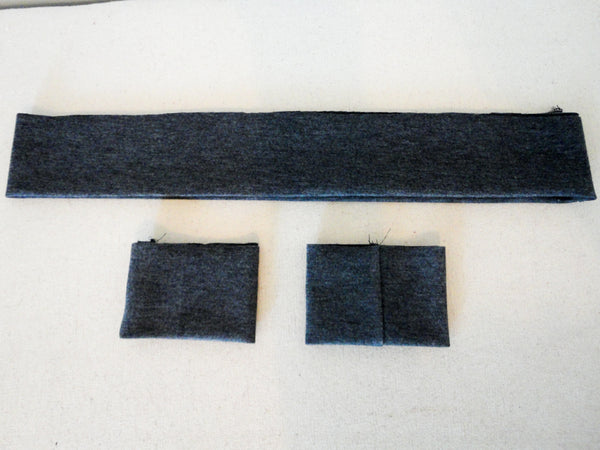
Now fold the cuff in half (so that you are folding the seam that you just sewed in half). Press along the fold - this will be the very bottom of the sleeve.
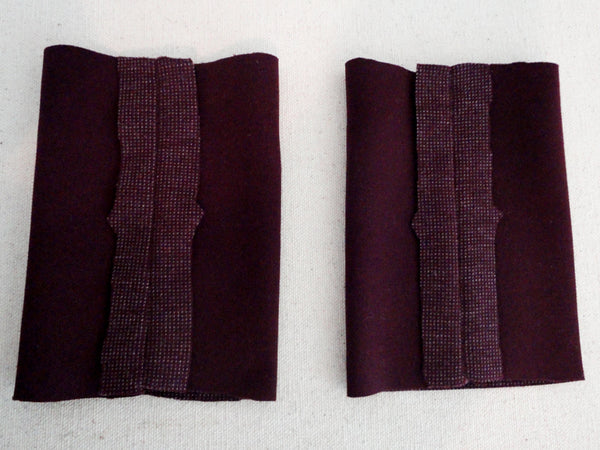
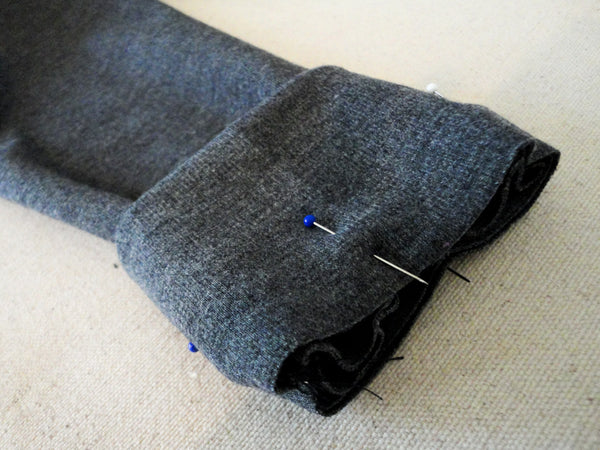
Stretch the looped cuff over the sleeve end so that all three raw edges line up (I've shifted the cuff up the sleeve in this photo so that you can see all the layers clearly).
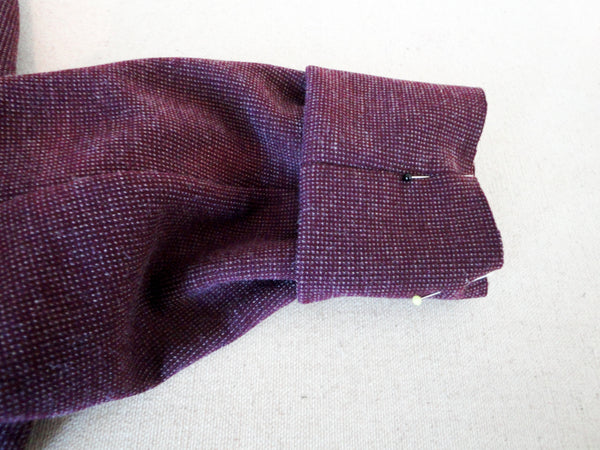
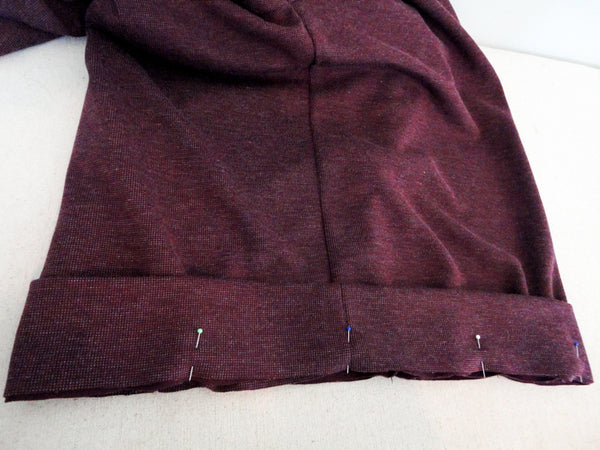
Pin the cuff in place - be sure to line up the seams and stretch the cuff evenly around the sleeve.
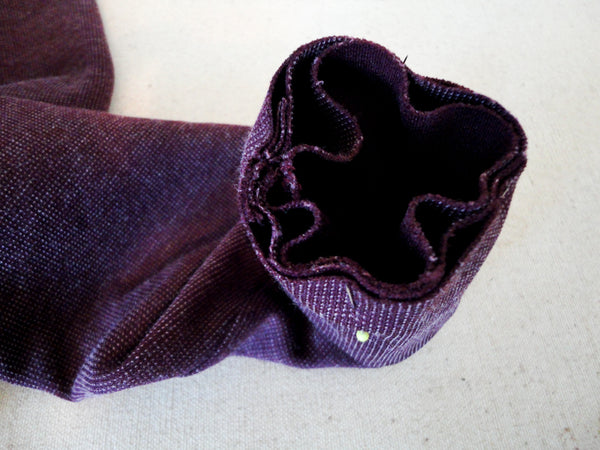
In the photo above you can see how much easing you will need to do! (Now you can see why it is far easier to use the Optional Cuff piece if your fabric doesn't stretch much!).
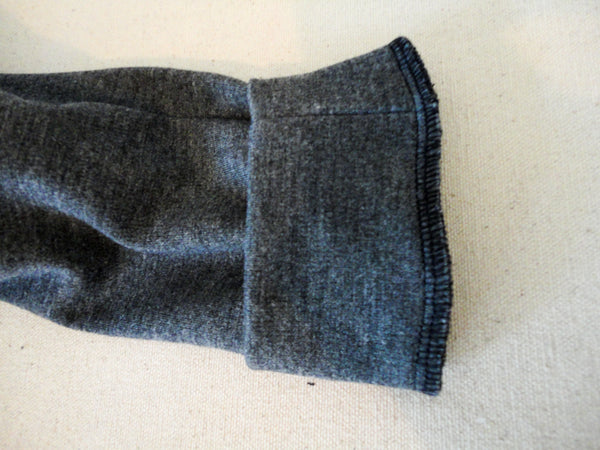
I really like to apply clear swimsuit elastic to the cuff seam because I often push my sleeves up my elbow and can't stand when my sleeves stretch out and slip downwards over and over again throughout the day. This clear bit of elastic will do wonders to prevent stretching! I have often read that you shouldn't allow your needle to punch directly into clear swimsuit elastic as you risk creating a weak point where it will snap. I have never had this problem yet, but please keep this in mind and consider using a stitch that will capture the elastic by encasing it in stitching (a super wide zig zag or serging, for example). I just used a narrow zig zag stitch!

If your fabric is loosely knit (mine isn't!) you might consider pulling the elastic slightly as you so to give more structure to the seam and fully prevent any fear of stretching out.
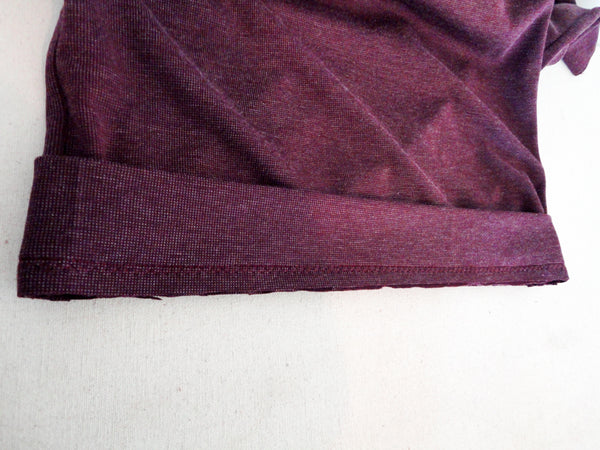
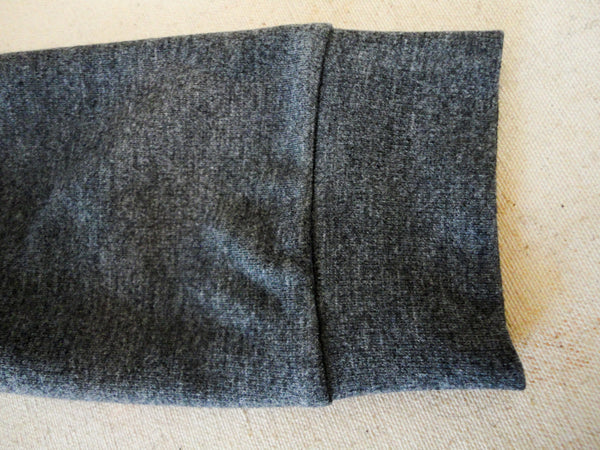
Once sewn, trim your seam allowances and press them towards the sleeve (away from the cuff).
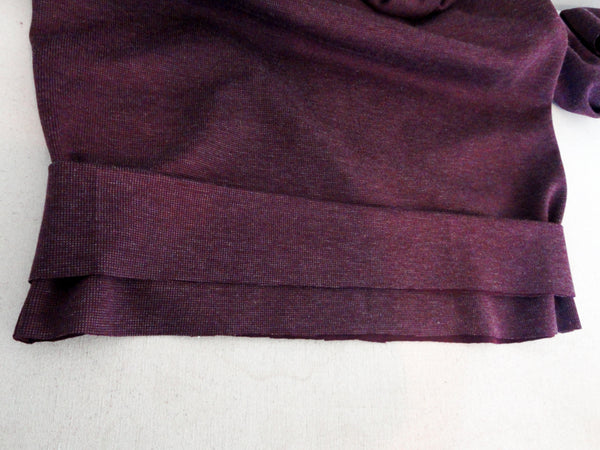
To sew the hem band, simply repeat the process that we used for the cuffs - you won't have to ease quite so much with this pattern piece though! Once you've formed a loop with the hem band, pressed the seam open and pressed the band in half length-wise, encase the sweater with the hem band and line up all three raw edges. Line up one of the side seams with the hem band seam.
I stitched my hem band using a reinforced stretch stitch and finished the seam allowance with a wide zig zag stitch.
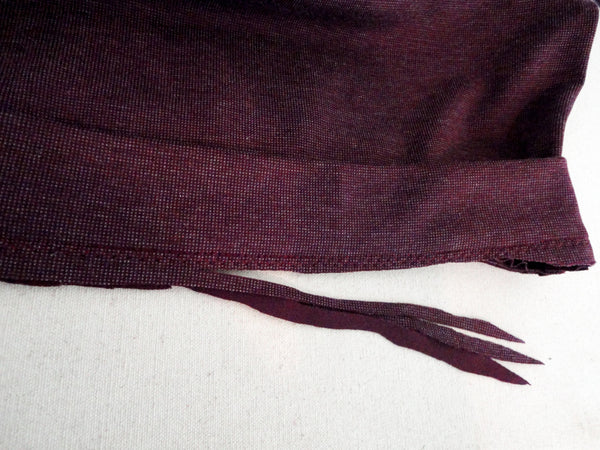
Trim your seam allowance, if desired...
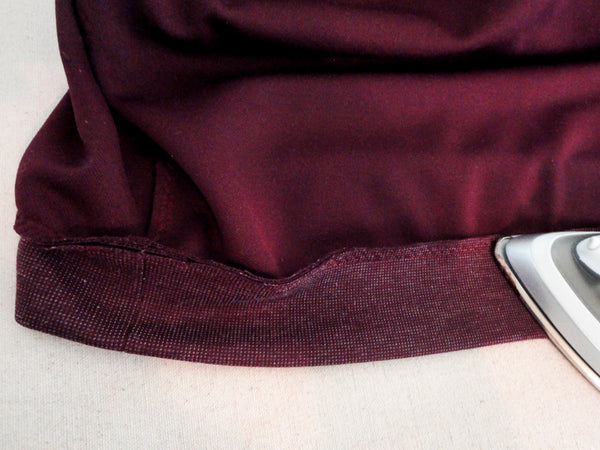
...and press the seam allowances up towards the sweater.
And we're done! If you were sewing Variation One, you are done your sweater! Congratulations!!!
Now, onwards to Variation Two. As with the previous sew-along post, the sewing process for the cuffs and hem band are the same as with Variation One. Begin by pinning the cuffs and hem band in half (matching notches).
I serged this variation but use your preferred stitching method of choice to finish the notched seams.
Press the seam open or to the side (depending on your stitch type) and then fold the cuffs and hems in half width-wise.
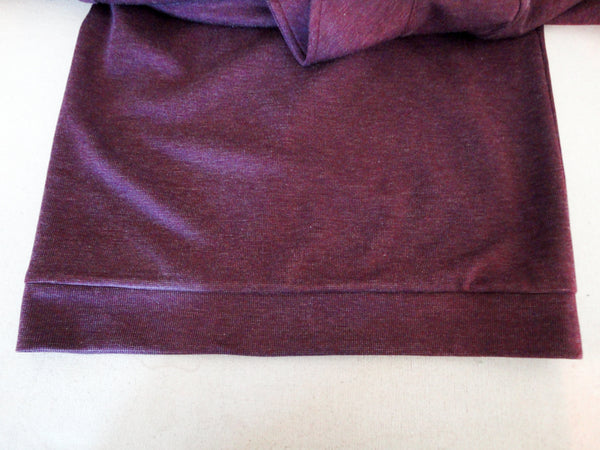
Press the hems and cuffs to create a crisp fold (which will be the bottom of the sleeves and the bottom of the sweater.
Pin the cuffs and hem band over the sleeves and sweater, matching all three raw edges.
Sew these seams - I sewed them with my serger. In case you are interested to know: My serger has trouble cutting through several medium-weight knit layers - especially when I have to cross over the extra layer of the kangaroo pocket or the sleeve and side seams - to combat this issue, I often trim my seam allowances with scissors before sewing so that only 1/4" of the allowance remains. That way, I don't need to cut off any fabric with the serger blade while sewing! Trimming first works a treat :).
And we're done Variation Two! Congratulations on sewing such a cozy and well made sweater.
