

Eager to learn more?
Sift through our pattern hacks, sewing technique tutorals and guest blog posts by selecting from the filter below-left.
Tutorials
DIY Ironing and Pinning Table
Morgan and I were too excited about the most recent addition to the sewing room to wait for the Friday post! So, without further ado, here it is!
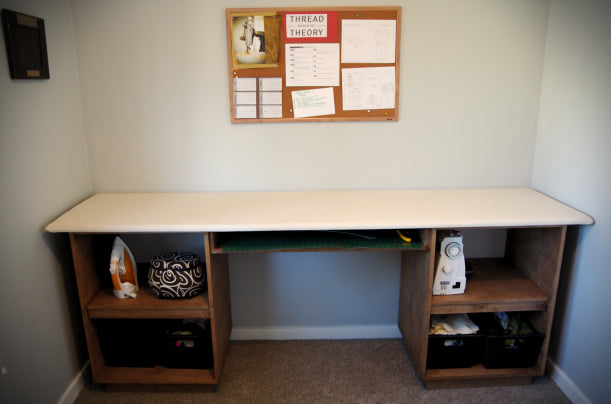
This DIY tutorial is for an ironing table that is specially designed to pin together duvets, which Morgan sews for The Heather Company. It is also the perfect table for ironing as well as a great cutting mat surface.
This tutorial is for the working surface of the table (which contains several important layers), as the shelves can really be made of anything (but more on that later!)
Here are some things you will need!
- A sheet of plywood
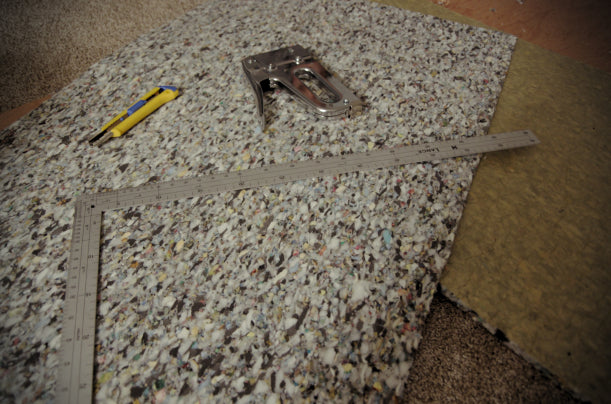
- Carpet padding
- Heavy canvas (12oz to 14oz)
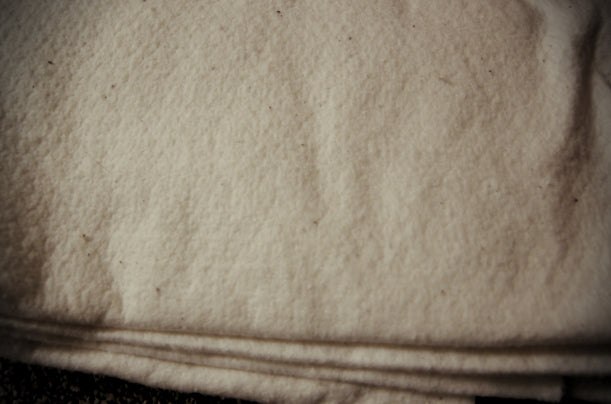
- Cotton needle punch batting
- A staple gun
- Scissors
- A ruler
- Liquid glue

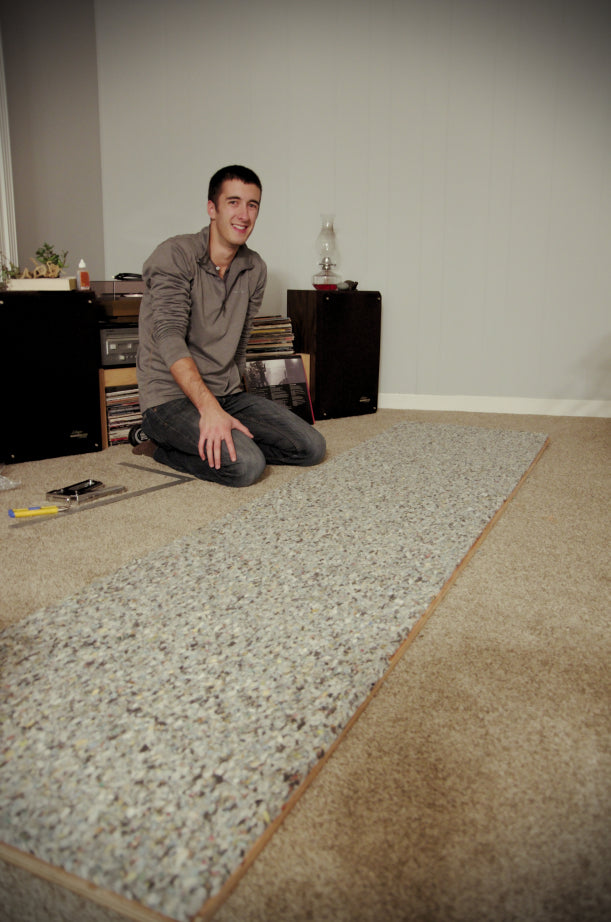
The first step is to determine the size you want your table to be. We decided to make it the full width of our spare bedroom (a.k.a. the sewing studio) and 24" deep. This allows the cutting mat to easily sit on top without any overhang. Then, simply cut a piece of plywood to the size you want! The thickness of the plywood all depends on how wide the gap between the shelves will be; ask your local handy-man for help!
Next, get your carpet underlay and cut it with scissors or a box knife to cover the entire surface of the plywood.
Do a dry fit first, and then cover your plywood with glue squiggles. I used an all-purpose liquid super glue made by Titan.
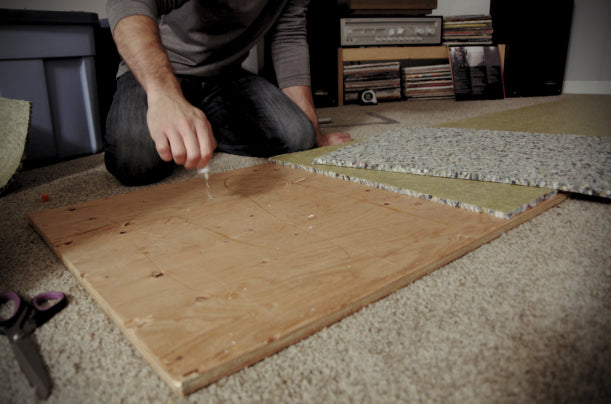
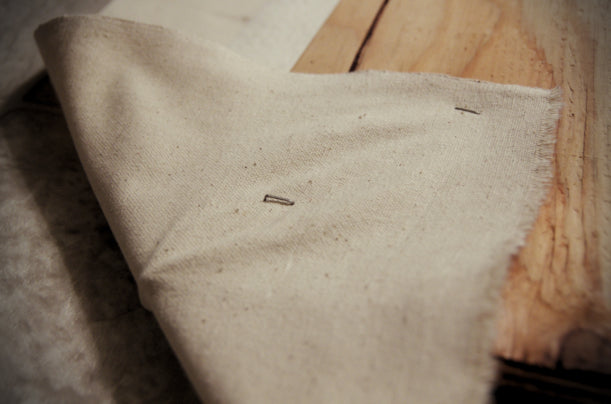
Next, wait for the glue to dry enough that it holds the carpet padding in place (it doesn't have to completely set). Lay out your canvas with the cotton needle punch on top, then flip the plywood and carpet padding upside-down on top of it all. You should now have the underside of the plywood showing with a layer of carpet padding, cotton needle punch, and canvas underneath. We let the needle punch overlap a couple inches on each side, and then canvas quite a bit more than that - about 6-8 inches.
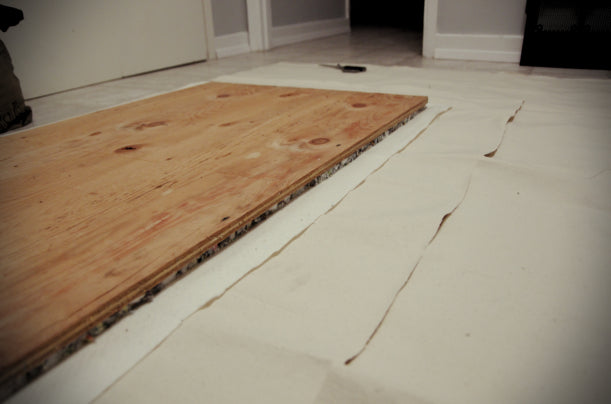
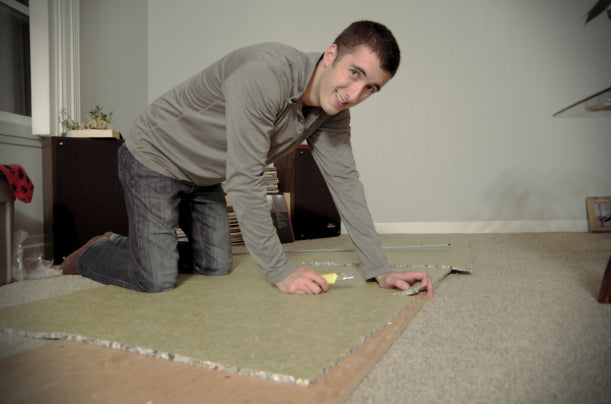
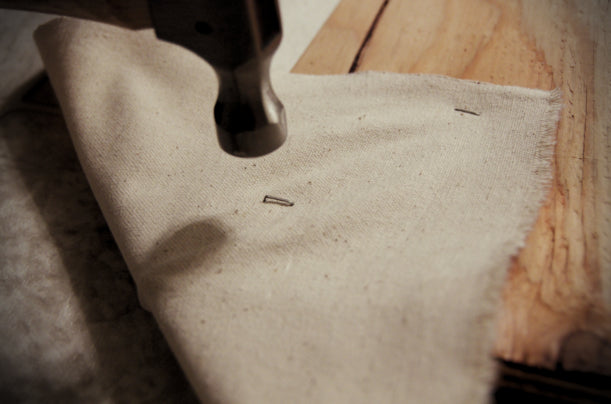
Now comes the fun part! With one person on each end, pull the canvas nice and tight, doing your best to get it stretched in both directions. Fold it up and over the raw side of the plywood and staple it down!
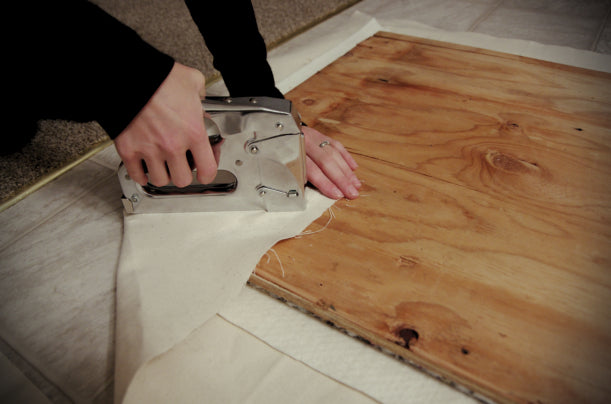
Work your way around the whole surface stapling every 6 inches or so. If you get a few staples sticking up, tap them down with a hammer.
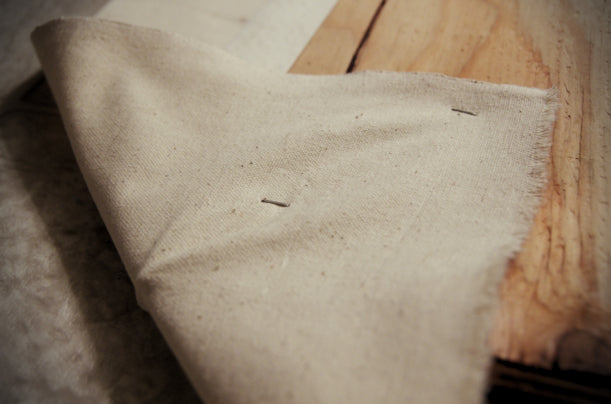
Next, flip the whole kit-and-kaboodle over and admire your handy-work!
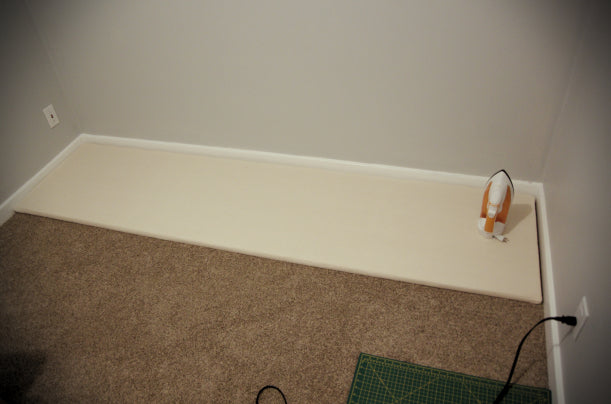
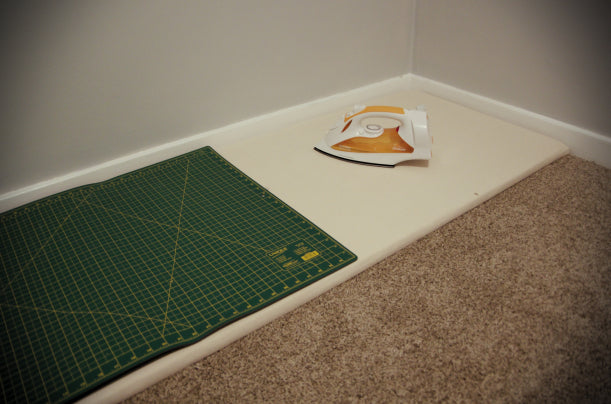
The canvas might not be super tight at this point, but as you iron on it, the canvas will shrink and it will make a nice smooth surface.
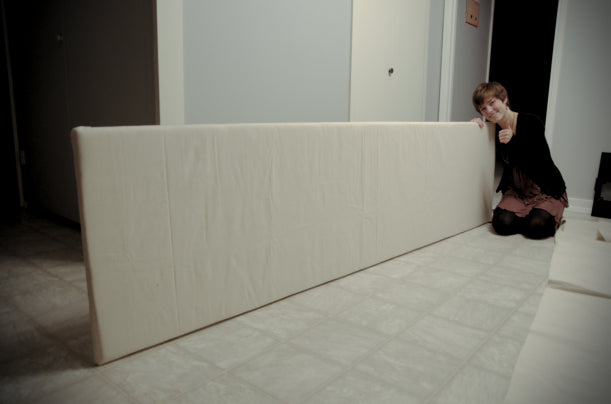
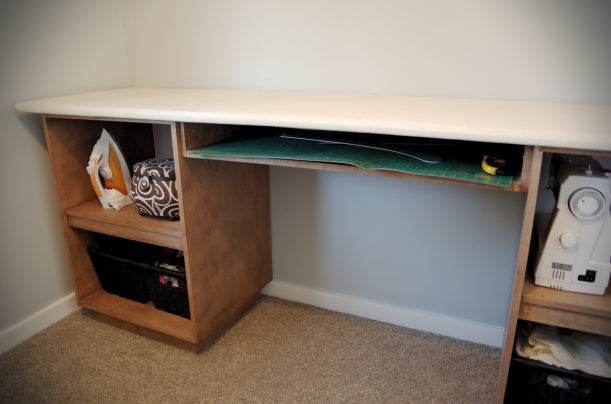
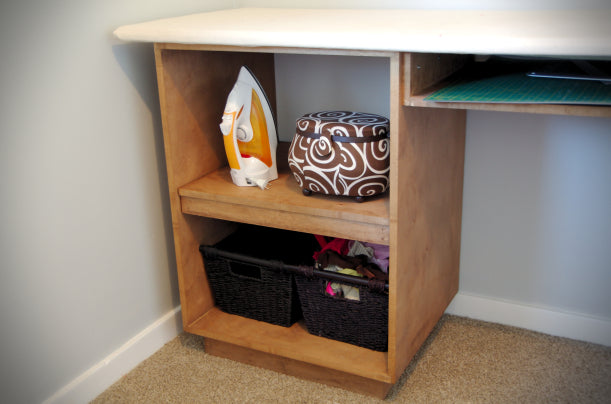
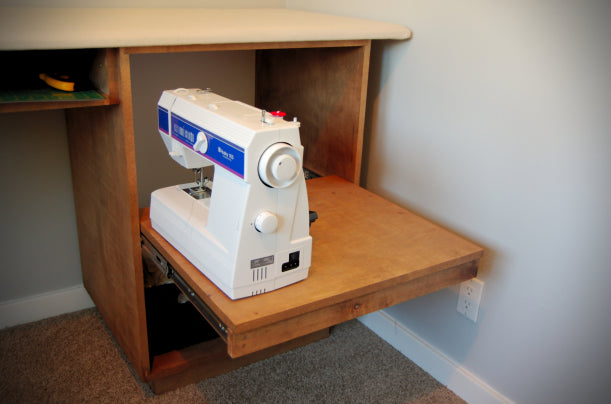
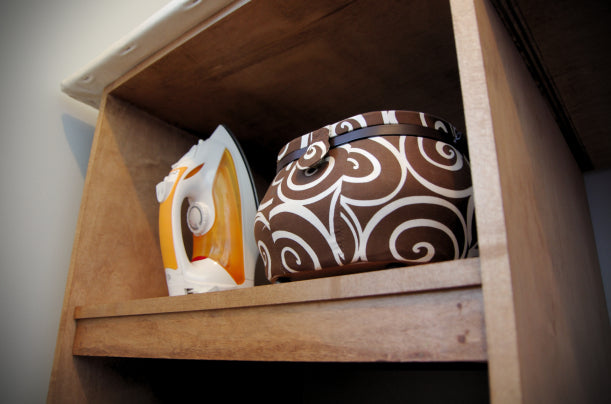
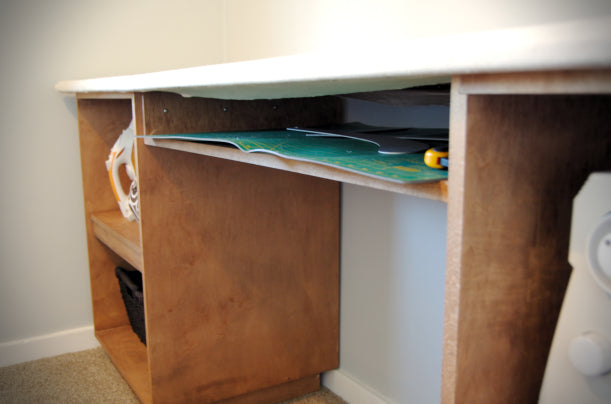
Next, put it on top of some cupboards/side tables/saw horses/anything you want! My mum and dad had promised Morgan some custom-made cabinets for her birthday, and we thought this would be a perfect opportunity to cash in! We designed them to have enough space to hold Morgan's Husqvarna machine and her serger, and to have a small slot for her cutting table. My parents went above and beyond and built the cabinets up on small risers and made slide out platforms! We were totally blown away by their sturdy-ness, and we sanded them and applied a coat of black walnut Danish Oil and set them up!


All in all, the ironing table-top was a VERY simple process. We did the entire thing (except cutting the plywood) on our living room floor and only had to do a quick vacuum to clean up after! The carpet padding makes a bit of a mess when you cut it... We weren't keeping track of time, but this project could EASILY be done in an an afternoon/evening. And, once the table-top is done, you could put it on anything from filing cabinets to Ikea Expedit cubes!
