Fairfield Button-up Sew-Along: Day 6 - Apply interfacing, sew the placket
Today we are applying our interfacing and then we will do a bit of origami to create the button placket.
Apply Interfacing
Within the instruction booklet I mention that you can create a stiffly interfaced shirt or a softly interfaced shirt. I’ve photographed either end of the spectrum here by using the plaid button-up as my stiff example and the Ikat button-up as my soft example
The plaid shirt features very stiff interfacing – I added one layer of our crisp Shirt Collar and Cuff interfacing (back in stock very soon!) to as many pieces as possible. The Shirt Collar and Cuff interfacing adds a maximum level of stiffness without adding much weight. Here is where I added it:
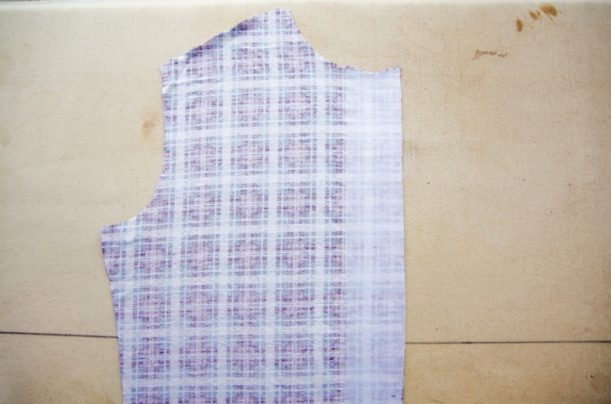
The Left Front button placket…
Both collar stands…

The upper collar…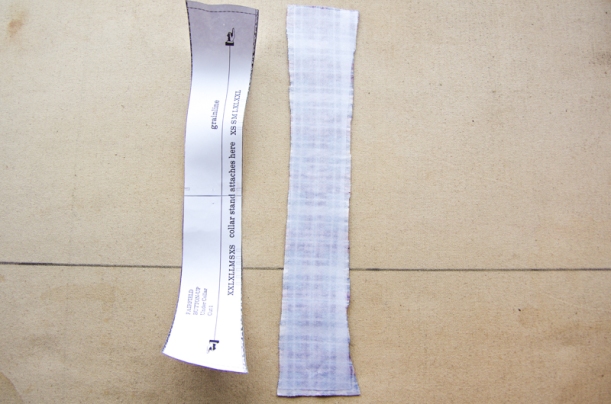
The under collar… I toyed around with the idea of using two layers of interfacing on this piece but found it to be too bulky so I later peeled off the top layer that you see pictured below – two layers of interfacing is worth experimenting with if you love the crisp collar look like I do! Just avoid making your collar too thick since this will make it difficult to achieve crisp points. Doubling up would work best with a less dense interfacing.

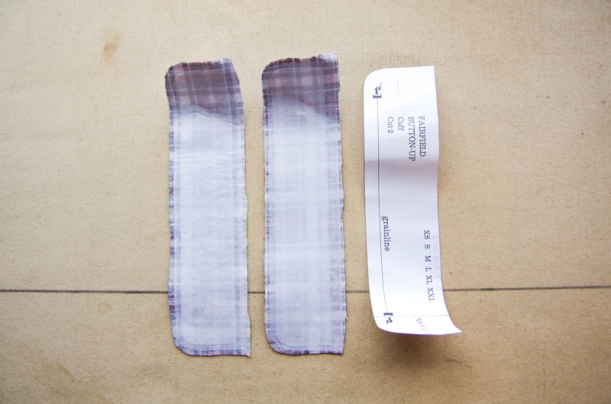
…and all four cuff pieces (two of which are pictured).
To achieve a casual softly interfaced look for the light and floaty Ikat, I interfaced as little as possible. I used our Cotton Fusible interfacing to add a medium level of stiffness while still encouraging the fabric to drape and naturally mold to the body. I added one layer of interfacing to the following pieces:
The Left Front placket…

One collar stand (the one without interfacing will sit against the neck) …
The upper collar (I left the under collar without any interfacing)…

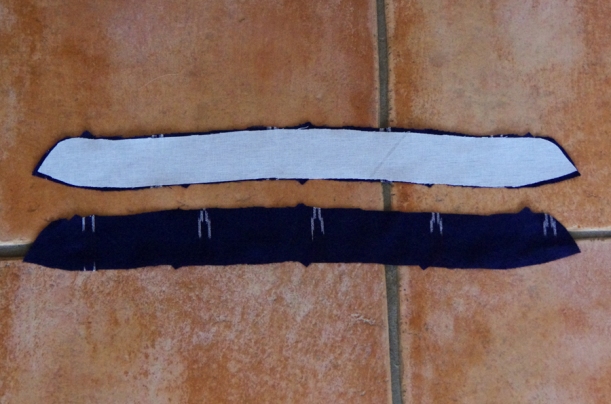
Two of the cuff pieces (the two without interfacing will be the facings)…

Button Placket
We elected to create a button up shirt with a ‘grown-on’ button placket – this means that the placket is part of each shirt front instead of a separate rectangle of fabric that is sewn to the shirt. We decided to draft the shirt this way because it is easier to match stripes and plaids across the most important area (center front) with fewer pattern pieces. Also, the placket will be less bulky because there are no seam allowances enclosed within it.
To create the right front band to which the buttons will be sewn, fold the fabric with wrong sides together at the first notch. Press along the entire length of the fold.
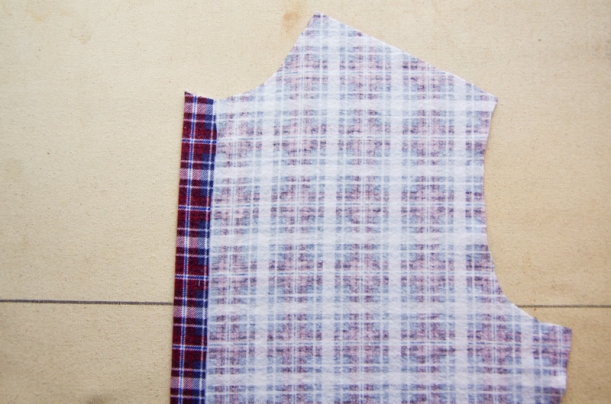
Fold one more time at the second notch so that the raw edge of fabric is enclosed. You’ll see that the neckline will no longer have any strange jagged shapes and will now be one smooth curve. Press along this entire fold.
Stitch 1/8″ from the folded edge to secure the placket in place.
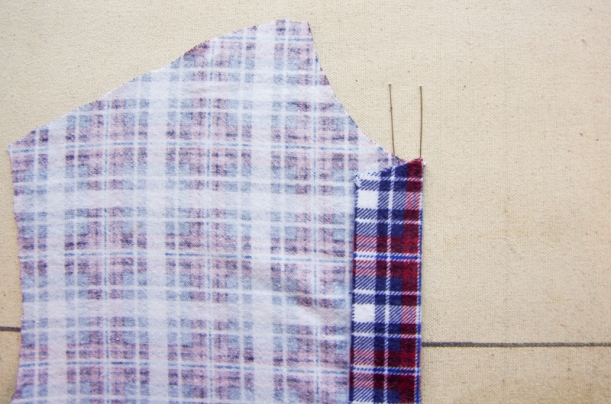
Now we are going to sew the Left Front placket – this is the one that the button holes will be added to and it is the one that we have interfaced. Begin by folding the fabric with wrong sides together along the first notch just as we did before. Press along the entire length of the fold.
The pins in the photo below indicate notch 2 and notch 3.

Fold again at notch 2 and press along the entire length of the fold:
Stitch 1/4″ from the folded edge of the placket (the right edge in the photo above). Think of this as a pin tuck (a small fold of fabric that is stitched closed).
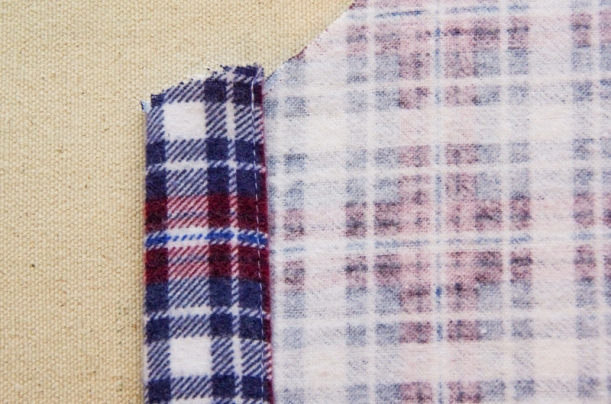
Fold the placket outwards so that pin tuck faces towards the body of the shirt and press. You can see in the photo below that this creates a smoothly curved neckline.

Now stitch down the other edge of the placket (the left side in the photo above) 1/4″ from the fold so that the placket appears symmetrical.
Not too difficult, right? (Once you wrap your head around the origami folds!) Tomorrow we will continue to sew by adding our pockets to the chest and sewing the back shaping. I will be launching some free pocket downloads as well, so stay tuned!