Jeans Sew-Along: Yoke, Inseams and Side Seams
By the end of today's sewing session, we will more or less be able to try our jeans on! Let's get going by attaching the yoke.

The yoke is sewn with a flat fell seam. To begin this seam, place one back and one yoke with right sides together. Align the notch and pin the rest, easing the two lengths together. These two different lengths and curves will help to shape the jeans to the curve of the bottom in the same way a dart shapes clothing.
Stitch using a 5/8" seam allowance.

Trim the jeans back seam allowance to 1/4" as consistently as possible and leave the yoke seam allowance the full 5/8".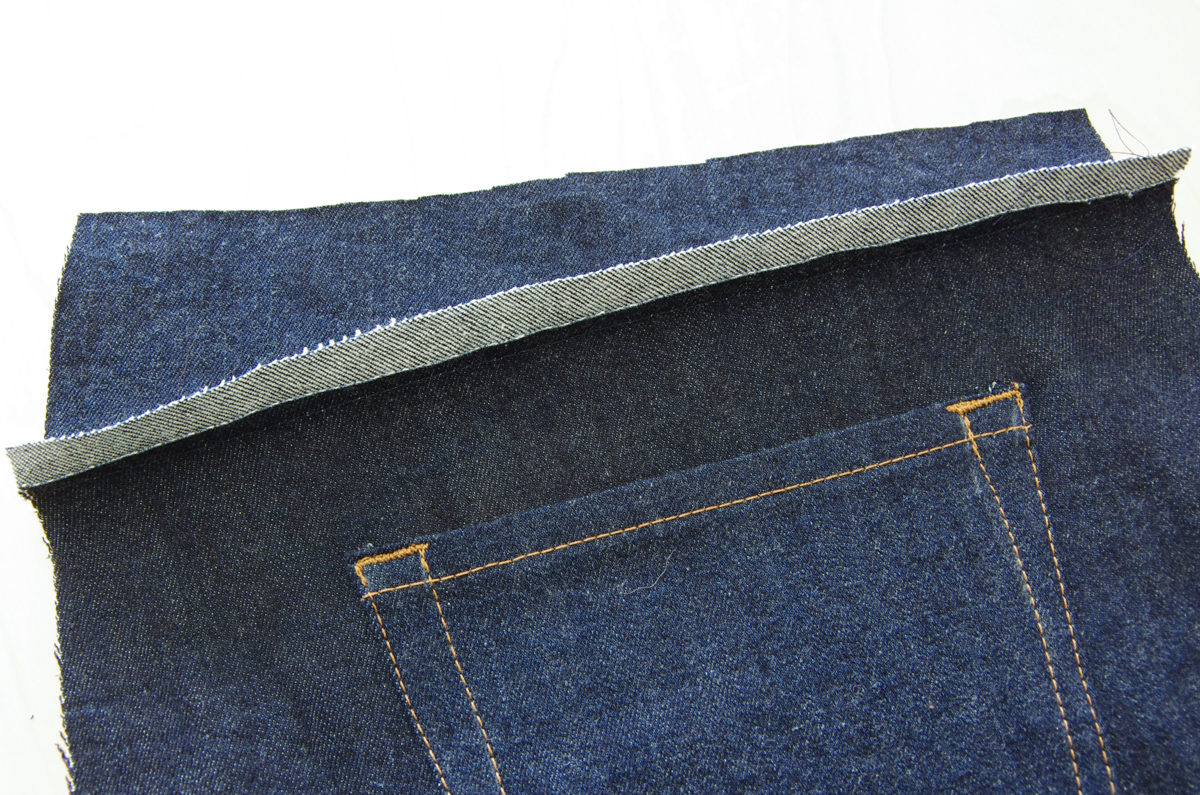
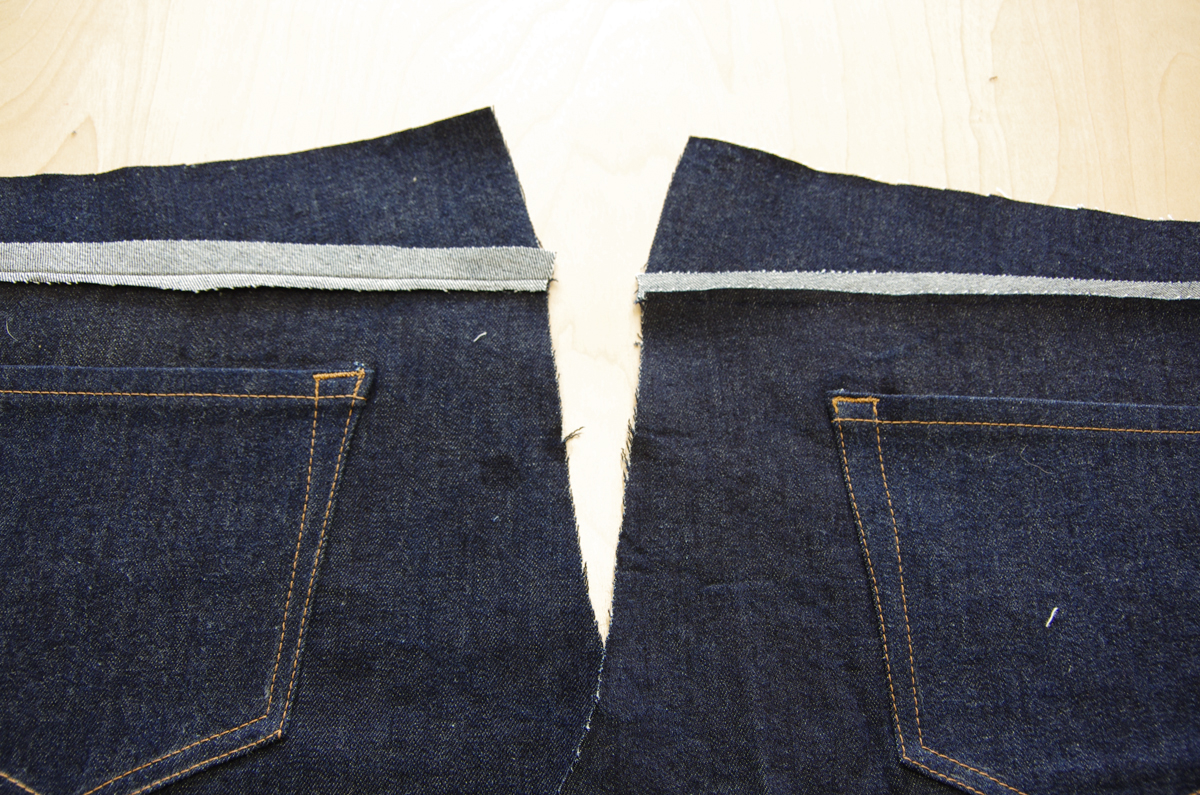
Press the seam open (left in the photo below) and then press both seam allowances towards the yoke (right in the photo below). Pressing in these two stages ensures a nice crisp seam with no tucks or puckers.
Fold the 5/8" yoke seam allowance down so that the raw edge meets the jeans back seam allowance.

Press as you fold.

Fold the whole seam allowance package down towards the jeans back. This will cause no raw seam allowance edges to be visible.

As you can see in the photo below, those raw edges are nicely tucked out of the way!

Pin the seam allowances in place and then edgestitch along the bottom edge of the seam allowance package.
If you used a denim colored thread when originally stitching the yoke seam, you might like to add a second row of topstitching to the top of the flat fell seam (1/4" away from your edgestitching).
Repeat this process for the second yoke and then we are ready to move on to the inseams!

The inseams are also sewn with a flat fell seam. Place a jean back and jean front with wrong sides together and pin along the length of the inseam.

Stitch using a 5/8" seam allowance and then trim the jeans back seam allowance to a consistant 1/4".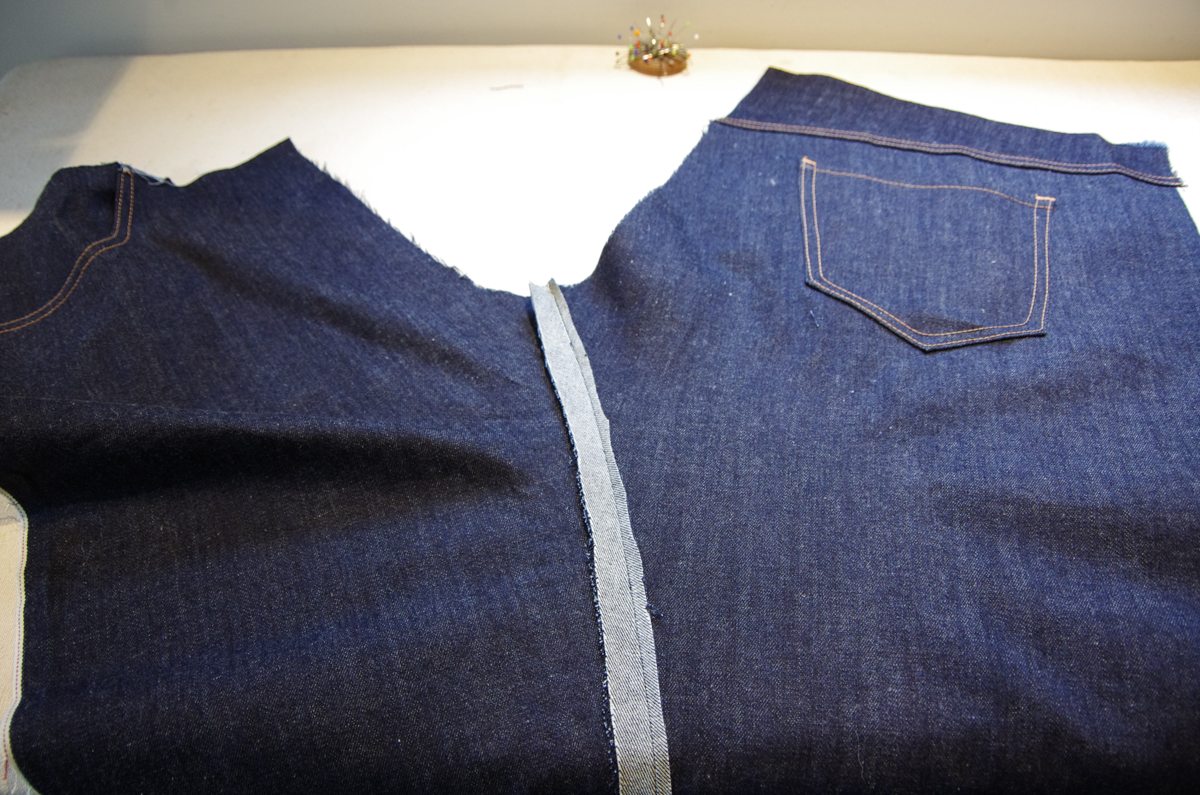
Press the seam open.

And then press both seam allowances towards the jeans front.

Fold the 5/8" seam allowance towards the smaller allowance so the raw edges meet in the middle. Press thoroughly.

And now flip the entire seam allowance package towards the jeans back so all of the raw edges are hidden. Press.


Pin the seam allowances in place.

And then edgestitch to secure them to the jeans back. Depending on your style preference, you could create a second row of stitching 1/4" from the edgestitching. Have a look at the storebought jeans in your closet - some have two rows of contrast stitching and some do not. I find the two rows along the inseam gives a bit more of a workwear or western look to the finished jeans...

...and one row looks dressier.

Ok, the inseams are done! Before we proceed with the side seams, I want to remind you that this is a perfect time to baste together the side seams and seat seam to do one more fitting on your recipient. At this stage it is easy to adjust the shape of the hips, the taper of the wasit, and the width of the legs by taking the jeans in or letting them out within the 5/8" side seam allowance. In the photo below, you can see that I've done this and marked my new shape along the waist and hips. I took the waist in 1/4" and then increased this to 1/2" at the hips all the way to the knees.

If you're ready to stitch the side seams permanently, switch back to a regular stitch length and pin each front and back pair with right sides together. This will be stitched as a regular seam (not a flatfell seam).

Stitch using a 5/8" seam allowance unless your chalk marking indicates otherwise.

Finish the seam allowance with a serger, zig zag stitch or pinking shears.

Press the seam allowance towards the jeans back.

Reinforce a common stress point by edgestitching along the jeans back from the wait down to the bottom of the pocket bag. I feel for the bottom of the pocket bag with my fingers as I stitch but you could also premark the point with chalk or a pin before you begin to stitch. You want to make sure both sides are even!

Wow, our jeans are really beginning to look like something amazing! Sit back and admire all of that detailed topstitching we've created. Next post we will be moving on to the seat seam and fly extension.
