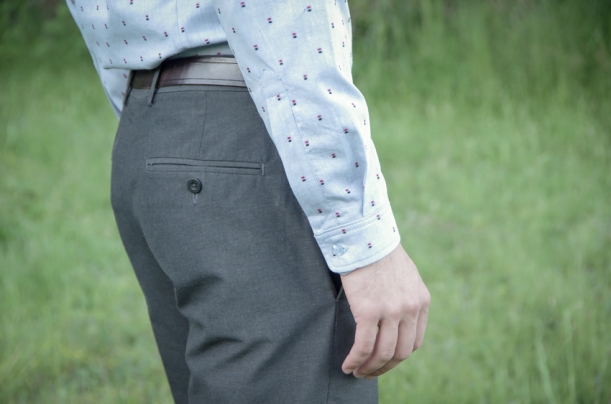
Fairfield Button-up Sew-Along: Day 9 - The Shirt Sleeve Placket
Today we learn how to sew a shirt sleeve placket. There are many approaches to sleeve plackets such as a simple bound edge or a delicate slit with a facing, but the tower placket is the best choice for menswear. It is very sturdy and produces a great structured appearance. If you examine store-bought men’s shirts you will likely struggle to find anything other than the classic tower placket on each sleeve.
There are a few different ways to assemble a tower placket. In the fashion industry it is common to use two pattern pieces: The main tower (which is the part of the placket you actually see) and a separate binding piece for the inner half of the slit/vent.
At first we drafted our shirt placket in this manner but, after examination of every shirt sewing pattern that I could find (as well as an extensive search of tutorials on sewing a tower placket) it became apparent that there are more resources available in the sewing community for a different sort of tower placket – the sort that uses only one pattern piece. We decided to switch to this style of tower placket so that it is easier for you to find help within the sewing community if it is your first time sewing a sleeve placket!
After trying both methods, I have come to the conclusion that both the two piece and one piece tower placket are equal – neither is more difficult to sew and the finished plackets appear exactly the same. I don’t really know why the industry and the sewing community have developed two different ways to sew a shirt placket but I am curious to find out. The only reason I can think of is that we sewists prefer to cut out fewer pieces so that we can get sewing sooner! Probably not much of a convincing reason! Do you have a better explanation?
My musings aside, let’s start sewing:
The key to sewing a great placket is to mark thoroughly and sew precisely as a result of your markings.
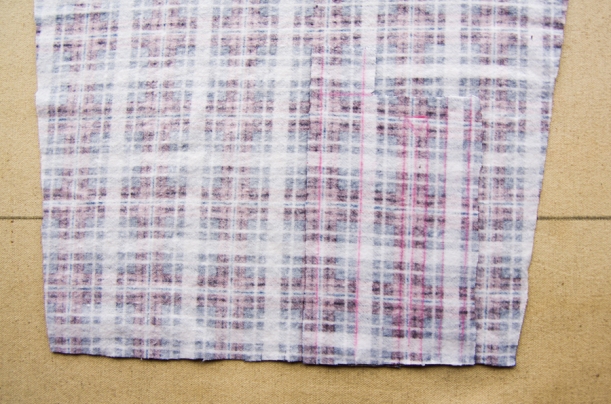
I like to mark on the wrong side of the fabric with colored chalk and a ruler. To make my markings I pin the pattern piece to the fabric and make tiny snips with my scissors at the top and bottom of each line – make these smaller than 1/4″ so that you are snipping within the seam allowances.
Use a ruler to line up each snip and chalk in your line. Don’t forget to chalk in the placement line on the sleeve itself!
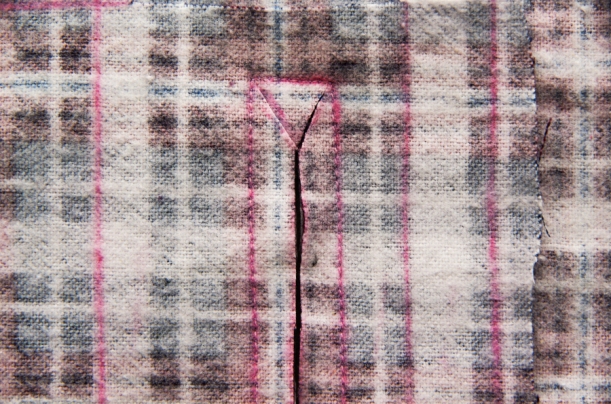
Place the placket on to the sleeve so that you are looking at the wrong side of both the sleeve and the placket. Line up the placket’s “Y” shaped marking (between line 3 and 4) with the placket placement line on the sleeve.
Notice that the Main Column of the placket is closest to the center of the sleeve and the inner placket is closest to the back of the sleeve.
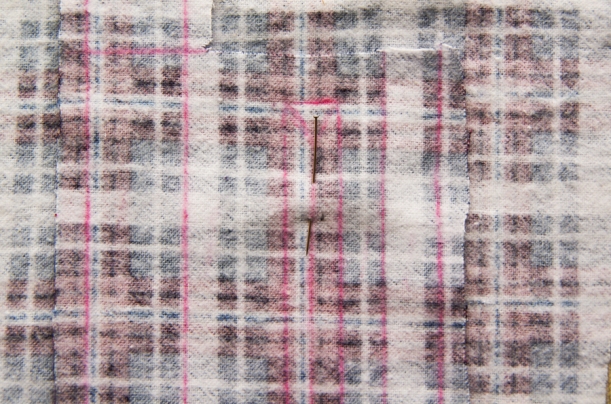
Pin your placket in place by placing a couple of pins overtop of the “Y” shaped marking.

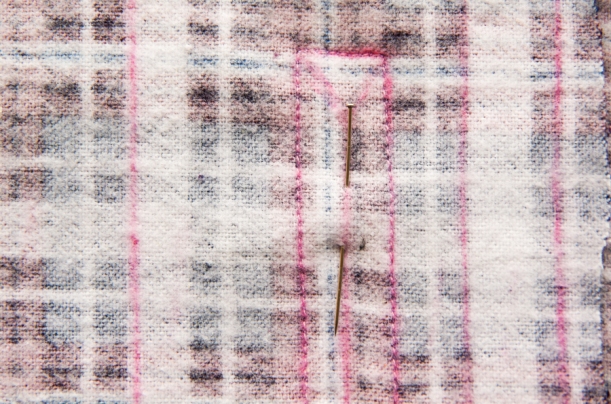
Sew the placket to the sleeve by stitching along lines 3 and 4 to enclose the “Y” shaped marking in a rectangle of stitching.
Now here’s the part that may make you a bit nervous if this is your first sleeve placket. We are going to cut into the sleeve placket to create what is called the “vent”. This is the slit that allows the sleeve to open up wide enough for the hand to travel through the narrow width of the cuff.
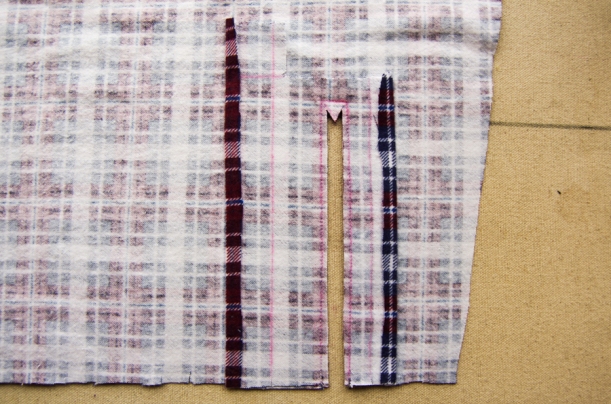
Cut up the “Y” shaped marking:

And then follow both branches of the “Y” by snipping to each corner of your rectangle of stitching. Be careful not to clip into your stitching:
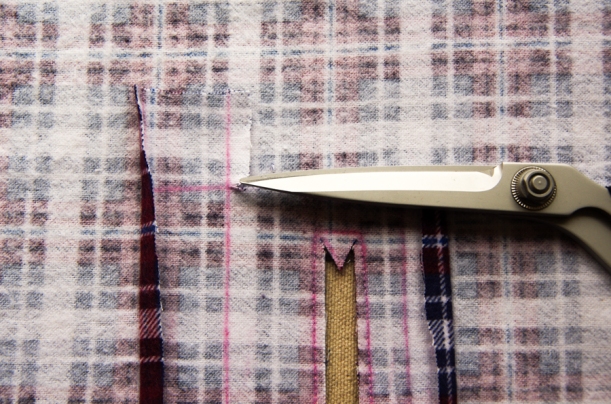
To reduce bulk and make folding your placket easier, you can trim the seam allowances that you have just created. I like to trim to approximately 1/8″. Leave the triangle of fabric created by the “Y” intact. Only trim the long straight seam allowances:

Okay, trimming is done! Let’s start the fun part – folding everything until it magically begins to look like a placket!
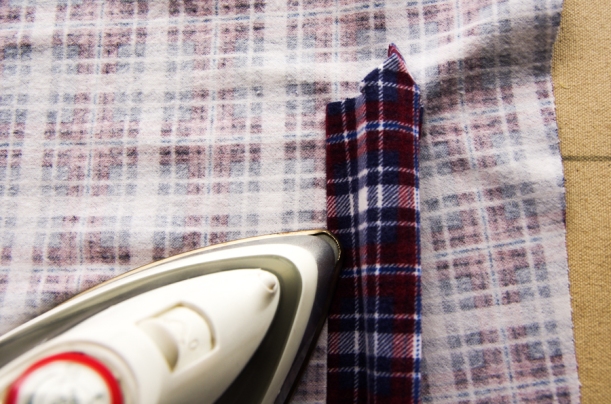
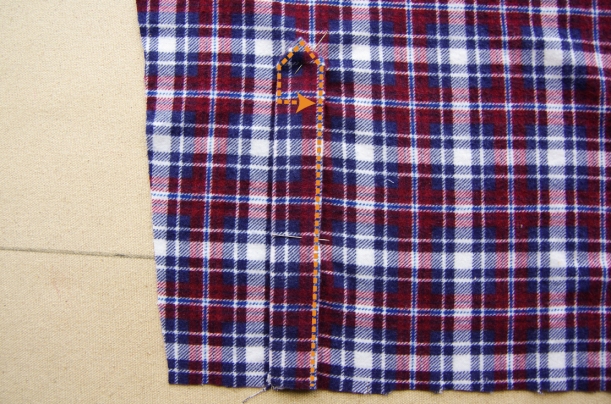
Fold along lines 1 and 6 – these are the two outer edges of the placket. Press thoroughly.
If your fabric doesn’t press very crisply or if it frays easily, you might like to keep all of your folds from shifting around by dabbing a little bit of glue on the underside of the fold. Many people like to use regular white glue sticks and a Q-tip for precision gluing. Other people like to use double sided hem tape (which can usually be found in the notions section of your fabric store).
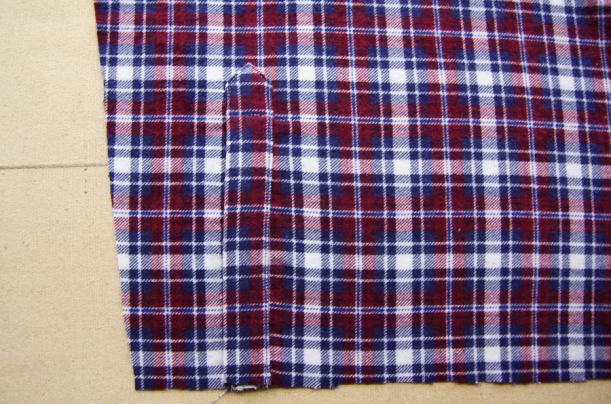
Clip horizontally towards line 5 so that you can free up the other seam allowance on the main column in preparation to press it over.
Now press it over and tack it in place with glue/tape if desired.

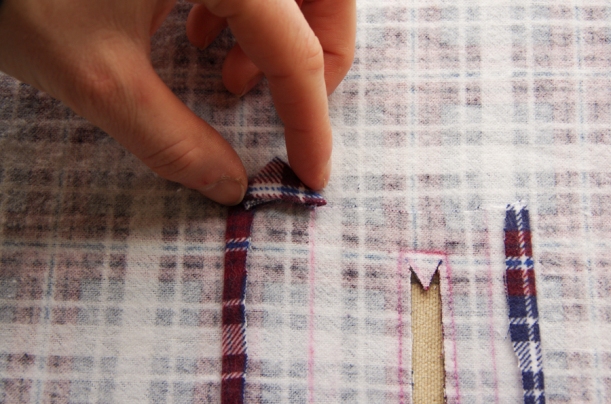
It is now time to create the attractive triangular point that is often found atop shirt sleeve plackets. I’ve photographed two ways to do this – the first is the way I have seen in several shirt making books and tutorials. The second way is the one that my Nonnie (my grandma) developed when she tested out our Fairfield Button-up. We ended up including it within the instruction booklet because it makes it easier to create an even point! That being said, her method includes smaller bits of fabric to fold…if you have have troubles with dexterity, you might like to stick the the first method:
Method 1:
Fold on a 45 degree angle so that the top right corner of the column is folded to meet the bottom left corner. Press thoroughly and secure in place with glue/tape if desired.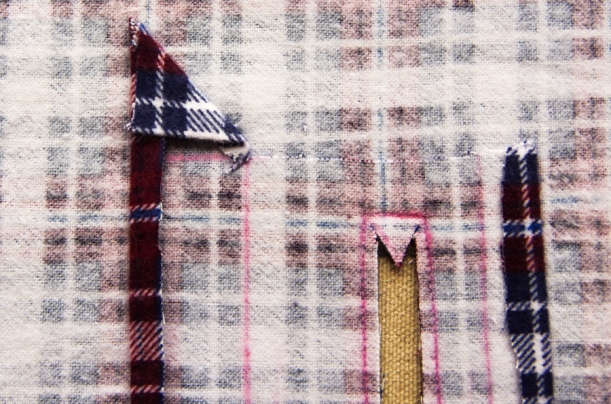
Fold again on a 45 degree angle so that the top left corner meets the bottom right corner. Shift the fabric around until the point of the triangle appears centered. Press and glue/tape in place.
Method #2:
Fold along the horizontal fold line to divide the extended portion of the main column in half. Press and glue/tape if you would like.

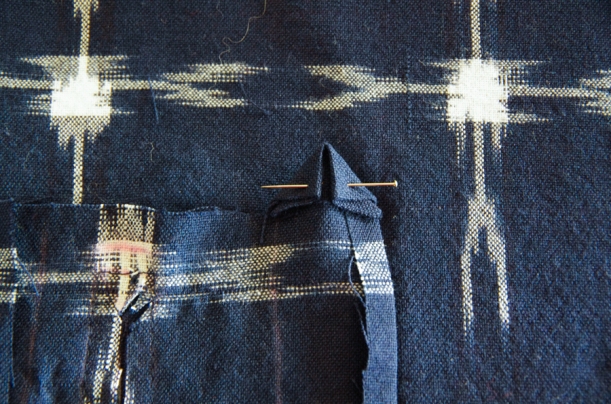
Fold both the left and right corners inwards so that they meet in the middle. This will create an even triangular point. Press and glue or tape if you like. If you are not using either of these tricks to secure your folds, try temporarily pinning your triangle in place so that it doesn’t become unfolded in the following steps.
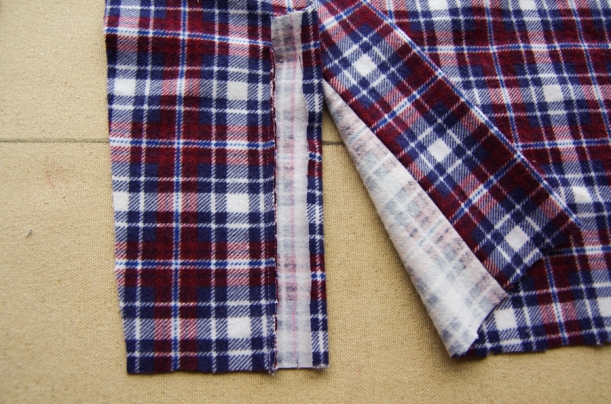
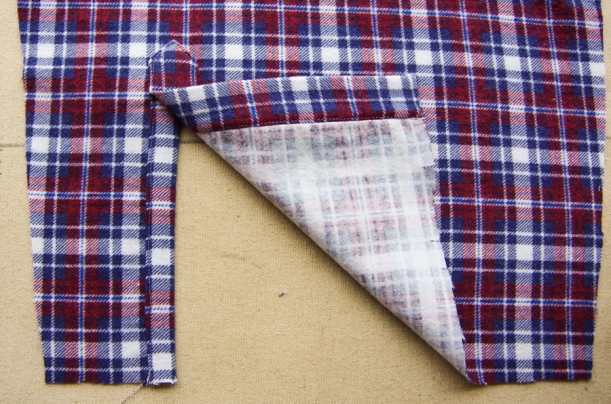
Now our point is formed, we are ready to flip the entire placket to the right side of the sleeve. Prepare to do this by pressing the seams where the placket joins the sleeve:
Push all of the placket fabric through the slit/vent.
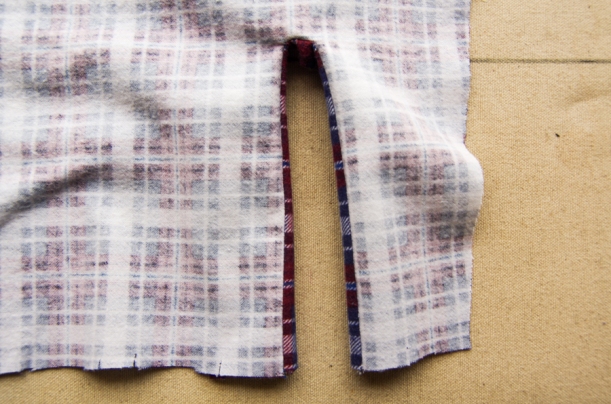
Flip the sleeve so that you can view the right side. Carefully press along the three sides of the vent so that your sleeve placket is inclined to sit moderately flat:

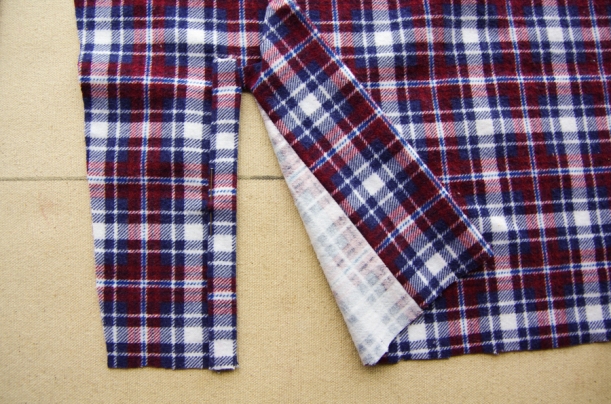
It’s time to finish the inner column now! Shift the main column out of the way.
Fold along line 2 to enclose the vent’s raw edge. Your inner column will look like binding.
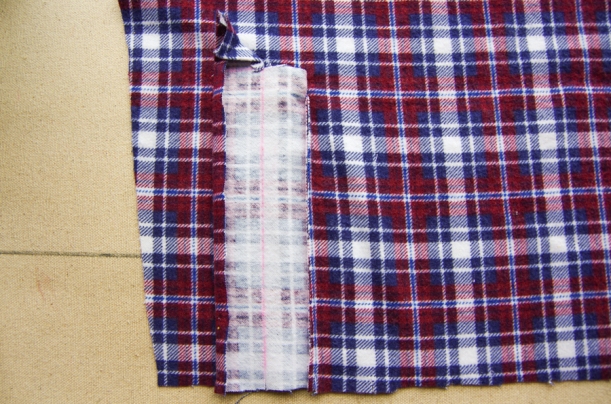
Stitch 1/8″ from the edge to secure the column in place.

We can now finish the main column. Spread it out so you are looking at the wrong side of the column.
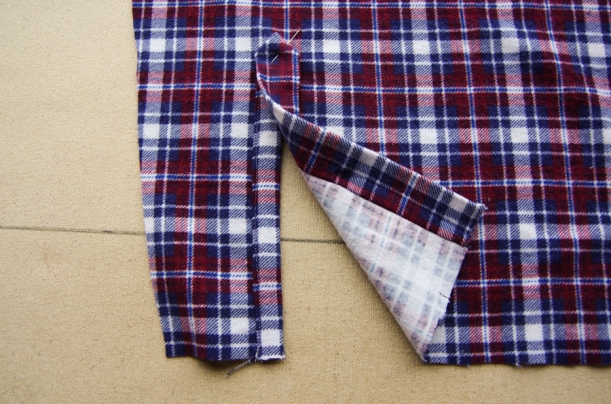
And then fold it in half along 5 to enclose the final raw vent edge. Press thoroughly so that the column looks even and the point looks symmetrical.
The main column is positioned directly on top of the inner column like so:
Edge stitch along the main column from the bottom of the sleeve, around the triangular point, down the other side of the column for about 1″ and then across the main column. Stitching across the main column encloses the raw edges at the top of both your main and inner column.
Give your placket a final press and admire it!
Don’t worry, by the time you get to the second sleeve it will seem much less of a mystery and you will fly through it!
Resources:
An excellent Threads magazine article that teaches how to sew a precision placket.
This video demonstrates the placket as two pieces (the main tower and the inner binding).
This Sewaholic tutorial demonstrates how a differently shaped pattern piece can also lead to a classic tower placket.
Good luck with your plackets! Take your time and use your iron lots. We will continue with our shirts on Friday. See you then!