Fairfield Button-up Sew-Along: Day 11 - Sew the Cuffs
Today we will be assembling and attaching our cuffs!
Let’s begin by basting the sleeve pleat. The notches to form the pleat are labelled A and B on the sleeve pattern piece. I’ve color coded these with large black pins in the photo below.
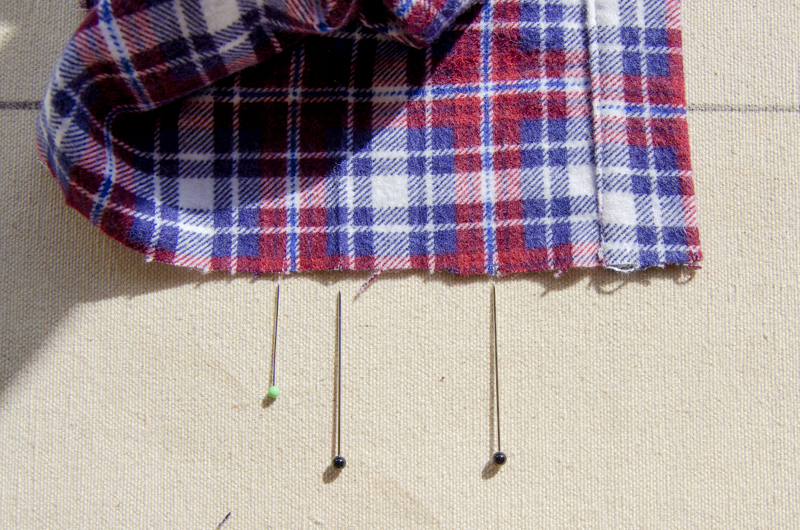
Place the sleeve with the placket spread open and the right side facing you. Bring notch A to meet notch B. I’ve marked the end of the pleat with a small green pin so that you can see how wide the finished pleat is:

Give the pleat a gentle press and baste across the bottom of the pleat.

Ok, now we can prepare the cuff! Place the cuff facing on your work surface with the wrong side facing you. If you have interfaced only two of the cuff facing pieces, use the un-interfaced pieces as your facings.
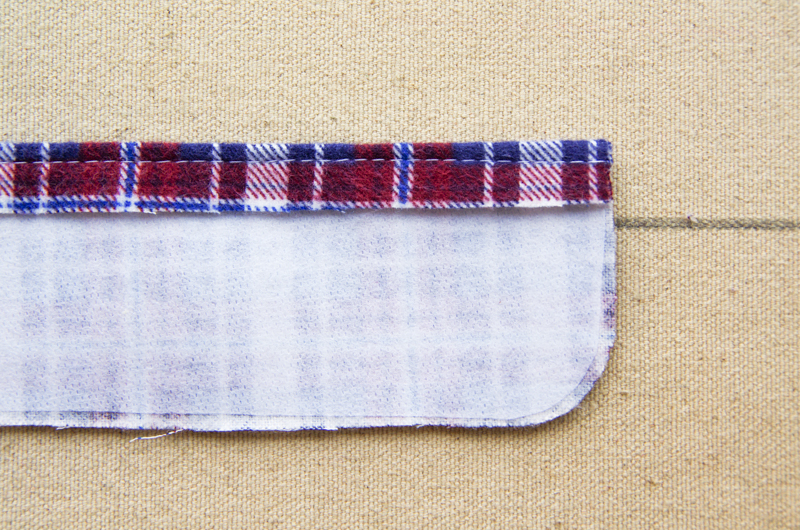
Press under the top of the cuff 1/2″.

If you like, you can baste this fold in place to keep it very crisp and even. You’ll need to remove this basting later so if you hate stitch ripping you could also glue this in place!
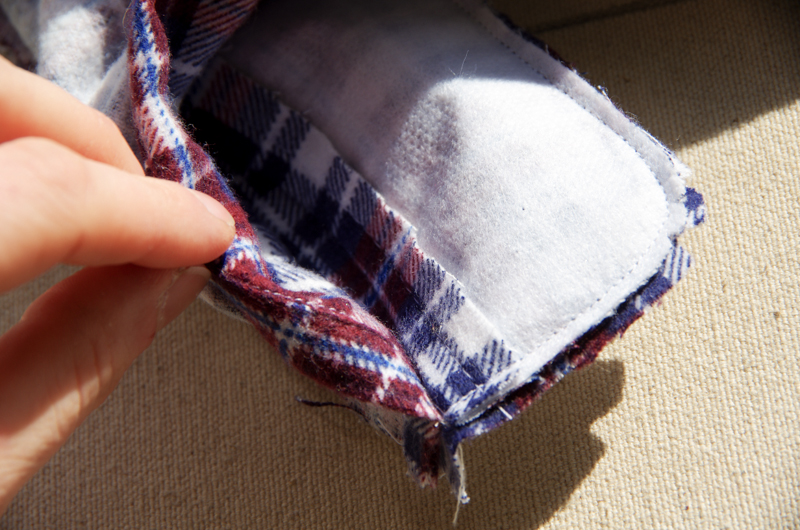
Place the cuff and cuff facings with right sides together. Line up the curved bottom edges.

Stitch around the outside of the cuffs using a 1/4″ seam allowance – begin at the top (sew over the folded seam allowance), and stitch around the curved bottom of the cuff. Leave the long, straight edge free of stitching.
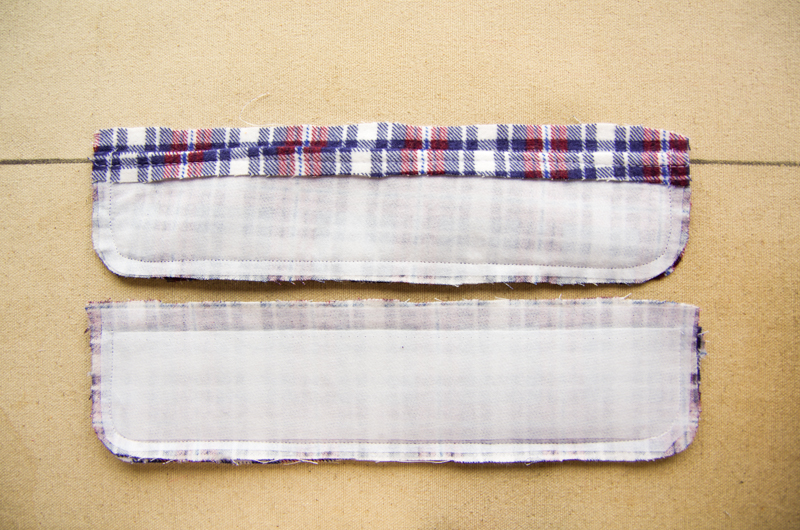
Trim and grade the seam allowances to reduce bulk. Clip triangles of seam allowance off of the curved corners:

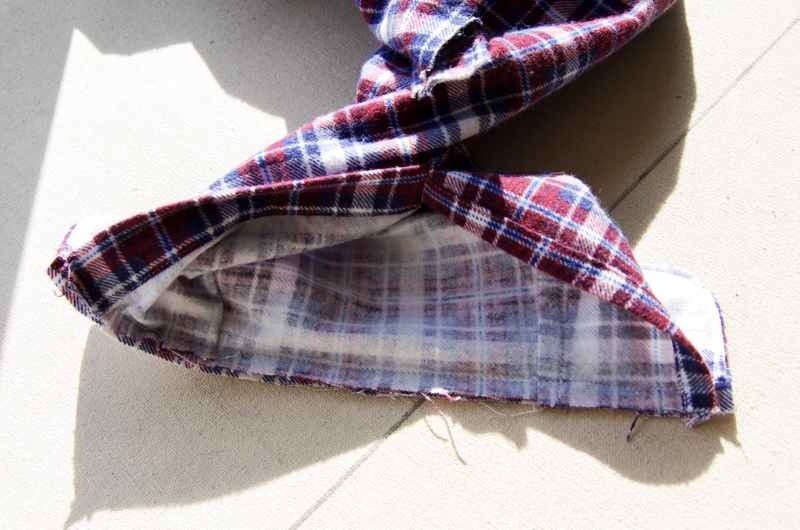
Don’t turn the cuffs right side out yet (I always feel like I should at this point!). Pin the cuff to the sleeve with right sides together. The cuff facing will be against the right side of the sleeve. Keep the cuff facing out of the way of your pins.
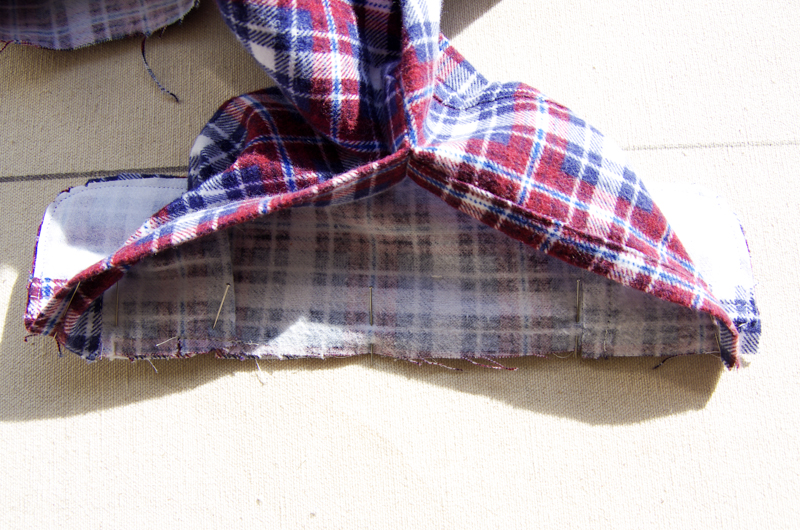
Stitch the cuff to the sleeve using a 1/2″ seam allowance. Make sure to keep your pleat pressed correctly and your cuff facing out of the way! Below is a photo of my cuff facing kept free of my pins:
And a photo of the stitched cuff/sleeve:
Grade the cuff seam allowance only. Leave the sleeve seam allowance full length and press both seam allowances towards the cuff.

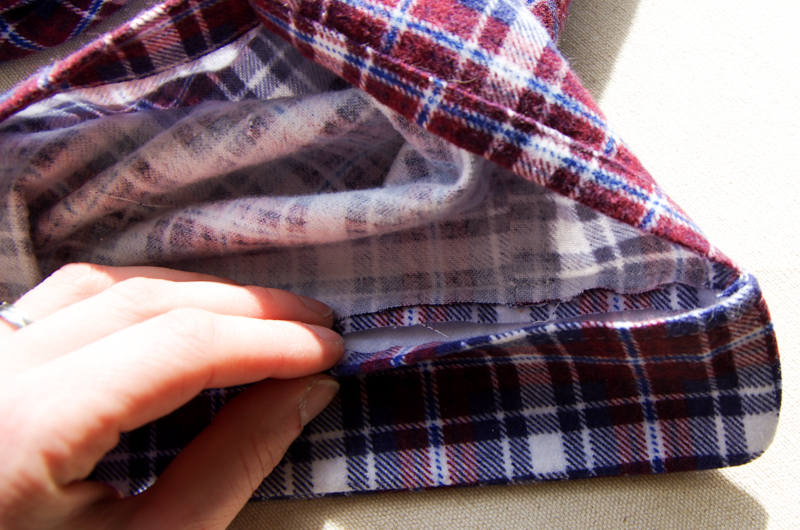
Here is the tidy package that you will have created!

Pin the cuff facing in place over your seam. If you like, you can baste it in place instead of pinning – this will ensure precision in the next step!
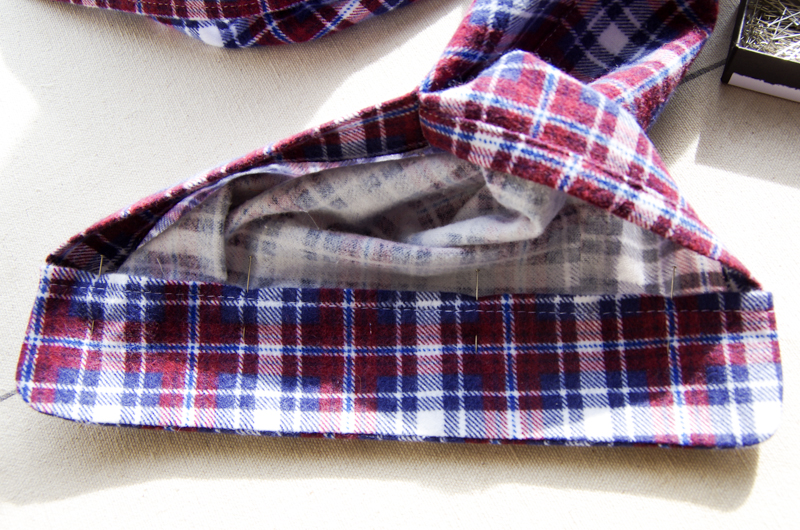
From the right side of the cuff, edge stitch across the top of the cuff (remove the basting afterwards if you basted!).
Now finish your cuff by top stitching around the entire cuff (1/4″ from the cuff edge).
And we are done for the day! On Wednesday we will add our collar and on Friday we will finish our shirts.
How are your shirts looking? Please comment if there are any unclear steps for you – I would be happy to elaborate![]() .
.