Fairfield Button-up Sew-Along: Day 12 - The Collar
Today’s post will cover the last big hurdle when sewing a button up shirt: the collar. Let’s begin:
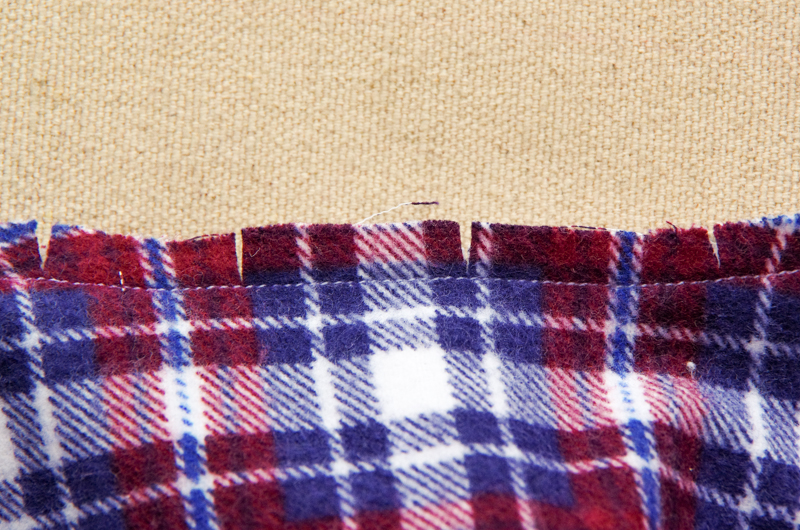
First, let’s stay stitch along the shirt neckline using a scant 1/4″ seam allowance. This stay stitching serves two purposes: 1) It prevents the neckline from stretching out as we work with it and 2) it allows us to clip into the seam allowances without the fear of fraying beyond the allowance.
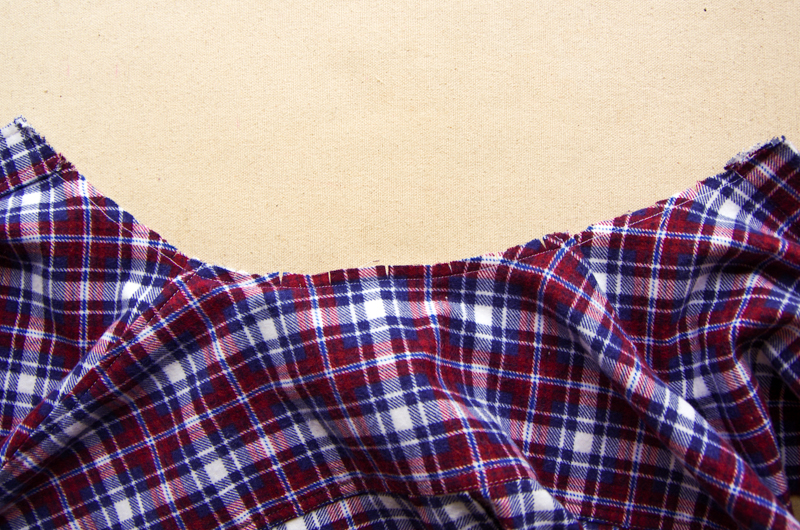
Clip every 1-2″ along the neckline up to your stay stitching. This will allow you to lay the neckline out flat and fairly straight.
Now to assemble the collar:
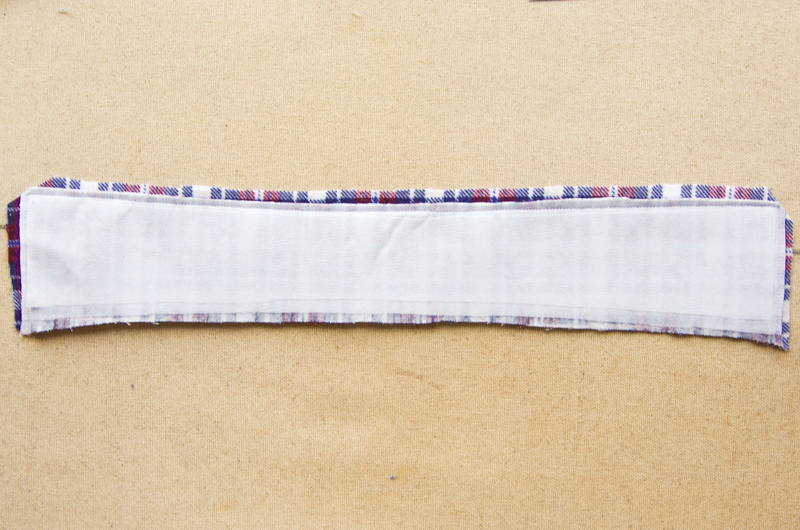
Pin the upper collar and under collar with right sides together. You will notice that the under collar is very slightly smaller than the upper collar – this is to provide enough room in the upper collar for the collar to curve gently over the collar stand.

Stitch around the two sides and the long top edge of the collar using a 1/4″ seam allowance. Leave the bottom of the collar (where the collar attaches to the collar stand) free of stitching.

Grade the seam allowances and trim the corners to reduce bulk.
Turn the collar right side out and press. When I press collars I like to gently push out the corners with a point turner (or chopstick) and then ever so slightly roll the seam towards the under collar. This will ensure that the seam doesn’t roll to the upper collar during later steps.
Pull the two remaining raw edges so that they are even and the upper collar is relaxed and slightly bubbled. Baste the raw edge closed using a 1/4″ seam allowance.
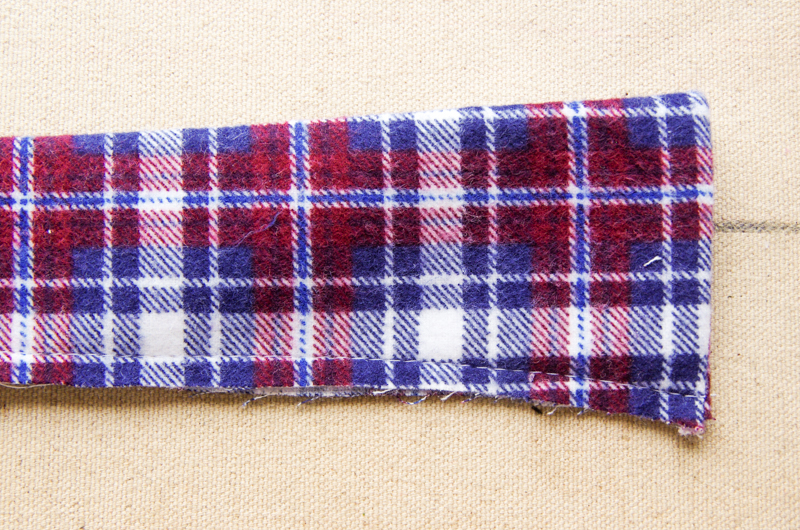
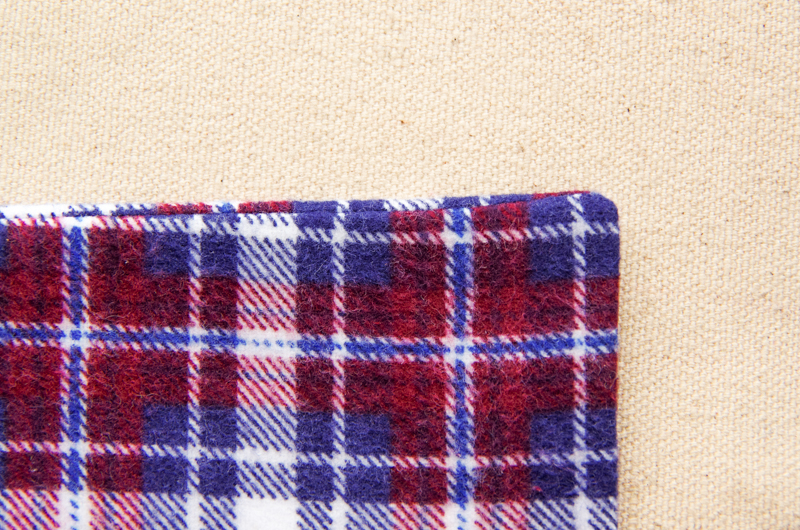
Finish prepping your collar by top stitching 1/4″ from the collar edge around the two sides and the top of the collar. Don’t forget to complete this step! I have forgotten to do this a couple of times and forgot to take a photo of the stitching this time. I don’t know why this step slips by me so frequently! Here’s a photo of a finished collar so you can see the 1/4″ top stitching:
Now we can attach our collar stand and collar to the shirt! Exciting!
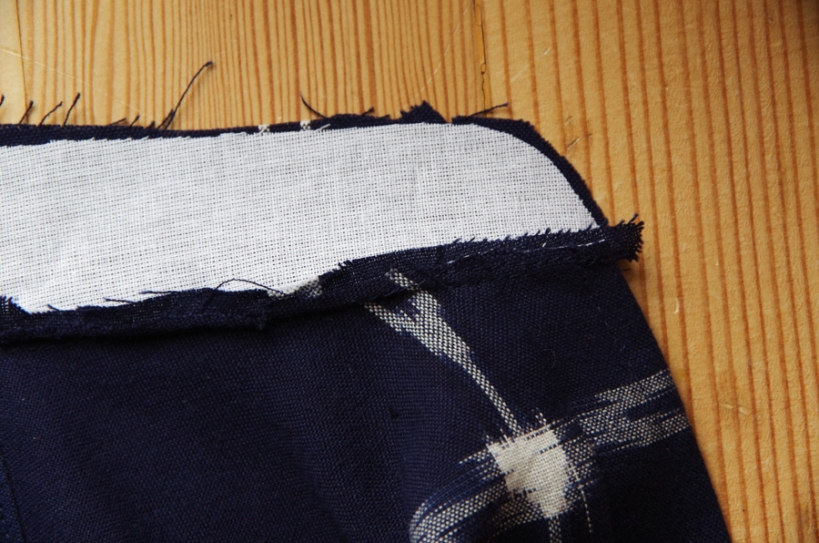
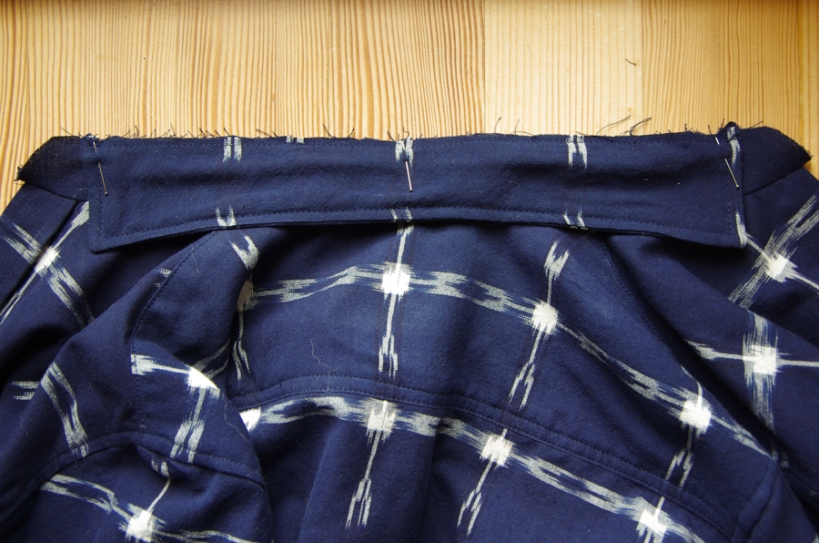
Pin one collar stand (the interfaced stand if you only interfaced one of the two collar stands) to the shirt neckline, right sides together. Align the notches with center back and the shoulder seams. The collar stand should extend exactly 1/4″ beyond either end of the shirt neckline (this is the seam allowance).

Stitch across the neckline using a 1/4″ seam allowance:
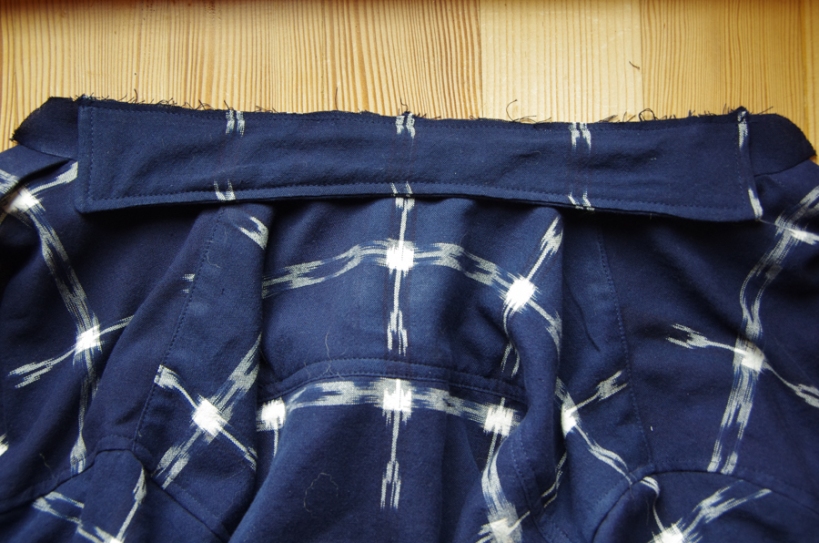
Grade the seam allowances (I trimmed the neckline seam allowance and left the collar stand allowance whole). Press the allowances towards the collar stand.
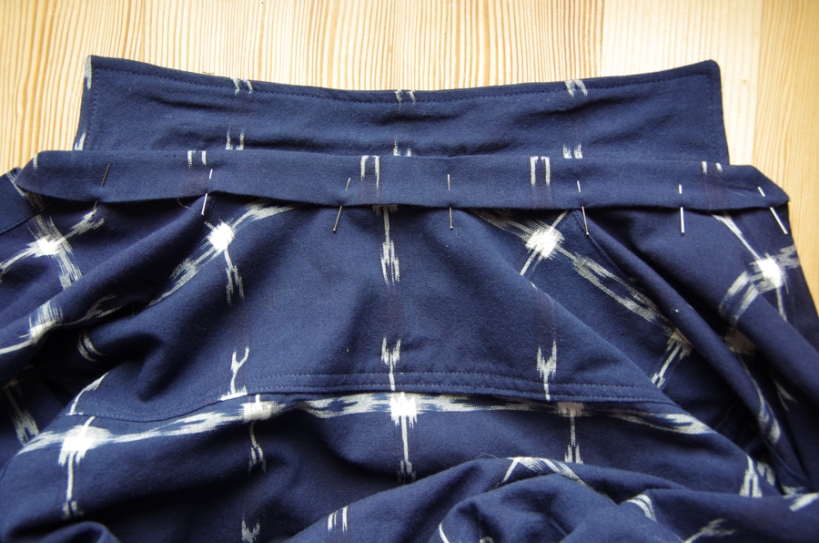
Pin the collar to the collar stand so that you can see the upper collar. The under collar will be against the right side of the collar stand. The collar will fit between the two notches.
Baste the collar in place using a 1/4″ seam allowance.
Prepare the remaining collar stand by pressing under the 1/4″ seam allowance along the bottom of the stand (this is the part that attaches to the shirt).

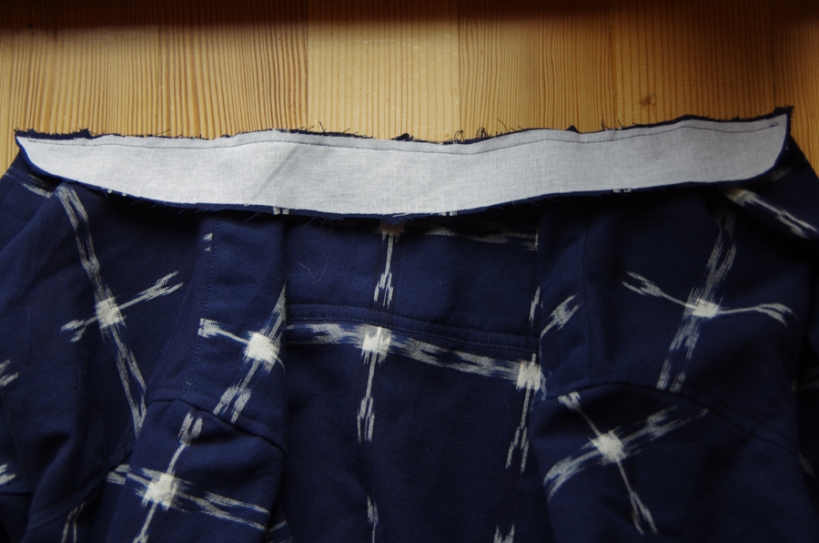
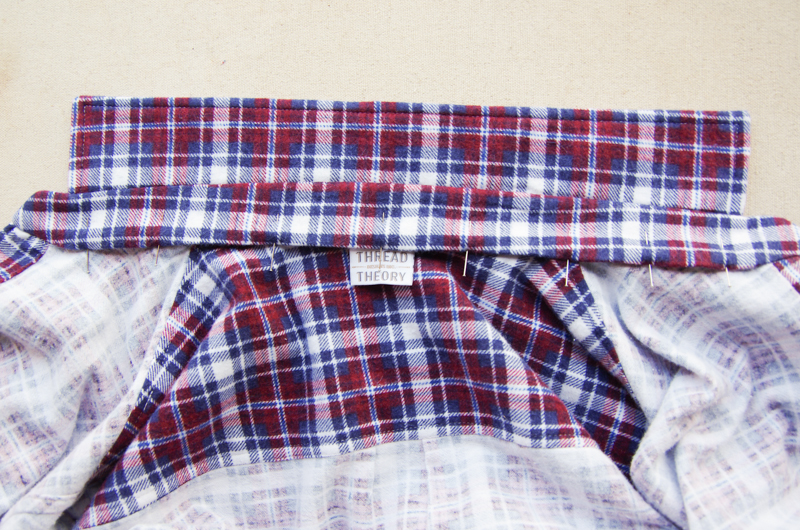
Pin the remaining collar stand atop the collar so that the right side of the collar stand faces the upper collar.

Begin at one end of the collar stand exactly where the stand extends beyond the shirt placket. Stitch around the collar stand using a 1/4″ seam allowance and end exactly at the other shirt placket.

Here’s how it looks from more of a distance:

Complete the collar by carefully pinning the folded edge of the collar stand over your neckline seam. I like to use quite a few pins for this job to make sure the collar stand won’t slip or stretch.
You can choose at this point to baste the collar stand fold in place and then stitch from the right side of the garment or you can stitch from the wrong side of the garment. I usually stitch from the wrong side of the garment because Matt wears his shirts open at the collar – this means the most visible stitching is either tip of the collar stand on the insiderather than the outside.
Either way, edge stitch 1/8″ from the collar stand edge around the entire stand. If you like, you can tuck a garment tag into your collar stand bottom before you edgestitch:
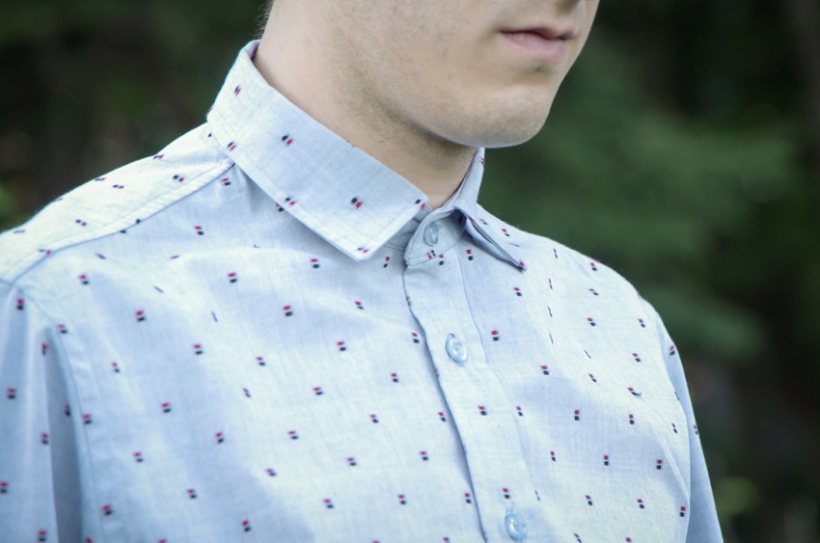
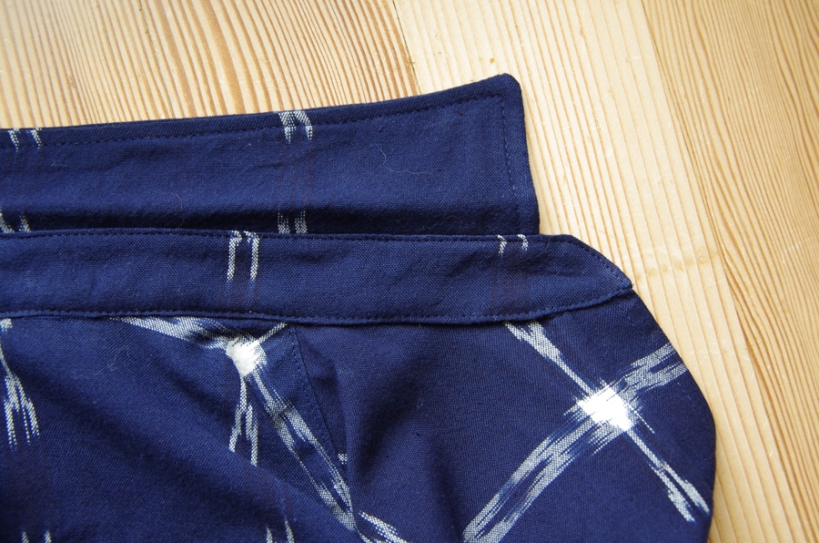
Finish your collar by giving it a thorough press. I like to encourage the collar to shape nicely by pressing on a tailor’s ham so that the collar rolls over gently and the collar stand takes the rounded shape of the wearer’s neck. You can see the bend in my collar in the photo below:
I encourage you to explore a different method of creating a shirt collar with each shirt you make. There are many interesting methods, a few of which are well documented online. They all use the same pattern pieces so you can work with all of them while sewing up a batch of Fairfield Shirts. Pick the one that suits you best or meld together your favorite elements of each for your own unique method!
Here are some resources for different collar construction methods:
- The same method that I prefer – clearly represented (as is the case with all of her tutorials!) at four square walls.
- David Coffin’s method (as explained on the Sewaholic blog).
- The method used for the Archer Shirt as demonstrated on the Grainline Studio blog.
- A detailed description of how to iron the collar to ensure a very crisp seamline.
How did it go? Does your collar look super professional? I hope you are proud of yourself! This is some pretty fiddly and precise sewing you have accomplished!