Comox Trunks Sew-Along: Day 8 - Attaching the elastic waistband
By the end of today’s post you will have finished Comox Trunks!
Today we’ll be attaching the elastic waistband.
First, I will show you the method included in the instruction booklet to create an exposed elastic waistband as you would find on most store-bought trunk style underwear.
After that, I’ll show you my attempt at a fabric covered elastic waistband. ***Full disclosure – I’ve somehow managed to avoid sewing fabric covered elastic waistbands my entire sewing-life and so am not sure if my technique is the best one available. You might have some tips for me about how to make this process smoother :) ***
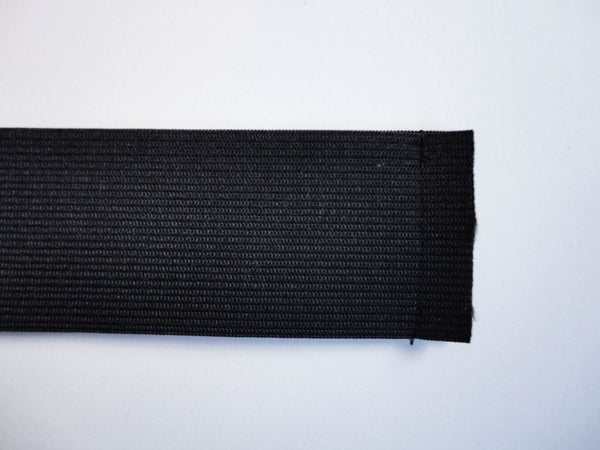
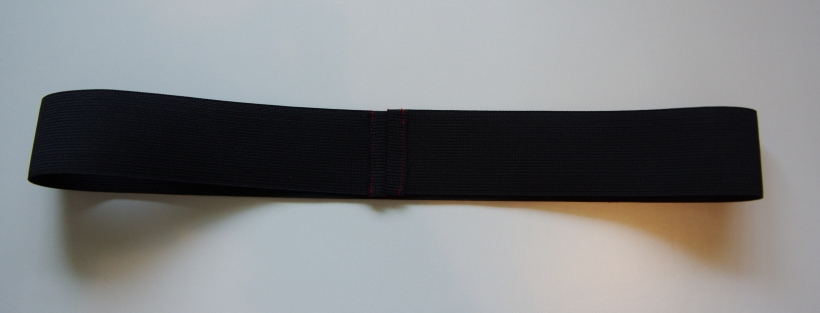
Okay, lets get started on our exposed elastic waistband. First, we need to form a loop by sewing the two narrow edges together. I used a reinforced stitch for this but you could also use a narrow zig zag (and sew over the seam at least twice) or even a straight stitch if you sew over it several times to ensure that your threads won’t snap when the elastic stretches.
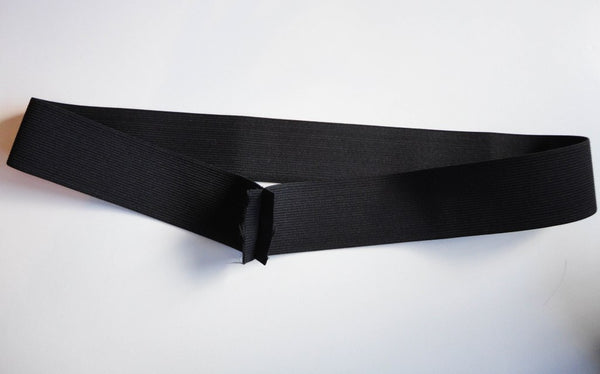
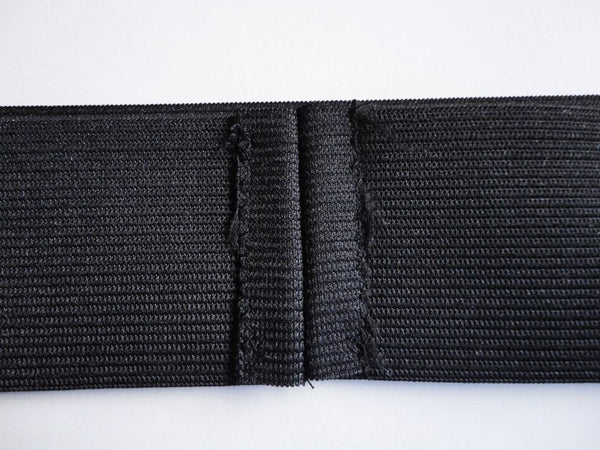
And here is our loop after I’ve pressed open the seam allowance:
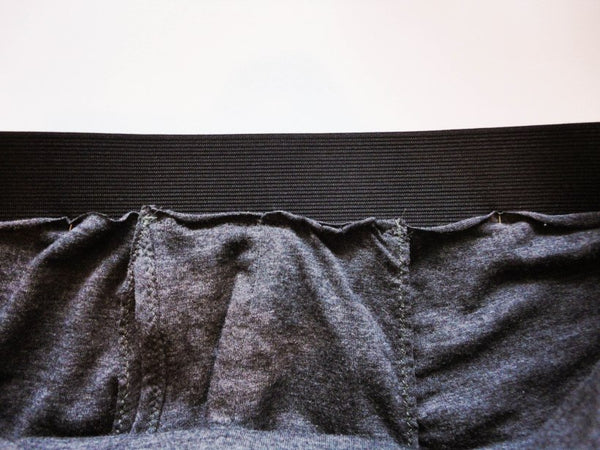
I like to force the seam allowances to lay flat by zig zagging them to the main elastic. This will help prevent them from being too scratchy.

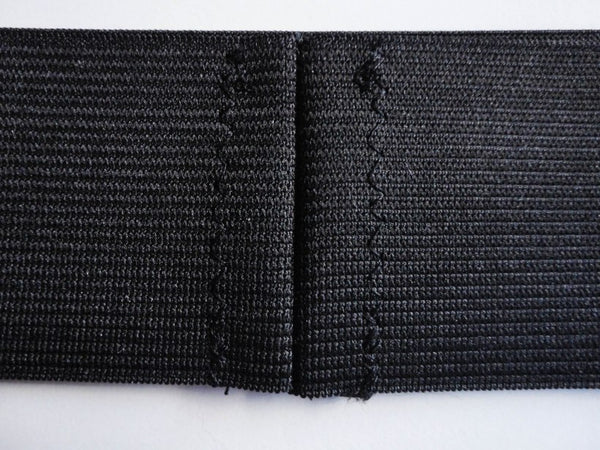
This is how the trapped seam allowances appear from the inside of the waistband:
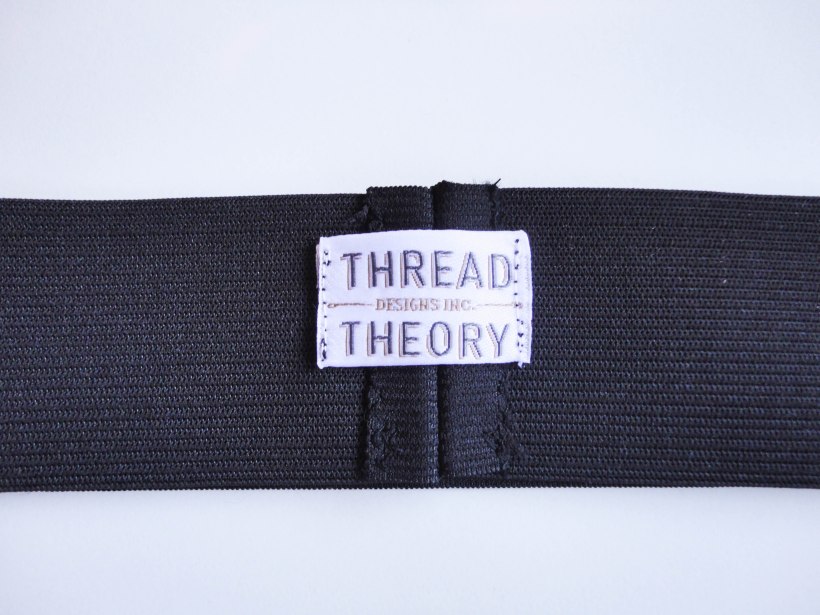
 In the instruction booklet I give two options for attaching your garment tag (which comes with the paper sewing pattern). I’ve gone with my favourite option. While I am all for proudly displaying our brand on the exterior of our garments (lol I hate clothing with visible brand names usually but it’s a different story with my own brand :P) I prefer to place the tag over the elastic seam allowance. Our tags are nice and soft so they’ll provide one extra layer between the wearer and the scratchy seam allowances. If you don’t have a garment tag you could use a fabric scrap or ribbon instead.

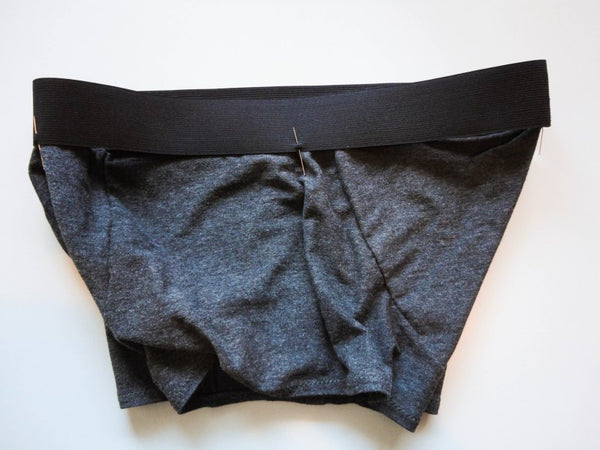
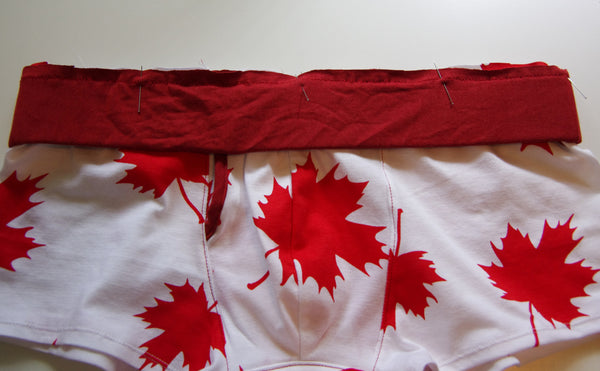
 And now it’s time for us to add the waistband to the shorts. This step is very straight forward (indeed, it can sometimes be a little confusing to people because they are expecting it to be more difficult!). All you need to do is line up the trunks and elastic exactly how they will look when they are finished and then sew them in place! Here is how to line them up:
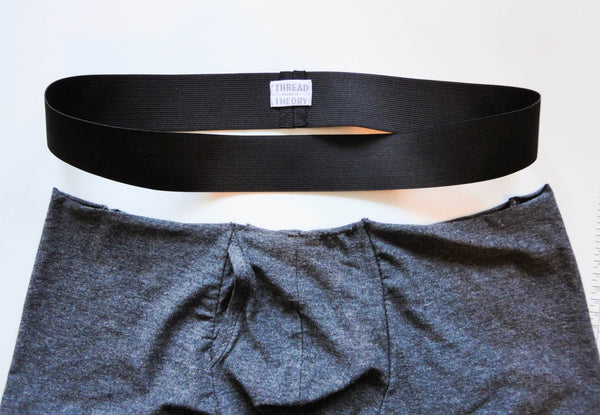
You will need to line up the right side of the shorts with the wrong side of the elastic so that the elastic overlaps the fabric 3/8″. The elastic is the outermost layer. Position the elastic seam at centre back and pin in place. Also pin centre front.
 At this point, I like to divide the elastic in quarters and place pins where side seams normally would be.

I then place pins between each of my four pins to result in eight pins that evenly distribute the trunk fabric around the elastic.

Here, you can see how this will look from the inside once you have placed your pins:
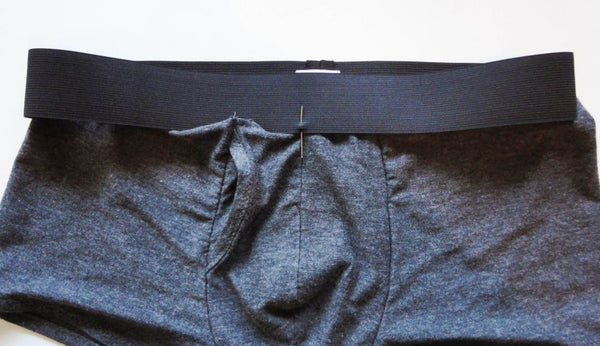
 And now it is just a matter of stitching the two layers together! I used a zig zag stitch but you can also use a twin needle for a lovely professional finish. You will need to stretch the elastic slightly as you sew to ease in the excess fabric. Depending on whether you created a custom fit waistband or not (by wrapping it around the wearer to determine the length needed) will depend on how much easing you need to do.

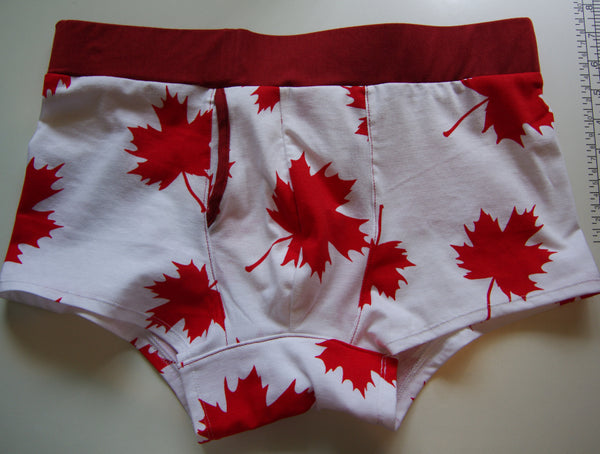
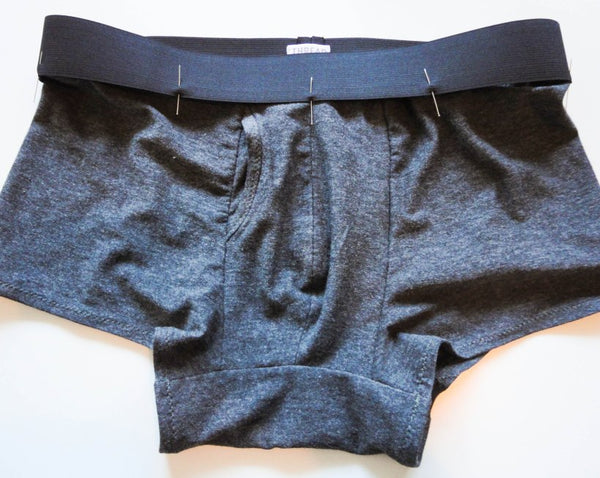
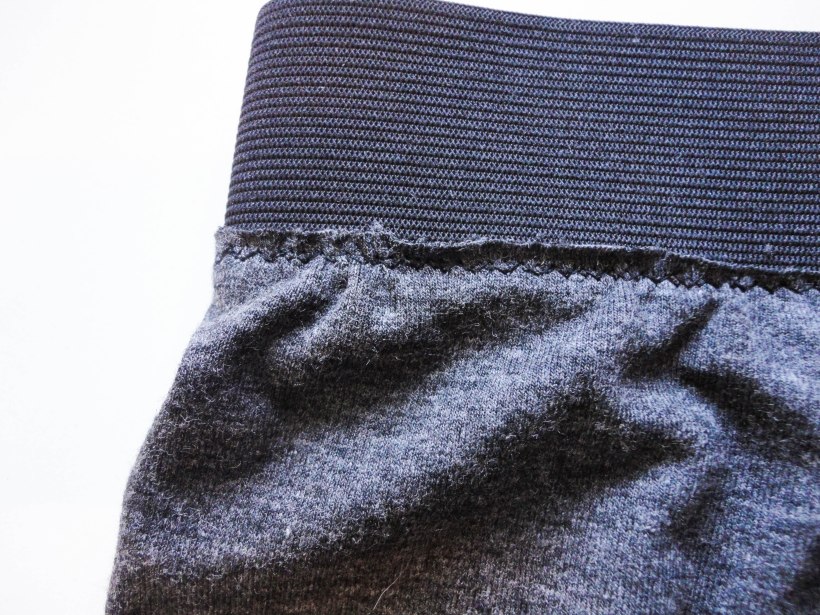
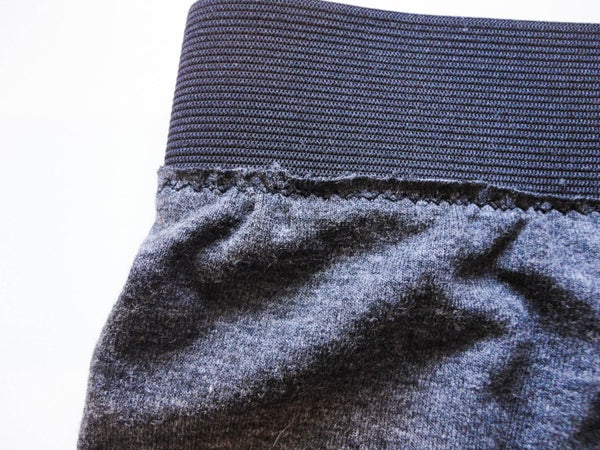
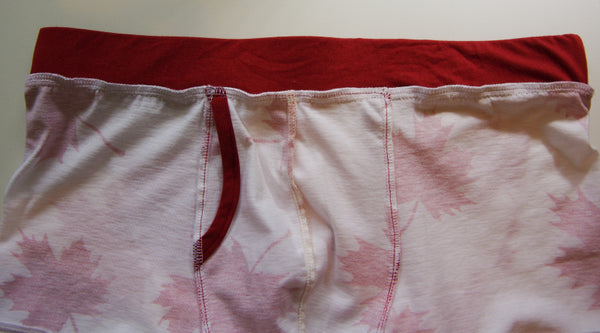
Don’t worry if the fabric looks a little gathered in areas by the time you are done (see mine below – especially in the front area) because this will stretch out when the wearer puts the trunks on and sit perfectly smoothly.

I went over my zig zag stitch a second time for added strength. You could even do this a third time if you wanted because of all the seams in these trunks, this is the one that is under the most pressure and is the most likely to snap.


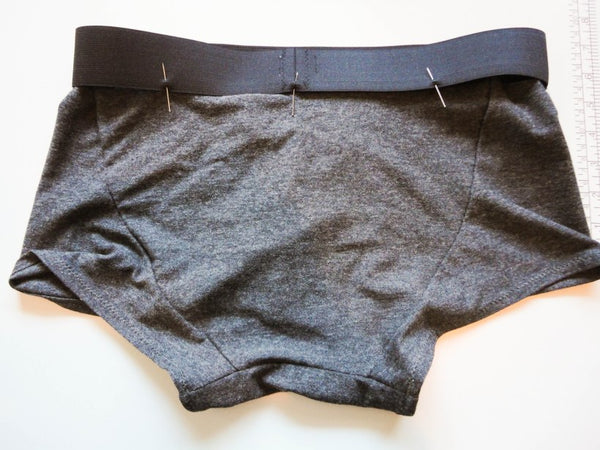
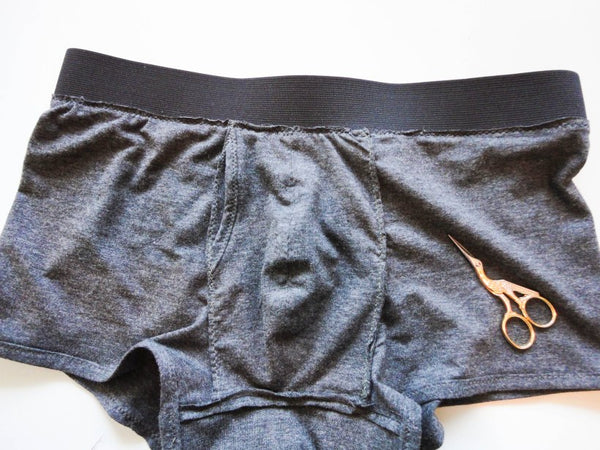
Once I finished stitching I cleaned up my seam allowance by trimming the fabric closer to the zig zag stitches.

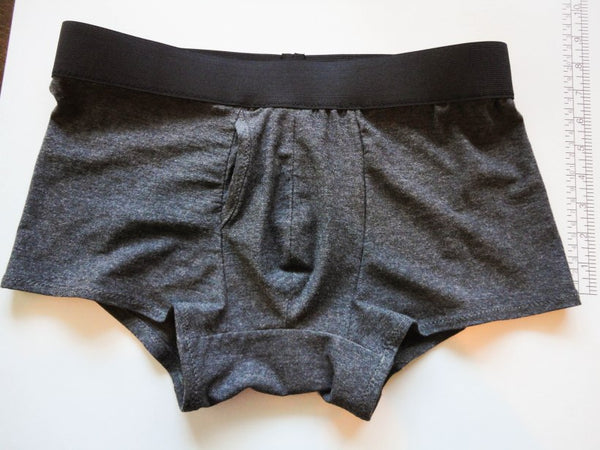
Wahoo! Our trunks are done! (Unless you are holding out for the fabric covered waistband of course).
Here is what I did to create a fabric covered waistband:
I sewed the elastic into a loop as I explained above (including stitching the seam allowances flat).

Next I needed to create a fabric loop that could sandwich the elastic and still have enough seam allowance to attach to the trunks. To create this, I cut two rectangles of fabric (you could cut one long rectangle if you only want one seam, I just didn’t have enough scrap fabric to do this). The rectangles each measured as follows: The length of your elastic loop (i.e. roughly the width of your trunks) plus two seam allowances + double the width of your elastic plus two seam allowances.
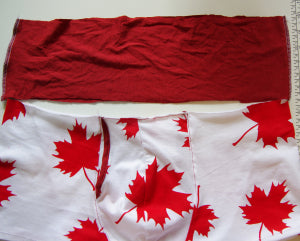
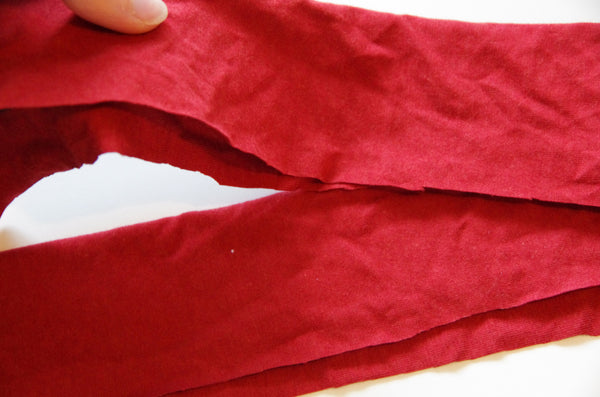
Sew the narrow edges together to form a tube and you will end up with this:
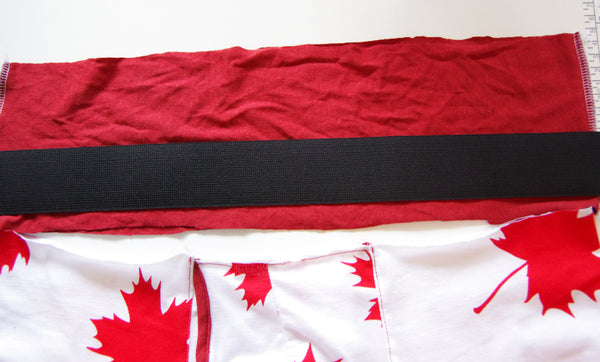

And here is a better view so you can see how the fabric tube relates in size to the trunks:
Now sandwich the elastic in your fabric by folding the loop in half over the elastic (with wrong sides together).
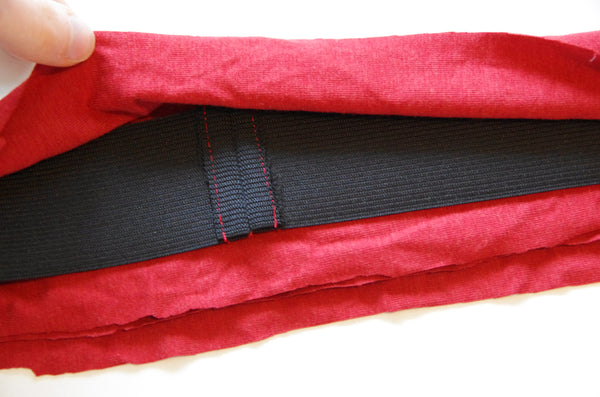
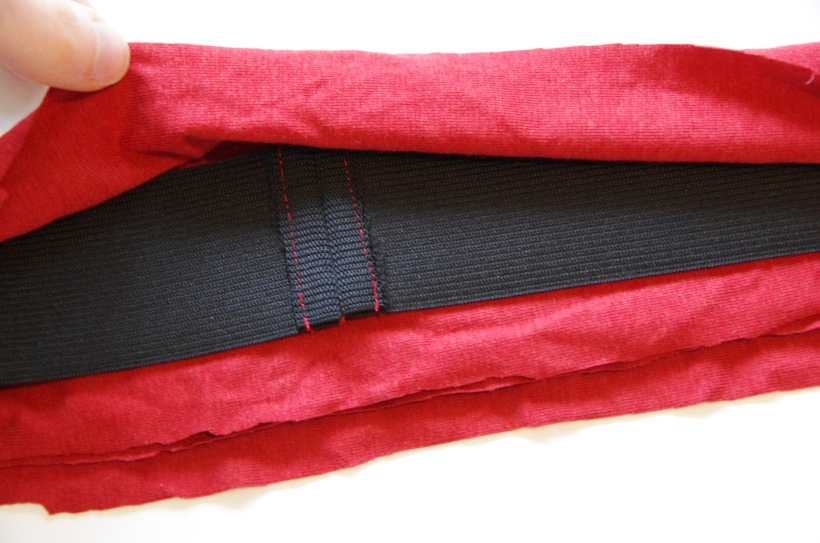

To keep everything lined up, you can baste the fabric loop closed along the bottom. I used a zipper foot so that I could get close enough to the elastic to prevent the elastic from sliding around.

Here is the elastic-stuffed and basted loop:

Now I pinned the elastic/fabric loop to the trunks with right sides together and the seams lined up at either side.
And I serged the entire loop. This is more or less effective – the only problem is that you can’t get very close to the elastic edge with the serger so the fabric waistband looks a little floppy and loose. The only way to create a narrower fabric tube would be to leave a hole in the tube and thread the elastic into it AFTER the tube is attached to the main trunks.
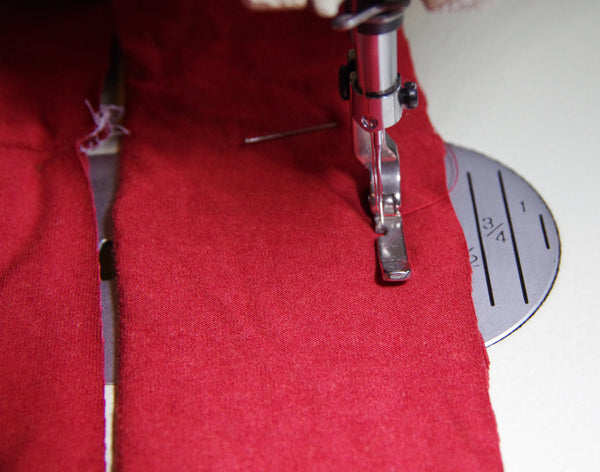
 I just used the reinforced straight stitch and a zipper foot to stitch closer to the elastic:
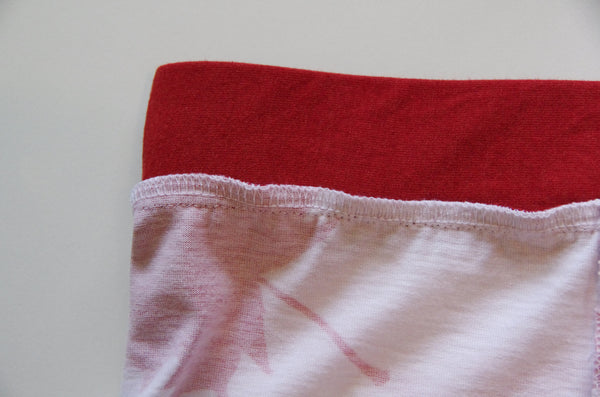
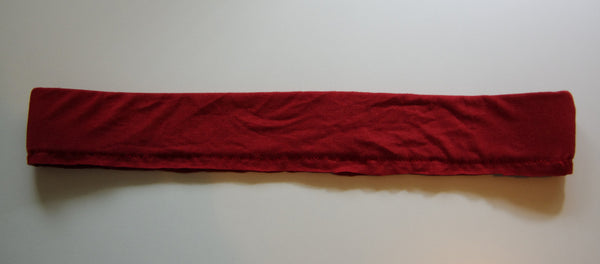
 And there we go, finished trunks with a super soft and comfy fabric covered waistband!