Comox Trunks Sew-Along: Day 7 - Sewing the hem
After all of the progress during the last sew-along session, today we’ll just be sewing the hem. Easy peasy! I’ve sewn the charcoal pair using Option 2 from the instruction booklet (a double fold hem finished with a zig zag stitch) and the maple leaf version is hemmed using Option 1 (a serged edge and a twin needle) so you can examine my process and choose which method you prefer.
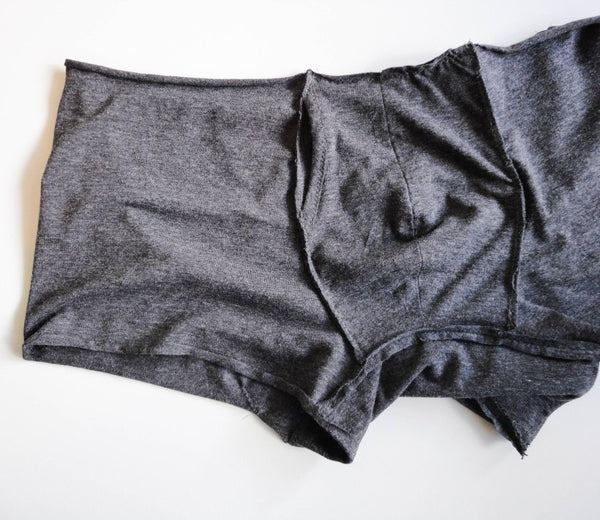
For the zig-zagged option, start by folding up the hem about 1/4″ and pressing:

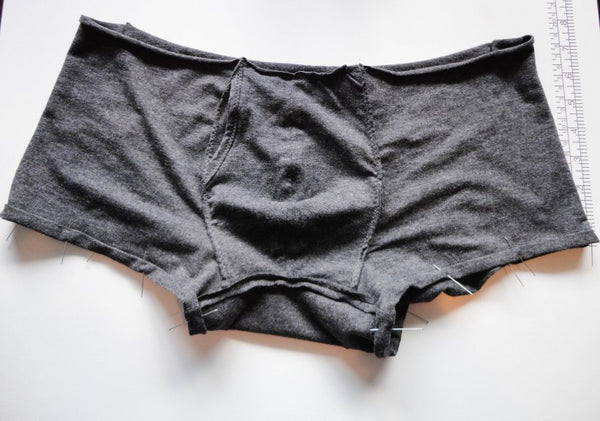
Fold the hem again, this time about 3/8″ and press. Pin as you press and don’t slide your iron along the fabric, instead, lift it up and press down – this way you won’t ‘drag’ the fabric with you and twist the hem (a common issue when hemming thin and stretchy knits).
 I changed the settings for my zig zag stitch slightly for the hem to make a larger, stretchier stitch. I increased the length ever so slightly and increased the width to match the length. This zig zag stitch will be very visible so it is nice to have a very even looking stitch.
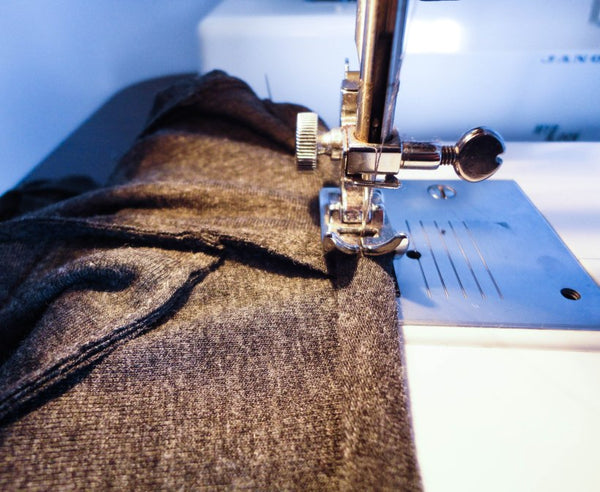
I like to start sewing on a seam, especially one that isn’t very visible from the front, so that the back stitching doesn’t look obvious or messy. In this case, I started on the back gusset seam. As you can see, I chose to sew from the inside of the trunks so I could make sure that I was perfectly catching the folded hem. This isn’t necessary if you are a perfectionist and have a perfectly even hem – you could sew from the outside and keep an even distance from the bottom fold and know that you are catching the top fold the entire time. As you might guess from my approach, I don’t trust myself to have a perfectly even hem (especially with knits that like to shift around a lot!) and so find it saves me a lot of headaches and stitch picking to just sew it from the inside.

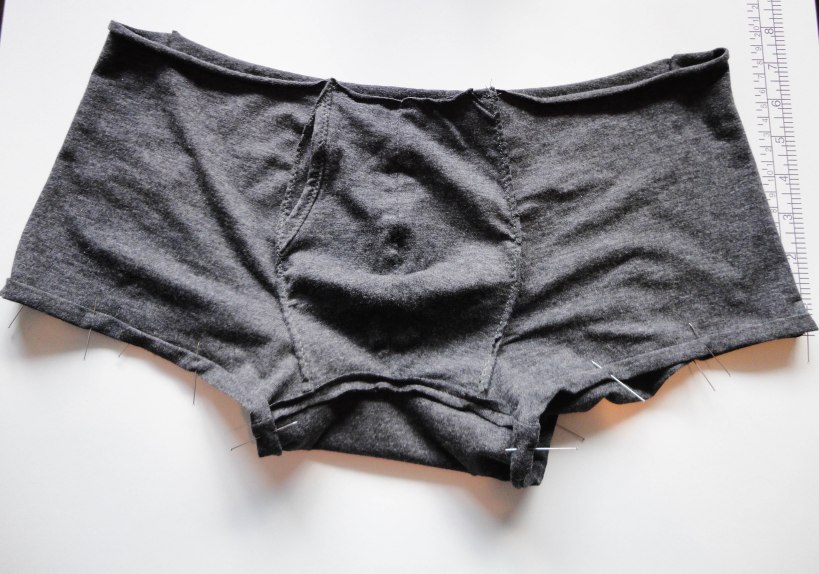
And here is the finished zig zagged hem! Super easy!


If you choose to try out the twin needle hem, the key is to make sure your twin needle is functioning smoothly before starting to sew – test on scraps until it is jam-free and even. My machine doesn’t really like working with a twin needle since my tension disks are quite faulty – it will be chugging along beautifully for a couple centimetres and then all of a sudden jam into the biggest snarl you could imagine…ug…regardless, I managed to sew the darned hem after starting and stopping a million times (don’t be scared away by my experience, I have had many snarl-free twin needle sewing experiences…just never on this silly machine!).
Many people like finishing their hem with only a twin needle since the stitch made by it forms a zig zag on the underside of the fabric that nicely encloses the raw edge. Of course, this requires you to have a lovely even hem and precise stitching. To save myself the worry that my raw edge wouldn’t be totally enclosed, I simply serge first and use the twin needle to stitch below the serging.
Here is my serged edge folded up once:

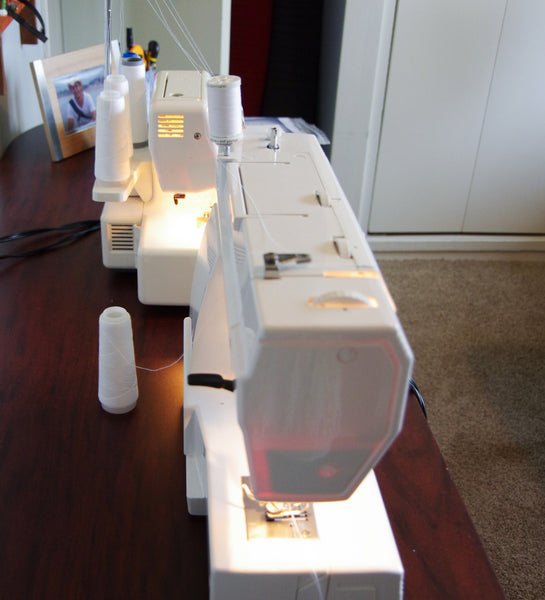
And here is my funny little double thread set up! I have two thread holders on the top of the machine but when I use both of those, the first tension disk doesn’t engage properly and I can’t get a single nice stitch. Placing a serger cone of thread behind the machine seemed to work well enough though:

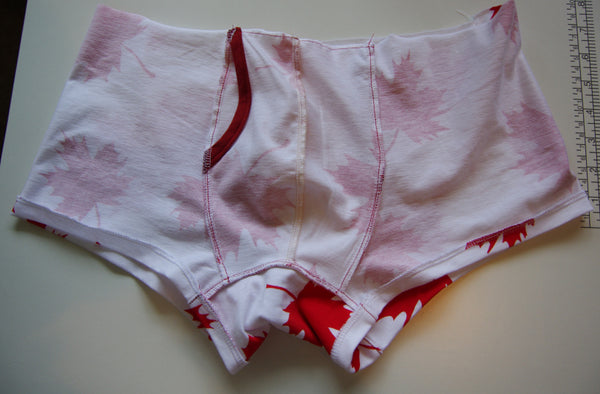
The twin needle gives a lovely finish that is strong and very professional looking. Voila:


Well, that’s it for today and our next post will be the last one for the sewing segment of this sew-along! Are you looking forward to finally finishing your trunks? We’ll be adding the elastic waistband and I will also be discussing some ideas for adding a fabric covered waistband if that is more your style. See you in two days!