Comox Trunks Sew-Along: Day 6 - Sewing the trunks back
Today we are going to make big progress with our trunks – I have this post labelled ‘Sewing the Trunks Back’, but really, before we can really call the backs of these undies done, we need to have pretty much the whole trunks assembled. That may sound like a large task, but really it is just four curved seams and a quick rectangle! Here comes the first two curved seams:
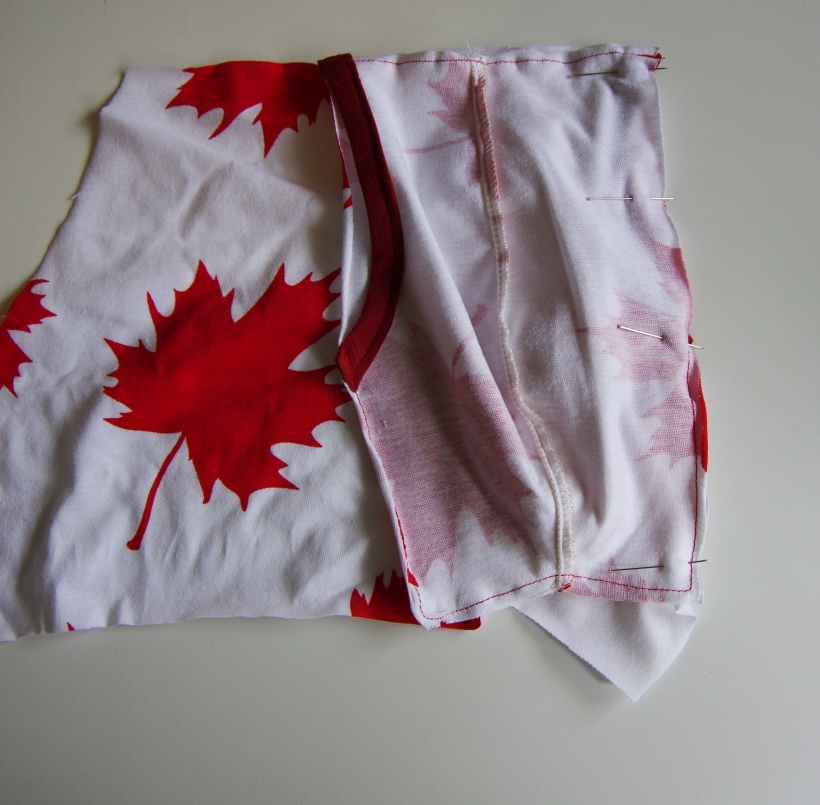
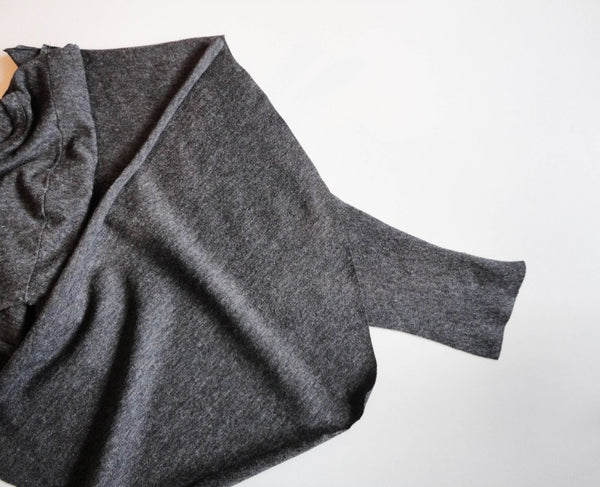
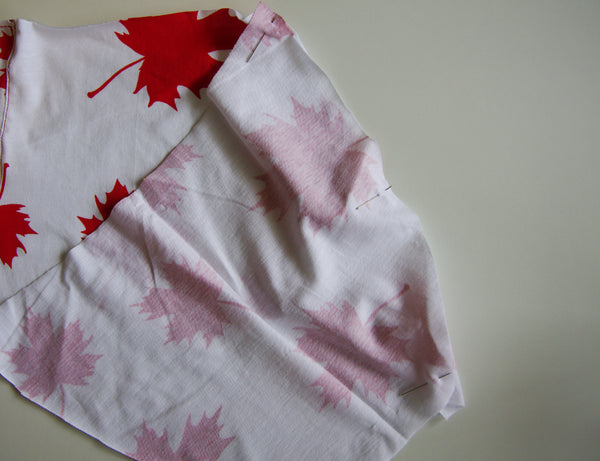
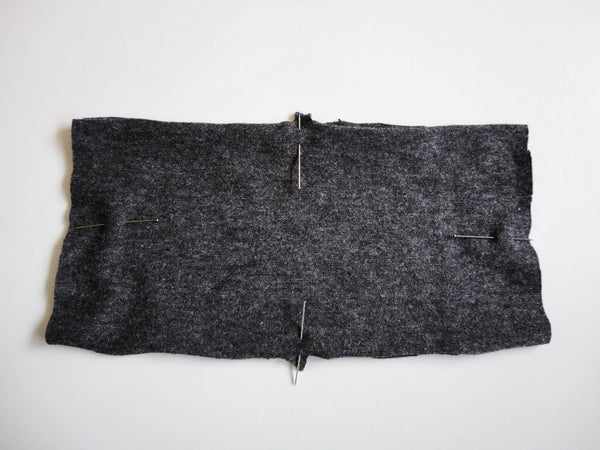
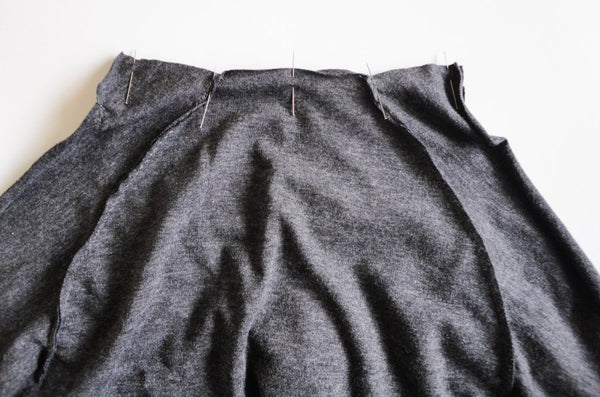
It’s time to attach the trunk Front to the Main Shorts – the biggest two fabric pieces in your pile. You’ll notice that the smallest curved section on this piece has one notch. This will line up with the bottom of the bound fly as I point out below:
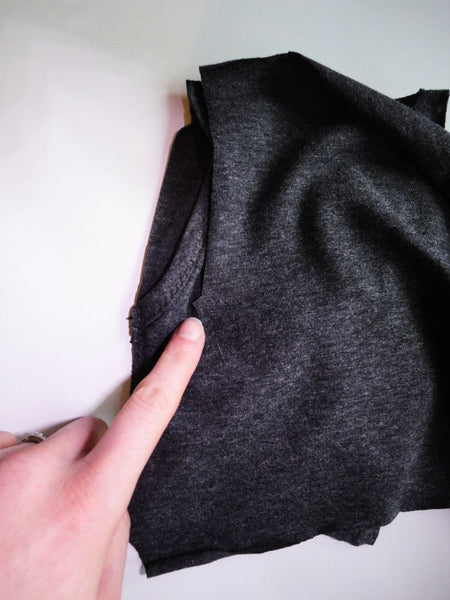

Pin the Front and Main Shorts with right sides together along this notched curve. Here you can see the notch near the centre of the curve:
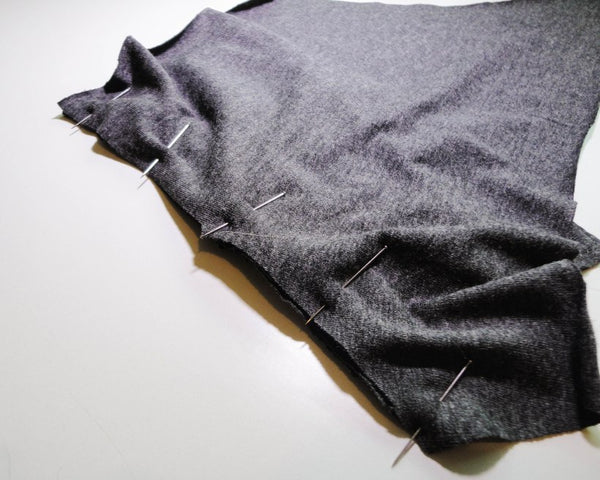

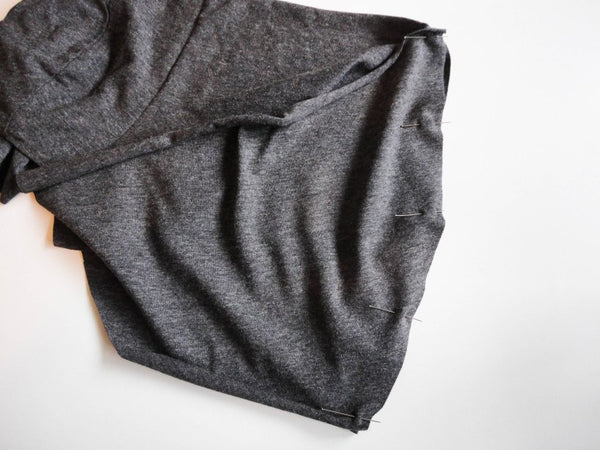
And in this photo you can get more of a sense of how you will have to ‘reshape’ the Main Trunks curve when pinning it to the opposite curve of the Front:
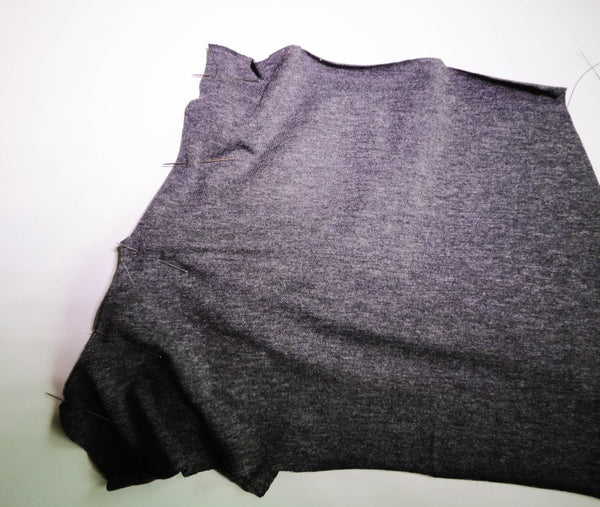
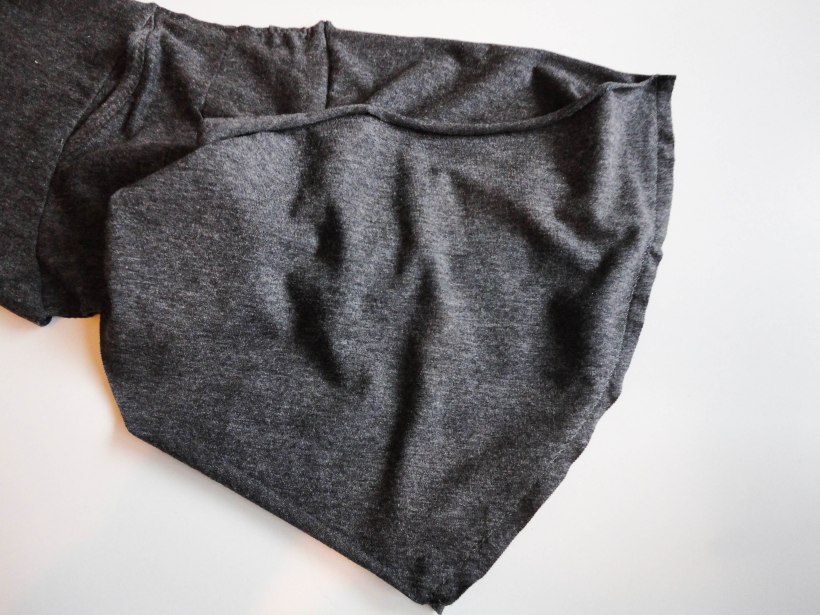
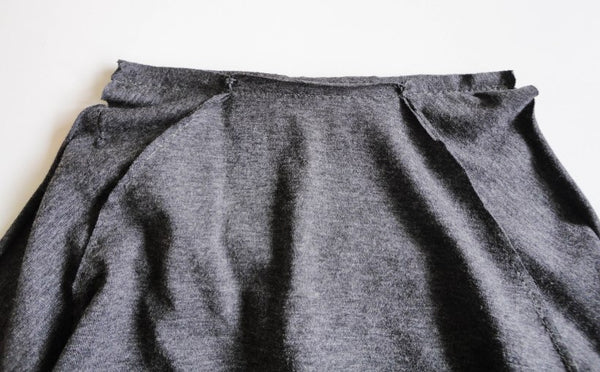
I sewed this seam using a zig zag stitch and then, for good measure and extra strength, sewed over my seam again. This is how the seam looks from the Main Shorts side:
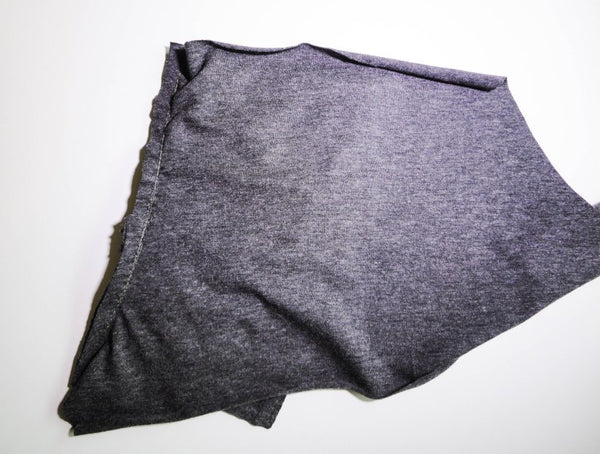

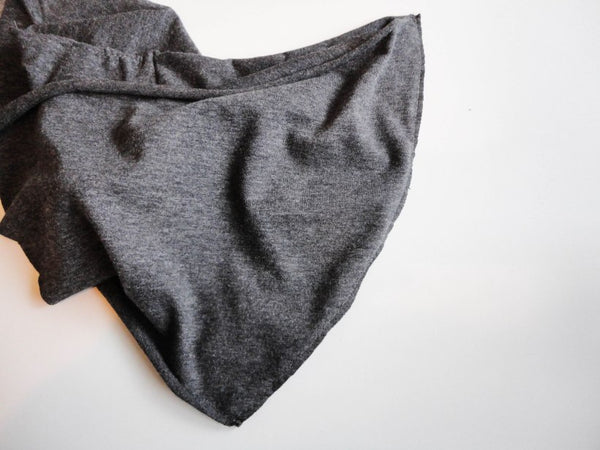
And from the trunks Front side:

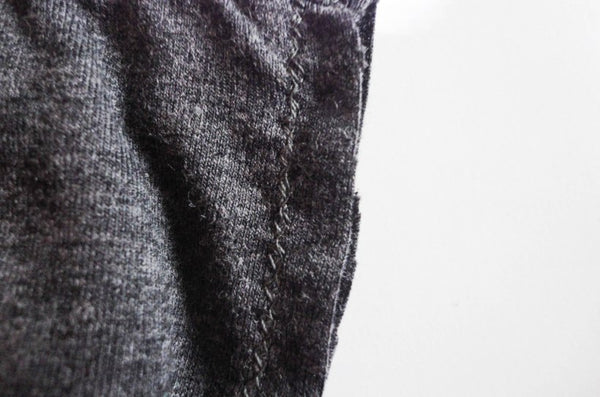
 And this is what my multiple layers of zig zag stitch looks like!
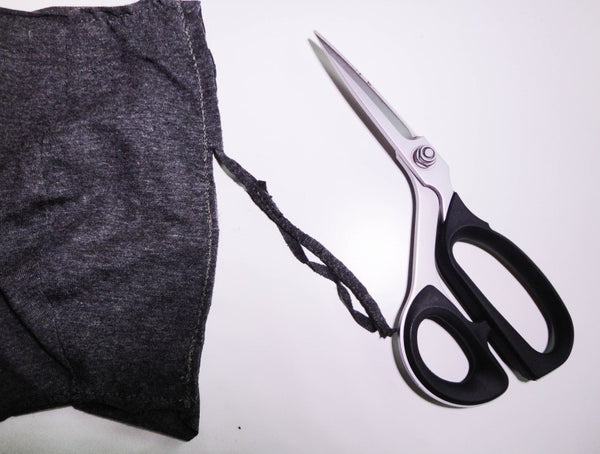
 I like to trim the seams even though the seam allowance isn’t very big (only 3/8″) because it allows me to make everything tidy looking and even and reduces a little bit of the bulk.

Now we need to attach the second Main Shorts piece the same way that we did our first piece:


 I pressed the seam allowances away from the front and didn’t finish them (aside from the trimming). This light jersey doesn’t fray and the seam allowances tend to roll up tidily and softly so I thought that the less stiff thread that could potentially cause rubbing, the better! If you are using a material that tends to fray you could finish these seams with a second wider row of zig zag stitching.
 To serge these seams, it is the same process as we just covered (minus the trimming). Here is what it will look like if you choose to use the serger:


When serging, it is perfectly okay to leave your seams looking like they do in the photo above, but I thought you might be interested to see the topstitching that I decided to do along these seams to ensure that the serged seam allowance remains pointing away from centre front and lies flat against the body (see photo below). I ended up using a simple straight stitch because my reinforced straight stitch was causing the fabric to slide around and I couldn’t keep the top-stitching from wobbling all over the place. On other fabrics the reinforced straight stitch worked really well for me and I find it is a great way to do top-stitching on many knits. I didn’t mind using a straight stitch on these trunks though because the fabric doesn’t have much stretch anyway so I don’t think Matt will end up with broken stitches when he wears these.

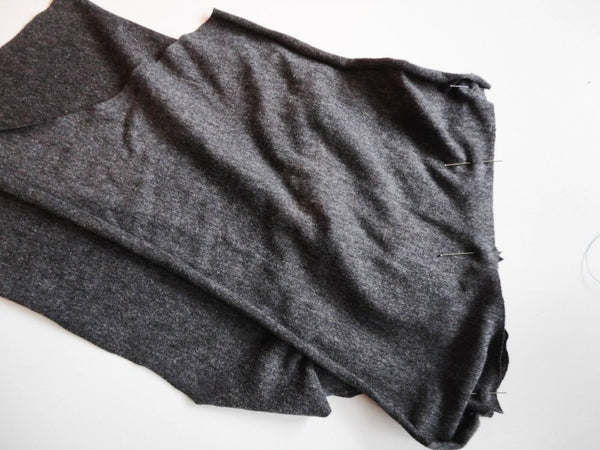
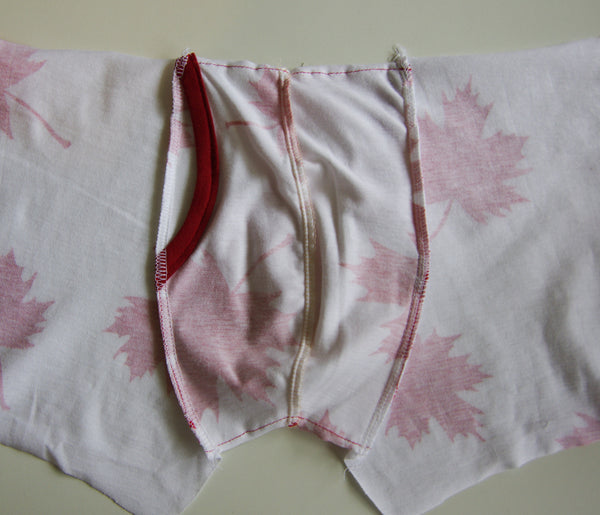
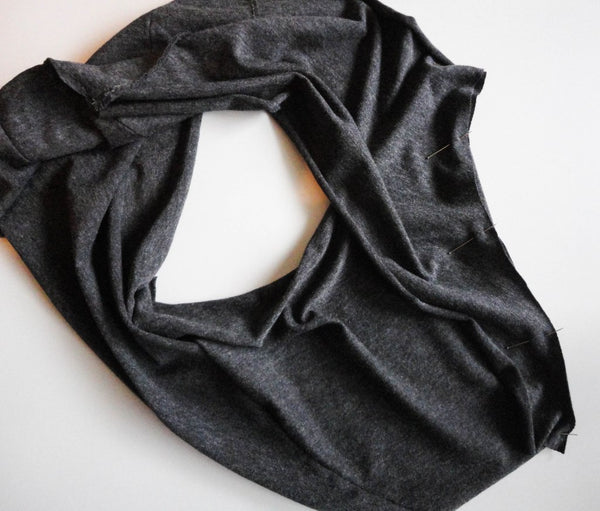
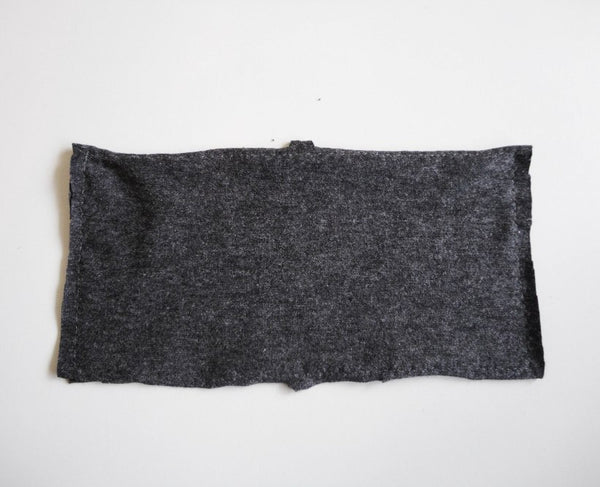
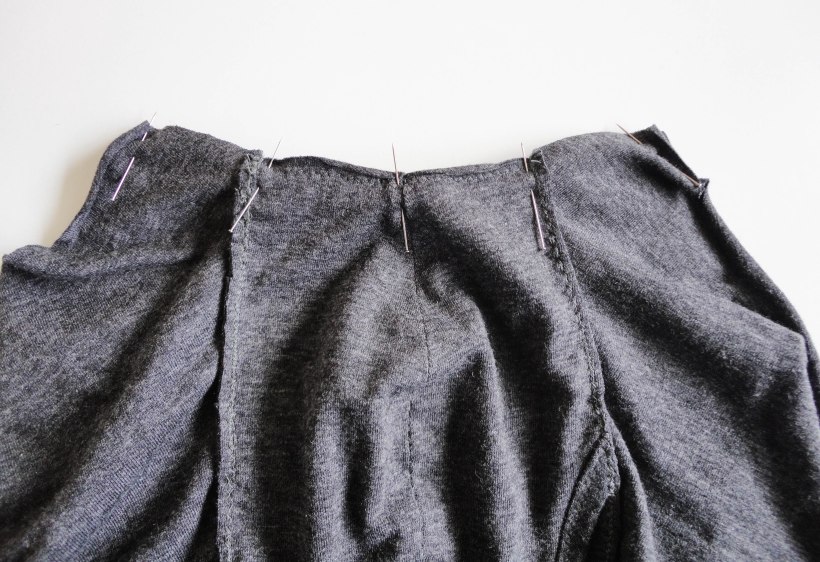
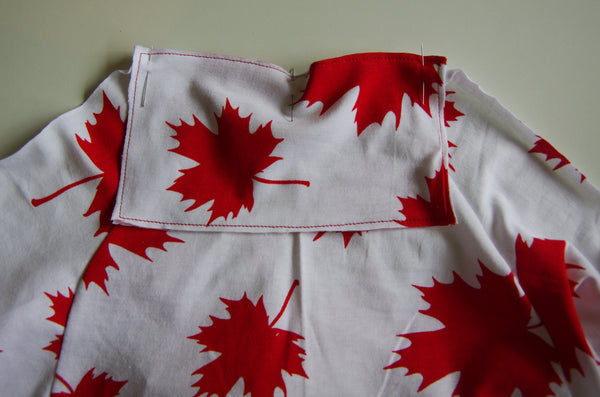
And now we move on to attaching the Back piece! This will attach to the other long curved edge of the Main Shorts:


As you can see, below, the Main Trunks curve and the Back curve are opposite just like the front and will take a bit of pinning before they line up.
I sewed this seam twice again using the zig zag stitch. Might as well make it extra strong!

And then I trimmed the seam just like we did for the front. I pressed the seam towards centre back.
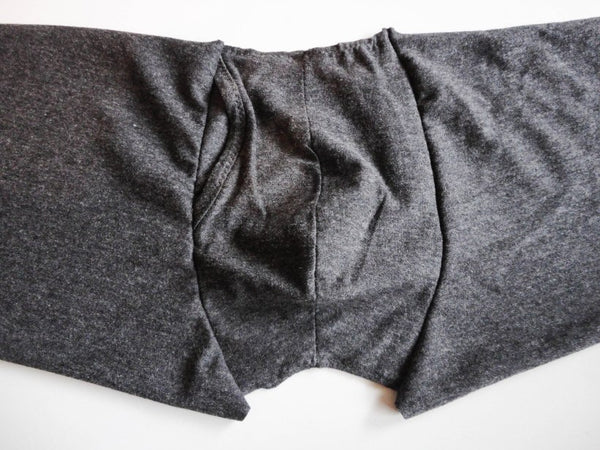
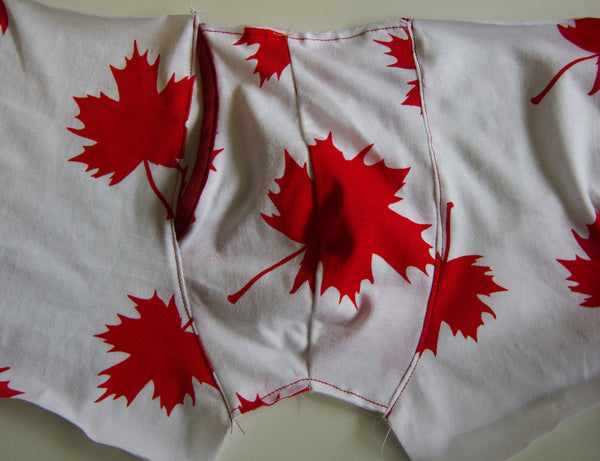
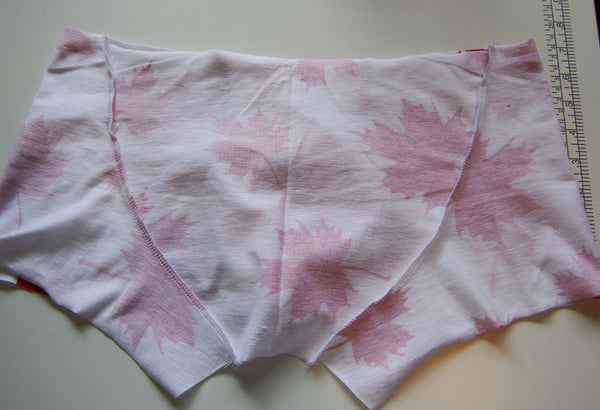
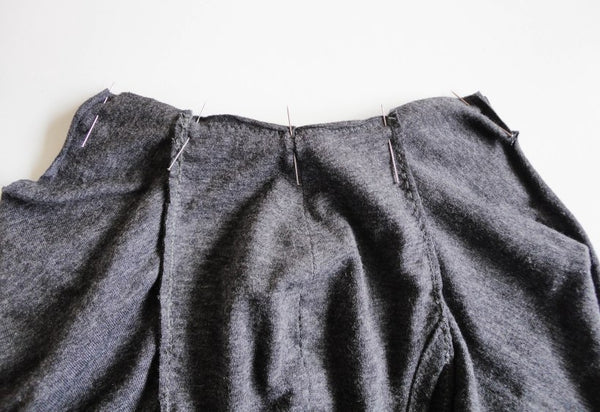
 And now we have to repeat this process with the other back seam to create a closed loop!

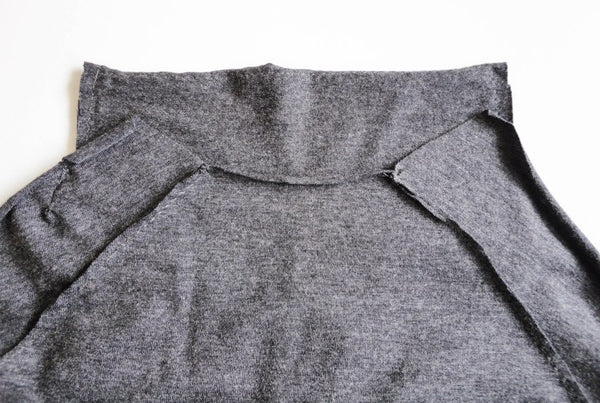
Would you look at that? The trunks are starting to resemble trunks :).


If you’re using a serger, the back process is again very similar to using a domestic machine:

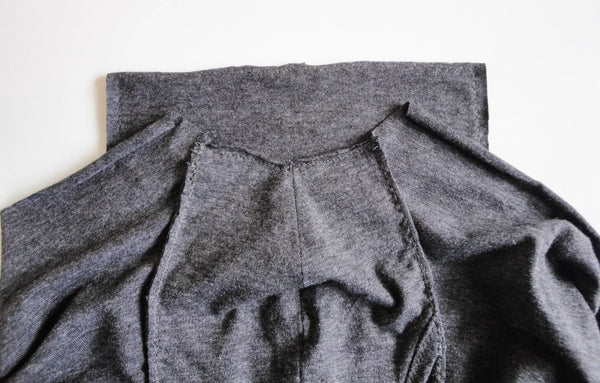
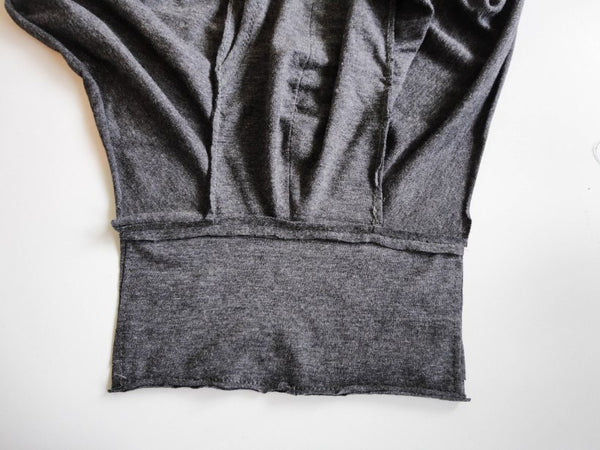
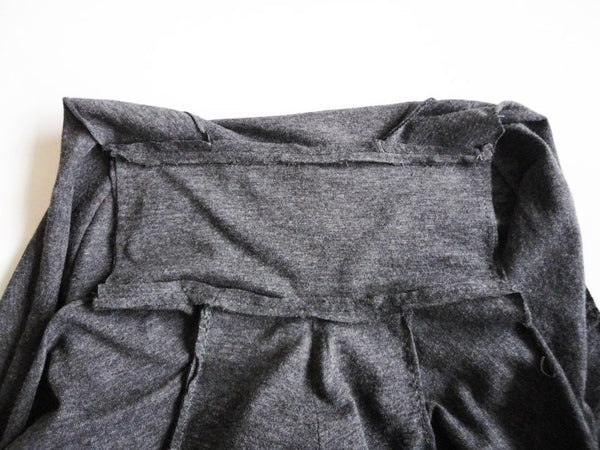
Now, the last step for today is to create and attach the gusset. While the word ‘gusset’ might intimidate you a little but really, a gusset is just a piece of material that is sewn into a garment to make it wider or stronger (in the case of the trunks, our gusset performs both jobs!).
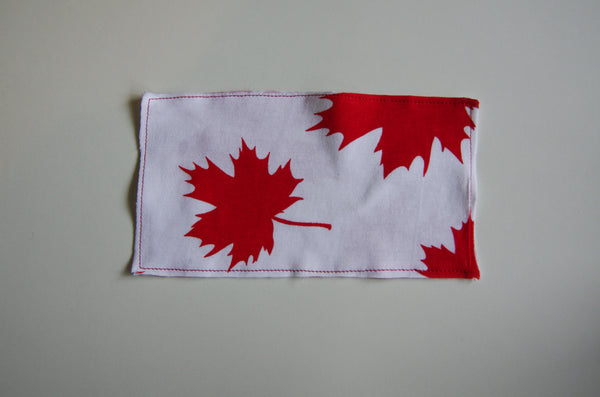
Our gusset is formed from two rectangle pieces that are double layered for extra strength:


Pin the two pieces with wrong sides together and notches matching.

Baste around the outside. I used a zig zag stitch within the seam allowance but you could also use a long, straight basting stitch and just remove it after the seams are sewn.

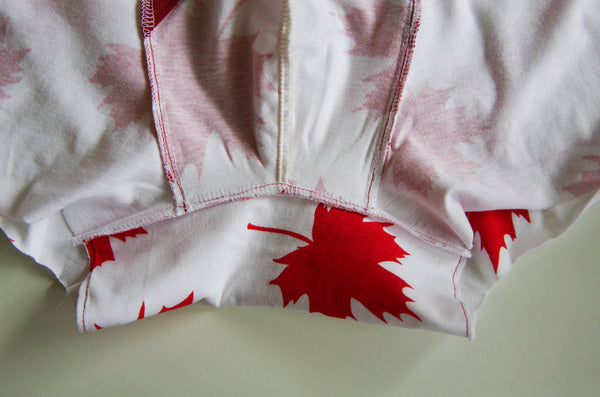
Now our gusset is ready to attach to the trunks to create wider legs! Line up your main trunks so that the centre front seam lines up with the notch on the long edge of the gusset:
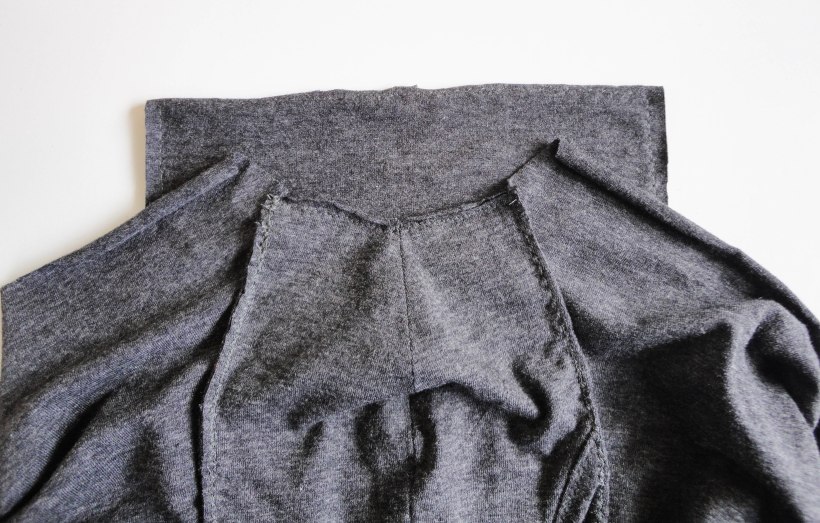
I used two layers of zig zag stitching once again and then pressed the seam open.

Now we can move on to the back seam! This time the notch lines up with Centre Back.


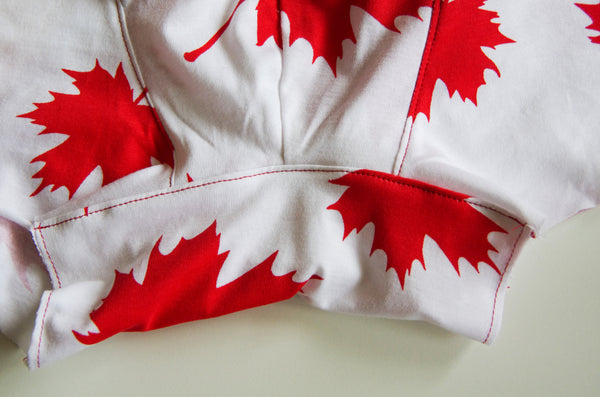
And, once the seam is sewn, it again gets pressed open. You can trim both of these seams if you like or you could finish them with a wide zig zag stitch.
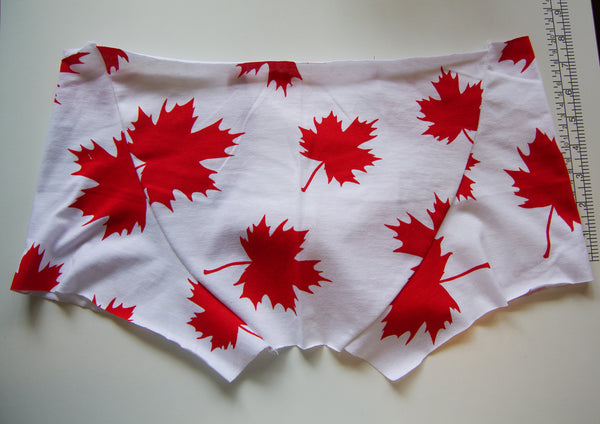
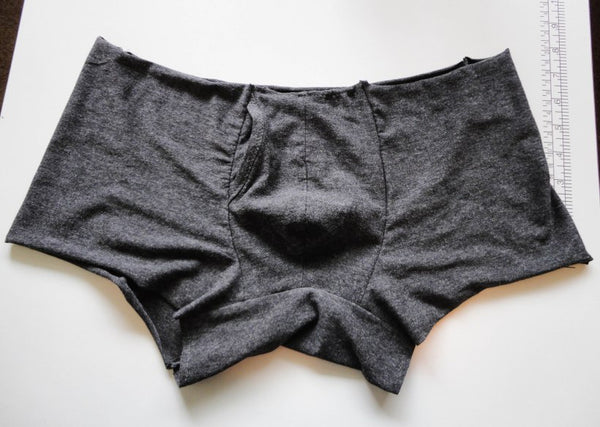
And here is how my trunks look at the end of today’s sewing session…now that’s progress!

If you’re using a serger, you will still need to baste the two gusset pieces together with a domestic machine. I used a straight stitch to baste because I knew it would be trimmed off by the serger in the next step so wouldn’t interfere with the ability of the seam to stretch.
And now we serge the two seams:

I pressed the serging in towards the gusset on both sides:

And then, because this is an area that is quite likely to be sensitive to rubbing, I topstitched the seam allowances in place to keep them flat (again, it is advisable to use a stitch that can stretch such as the reinforced stretch stitch or even a small zig zag stitch but I didn’t do this because my fabric really doesn’t stretch too much):

Are your shorts coming along nicely? In two days we will be hemming them! And then it’s on to adding the elastic waistband and…the hardest part of the whole sew-along…finding a model on which to photograph your shorts for the contest ;P. Happy sewing!