
Here is the size chart for this pattern: 
As you can see, we’ve included sizes 0 to 18. We always include two sets of measurements with our patterns: The Body Measurements and the Garment Measurements.
Using the Body Measurement Chart
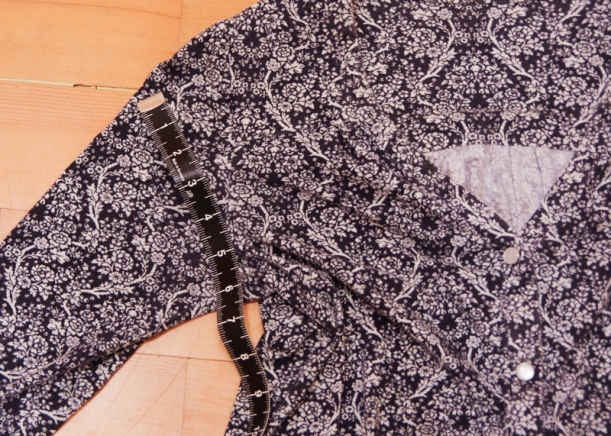
To select your size, first take your body measurements using a measurement tape and preferably someone to help you so that you get the most accurate measurements. I find it is difficult to ensure the tape measure is horizontal around my bust, waist and hips without someone there to help!
If your measurements do not all fall into the same size category, you have two options:
- Select your size based on the most important measurement for the pattern. Since the Camas Blouse is meant to be loose around the Waist and Hips, I would consider the Bust measurement to be the most important to match – even this measurement has a bit of wiggle room though because the gathers just above the bust allow quite a bit of ease. Here’s an example of how this option could work: I measure myself to find my bust is 31″ my waist is 26 1/2″ and my hips are 34″. I would choose to sew size 2 because this is the size closest to my bust measurement.
- Grade between sizes to ensure a perfect fit. This method is the most accurate way to approach choosing a size – especially when you are sewing a fitted garment. You can see my tutorial on how to do this here! Simply use a pencil to create a smooth line between two or three sizes. For most garments, you would create this transition between the bust and waist and between the waist and hips but you have to keep the garment design and the original shape of the seamlines in mind. Here is an example to explain what I mean by this: I measure myself to find I have the same measurements as listed in option 1. I would choose to cut out a size 2 at the bust but then grade to a size 4 at the waist. I wouldn’t grade back down to a smaller size at the hips though due to the shape of the blouse – it would look strange to have a curved side seam that bulges outwards!
Using the Garment Measurement Chart
Now that you’ve picked your size, you can use the garment measurement chart to check exactly how the design will fit you and then tweak the pattern to suit your body shape. If you hate sewing mock ups this might be a valuable step for you to take!
I find it easiest to compare the measurements in this chart to a blouse from my closet. If you don’t have a blouse with a fit that you like, you can compare these measurements to your body measurements but keep in mind that there is both positive and negative ease included in various areas of the pattern so, for instance, you should not expect the waist width to match your own waist width – it will be far wider due to the loose fit caused by gathers (positive ease).
Lay the shirt that you will be measuring out on a table or the floor as flat as possible.
A few measurements that you might want to check are:

Chest Width: If the chest measurement is smaller than your sample garment, we will be discussing how to adjust this below!

Centre Back Length to Hem: This is a nice one to check if you want to know how long the back of the blouse will be. You can lengthen or shorten the pattern easily using the lengthen/shorten lines so that it will cover your bum to wear with leggings or sit at the most flattering point for your body.
 Neckline Drop: This measurement refers to how deep/revealing the neckline is on the Camas. A number of people who have sewn this blouse have told me that the neckline was a little lower than they felt comfortable wearing. I must admit, I like to wear pretty low necklines and have a small bust so I don’t have to worry much about displaying cleavage. If cleavage is something you don’t want to show, you might want to make the neckline more modest. We will talk about how to adjust the neckline below!
Sleeve Bicep Width: This is a very important measurement to examine if you are sewing the Camas Blouse using a woven fabric (not recommended for this pattern without adjusting the sleeve width!). You will see that the sleeve is quite slim compared to most blouses made in woven fabrics. We will be talking about sleeve adjustments in Friday’s sew-along post about the Camas Blouse in Woven Fabrics.
Now we’ve inspected the fit of this design, let’s move on to adjusting the pattern so the measurements suit your body!
Please note that it is most accurate to make pattern adjustments by removing the seam allowances on a pattern before manipulating it. I recommend doing this for the adjustments I show you below. That being said, everyone wants to be lazy sometimes so I have chosen the most simple option for all of the following adjustments so you can perform quick and dirty pattern adjustments with the seam allowances still attached if you need to!
Change the chest width to suit larger busts:
The Camas Blouse looks best if there is enough fabric in the chest area for the gathers to fall loosely over the bust. If you are worried this will not be the case based on the body and garment measurements you took, it is very easy to simply create more room by creating more gathers! You will only need to adjust one pattern piece – the front.

Cut along the entire length of the Camas Blouse Front as illustrated by the dotted line in the diagram above. Cut somewhere within the “Gather Here” markings on the pattern piece (between the neckline and the notch).
Place a large sheet of paper underneath your blouse front and spread open the blouse. Add half the width you need to create a nice roomy chest width because this amount will be added to both the left and right blouse front! Tape the pattern to the large piece of paper and cut out the new wider pattern piece.
Create the gathers as instructed so that the blouse front matches the width of the yoke – you will have more gathers than originally included in the blouse design so that the fabric can pleasingly fall over your bust.
Lengthen or shorten the blouse for short or tall figures (or to create a different style):
I’ve photographed a tutorial that shows you how to lengthen or shorten a pattern in the past for our Jedediah Pants Sew-Along. The pattern pieces you will need to do this to are the front, back and placket. If you would like to also lengthen the back hem swoop to create a tunic with bum coverage, you will likely want to lengthen the entire blouse body several inches and then shape a new hem like this:

The key is to make sure that your new swoop meets up with the original seamline before the side seam unless you would like to adjust the blouse front hemline as well.
Raise the neckline to create a more modest design:
To raise the neckline you will need to adjust the front and placket pattern pieces. Determine how much you would like to raise the neckline (for an example, let’s say 1/2″).

Using a ruler, extend the blouse center front up 1/2″. draw a new curved corner and gradually meet with the old neckline. Try to keep the general shape of the neckline and angle of the curved corner as similar. Ensure that the new neckline is the same length as the old neckline by curving your measuring tape along the seamline.
Using a ruler, extend the straight length of the placket 1/2″ to match the blouse front. Create a new curved corner and gradually meet the old neckline in the same manner as you did for the last pattern piece.
In order to make sure that the placket is the correct length and will fit onto the blouse, you will need to measure both the front yoke and the blouse front where the placket attaches. If you still have seam allowances on your pattern piece, remember to subtract the seam allowances used to sew the yoke to the blouse front from your measurement!
Are there other fit adjustments you would like to make to this pattern? Send me an email at info@threadtheory.ca and I will try my best to make a tutorial to help you.