

Eager to learn more?
Sift through our pattern hacks, sewing technique tutorals and guest blog posts by selecting from the filter below-left.
Tutorials
Lengthening or Shortening a Pattern Piece
Here is a quick visual tutorial explaining how to lengthen and shorten the pant leg pieces of the pants to help you along the way to a totally custom fit. This process would apply to any pattern that needs adjusting!
Supplies you will need:
- For Lengthening only: Paper or tissue the width of your pattern piece (a normal sheet of Letter size paper turned horizontally easily matches the pant leg width)
- Tape
- Scissors
- A measuring tool - either a ruler or a tape will work fine
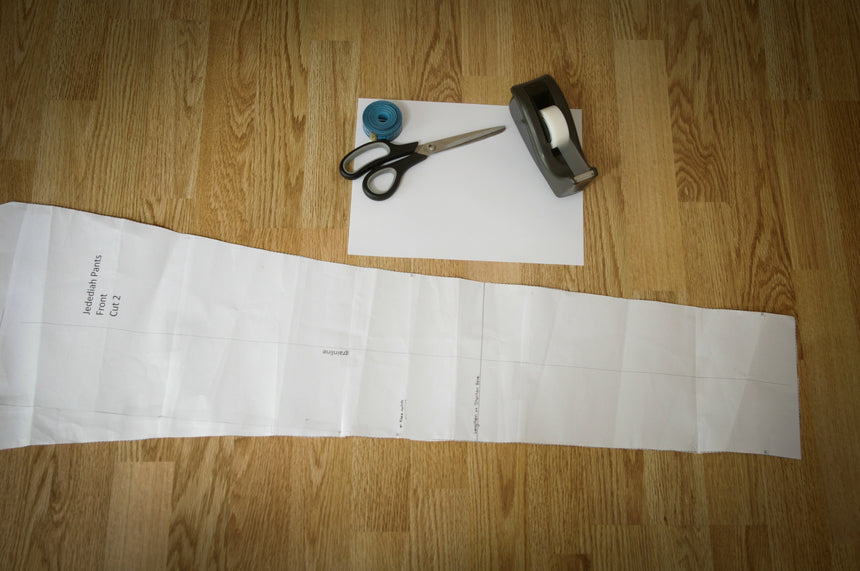
1) Determine how much length you need to add or subtract from your pattern by measuring the wearer (their inseam, their back length, their arm length or whatever area you are concerned will need adjustments) and comparing this measurement to the body measurements included in the pattern's instruction booklet. If the wearer's inseam is 34" for instance, while the pattern has a 33" inseam (despite the fact that they fit the waist measurement), then you will need to lengthen the pattern by 1".
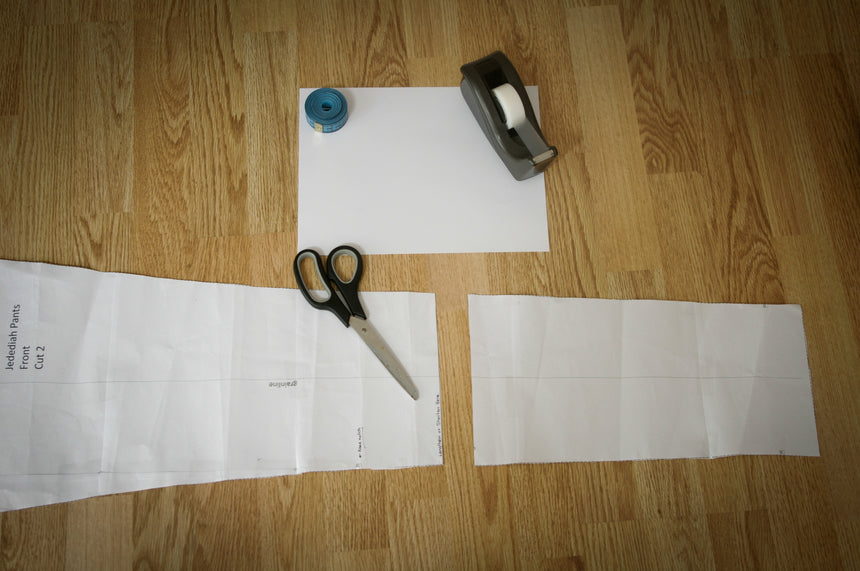
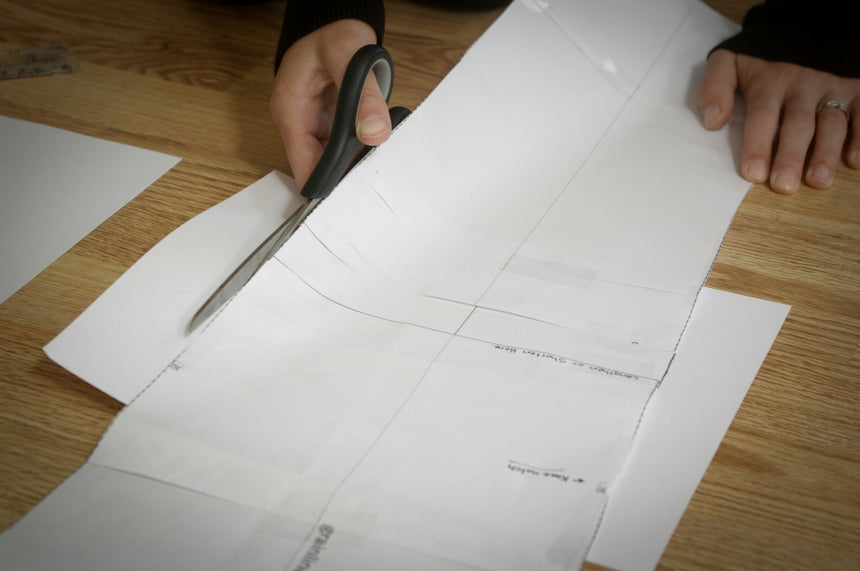
2) If your pattern includes a "Lengthen or Shorten Here" line, simply cut along this line, separating the pattern into two pieces. If you have not been given this line, you can make your own by using a ruler to draw a horizontal line along the part of the pattern with the least amount of flare or taper. Make sure, if lengthening the body of a garment, to lengthen all corresponding facings and plackets so that the pattern pieces will still fit together later on in the sewing process.
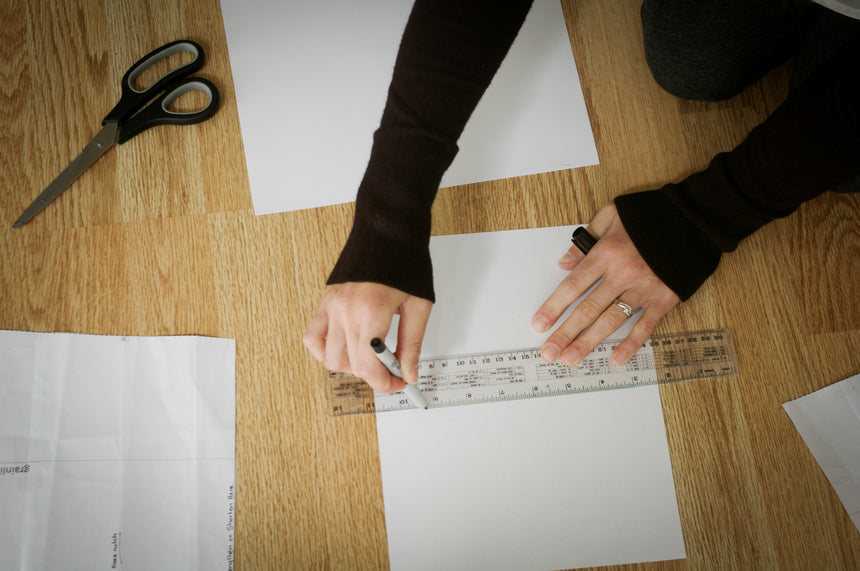
3) For Lengthening: Using a ruler or other straight edge, draw a line on your blank piece of paper or tissue so that you can use it as a guide to extend the grain line and thus ensure that your two pieces are being lined up correctly.
For Shortening: Overlap your two pieces the amount you determined in Step 1 and line up the grain line so it forms a straight line.
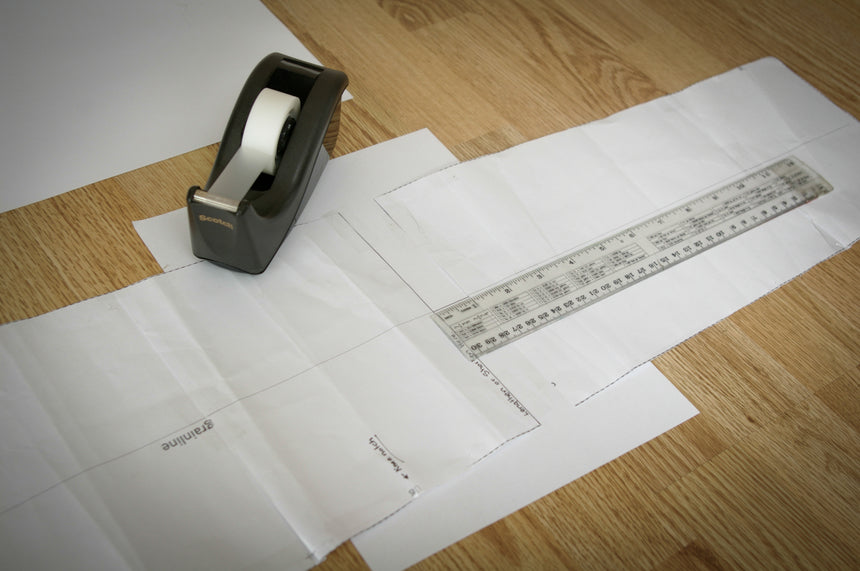
Lay the paper down with the pattern pieces on top of it and line up the pattern's grain line with the one that you drew.

The grain line that was drawn on the blank piece of paper (now underneath the two pattern pieces) is lined up perfectly with the grain line of the original pattern piece. The gap between the two pattern pieces measures 1".
Step 4) Tape your pattern pieces down to the paper (or, if shortening, to each other) and blend the curve or straight edge to connect either edge of the pattern. Cut off the excess paper.
Cut off the excess paper. Make sure to blend the new edge smoothly.
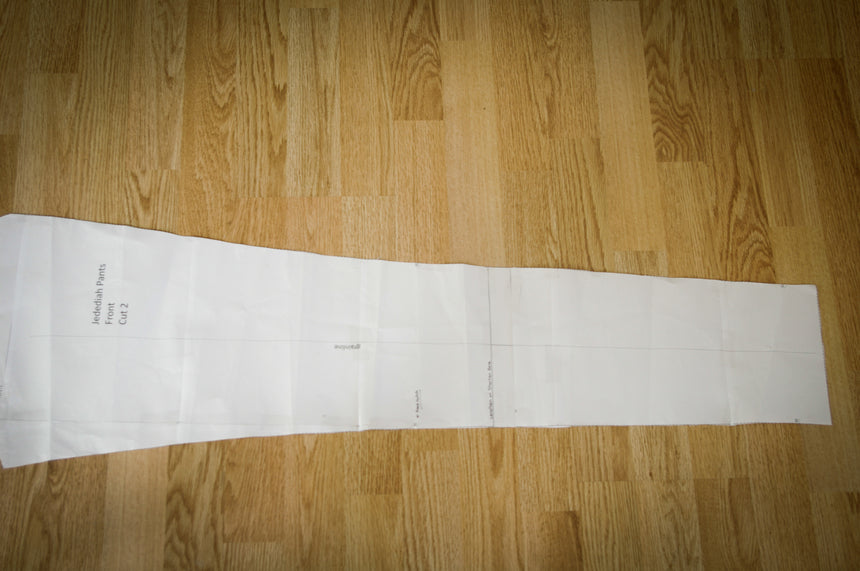
Your lengthened pant leg - 1" longer than before!
It's as simple as that! The only tricky part is making sure you've remembered to do this to all the pieces that need adjusting (you don't want to forget a shirt button placket or something and accidentally cut it out of fabric while it is still too short...can't say this has ever happened to me...ahem...)
Happy sewing!