Camas Blouse Sew-Along: Day 5 - Camas Blouse Hacks
Welcome back to the Camas Sew-Along. I hope you had a great weekend! Today we have our last pattern manipulation post before launching into actually sewing our blouses. I will do a quick post tomorrow about fitting your shoulders but since this wasn’t part of the sew-along schedule and is due to a request in the comments, today’s post still counts as the last one before we get to the good stuff (sewing)!
Today we are talking about pattern hacks. Here are a few easy ones that I have cooked up – many of them based on Camas hacks the sewing community has blogged about or added to Instagram!
The Camas Cardigan
Doesn’t this Cardigan by Katie of Handmade Threads look like something you would want to wear every Spring day? The Camas Cardigan is the easiest hack of all – simply sew your blouse as directed in the instruction booklet without making any changes to the pattern pieces…and then skip the last step – closures! Don’t add closures to the Camas and you will have an open front cardigan. Or, sew all of the steps for a cardigan that buttons up. Easier yet, grab the Camas Blouse that already sits in your closet and magically transform it into a cardigan by wearing it over another top! :P
I will be sewing a Camas Cardigan during the sew-along that features our soft and snuggly black interlock and a contrast gathered lace back. I’m sewing this version using the next pattern hack too:
Cozy Camas with Full Length Sleeves
If you would prefer to sew a Camas featuring a full length sleeve rather than the 3/4 length included with the pattern, here is how you would go about adjusting the sleeve pattern piece:

First, ignore the “Lengthen or Shorten Here” line unless you are just making a small fit adjustment. For a style adjustment, you do not want to use this line because it will preserve the width of the hem – a hem suited to the widest part of your forearm will not be suited to your thin wrist!
To extend the sleeve to full length, measure the length of your arm, or even easier, the length of a shirt sleeve that fits you well. Draw a new hemline that is parallel to the original hem. Make sure to include the 5/8″ hem allowance!
Determine how wide you need your hem to be by measuring the circumference of your wrist (or the well fitting shirt). Make sure, once again, to add two 5/8″ seam allowances to this measurement!
Draw new seamlines up from the hem until they meet the existing sleeve seams at a pleasing angle. You can now sew a Camas with full length sleeves!
A Swooped Hem Camas
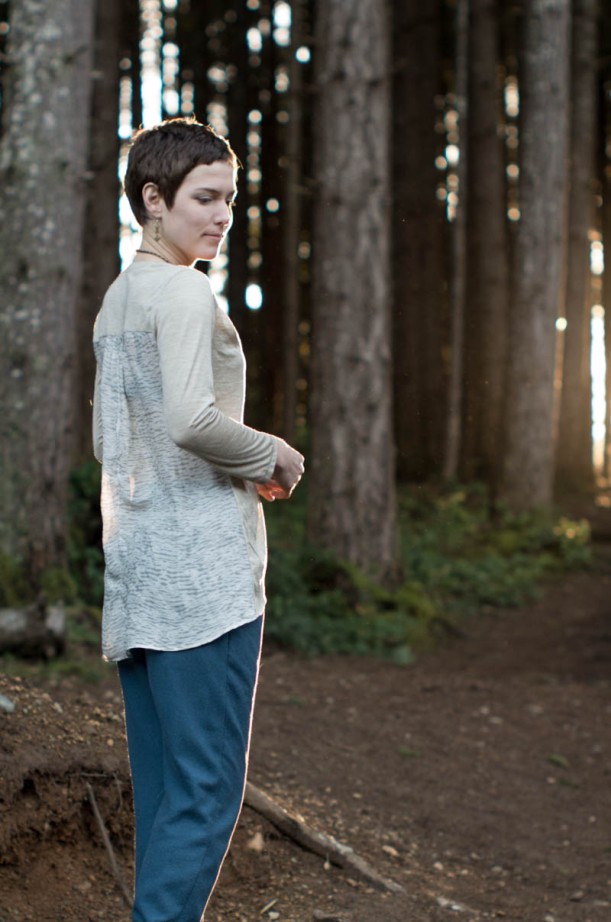
I made this swooped hem Camas Blouse using a light and flowing silk from Britex Fabrics. I wanted to emphasize the weightlessness of the fabric so I exaggerated the curve at the back of the hem considerably. For this blouse I adjusted both the front and back of the panels to create a high-low hem (the front curves upwards so that the shortest point is the placket). This was a fun experiment but in retrospect I wouldn’t have adjusted the front of the blouse since I think the original downward curve at the front is more flattering. In the tutorial below I show you how to adjust only the back panel to achieve the swooped back and still maintain the curve over the hips and across the front of the blouse.
The key if you only adjust the back panel is to shape the hem curve so that it meets the side seam at the same angle as the original hem curve. Keep in mind that an exaggerated hem curve may make hemming a bit tricky – you can use a rolled hem for a curve like this!

The Camas Dress/Tunic

Camas Dress inspiration: The T.A.- Okay Dress from ModCloth
I have two different approaches for lengthening the Camas to become a dress – one is the approach I am using for a Camas Dress that I am currently halfway through making. I decided to make a slim dress with straight side seams and I envision wearing it with a self fabric belt, cuffed sleeves and black leggings – I can’t wait to show it to you! Here is the shape I created when lengthening the pattern:

To do this, cut along the lengthen and shorten lines. Spread the Front, Back and Placket out equally. Draw new seamlines – be sure to keep the original angle at the base of the armhole for at least the 5/8″ seam allowance so that you are not interfering with the armhole shape.
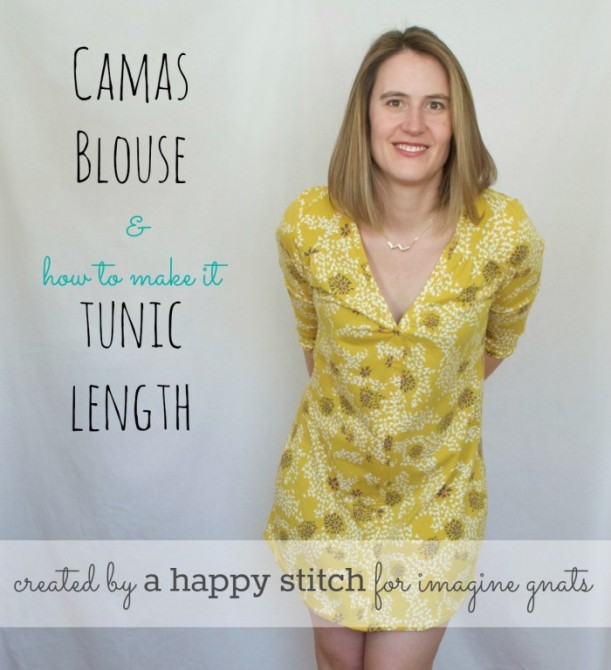
The second approach you can take to lengthening the Camas into a tunic or dress is to keep the shaped side seam for a ‘fit and flare’ look. Melissa of Happy Stitch has created a tutorial to do just this and posted it over at the Imagine Gnats blog!
Some of your inspiring pattern hacks:

- A woven Camas with sleeves and yokes cut from the same fabric blogged at Neues vom Sonnenfels.
- Piping added to the yoke seams! Blogged at Gros Bécots.
- A sleeveless Camas with no placket and a cross-over front blogged at Thread Snips.
A very creative Camas Blouse alteration featuring no centre front opening and a cute neckline keyhole by Sylvie.
And some freshly interpreted Camas Blouses with no hacking needed!

- The Camas as business attire by Pattern Revolution
- A maternity (and breastfeeding) Camas by Hachis Parementure
- The Camas meets sequins at Jolies Bobines
- The Camas in gold and black at By Clo’th
- A pleated and color-blocked Camas by Effortless Attention
