Eastwood Pajamas Sew-Along: Day 2 - Cut into your fabric
Let's cut into our fabric today! Exciting!
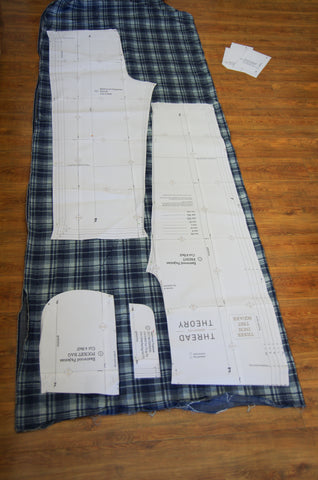
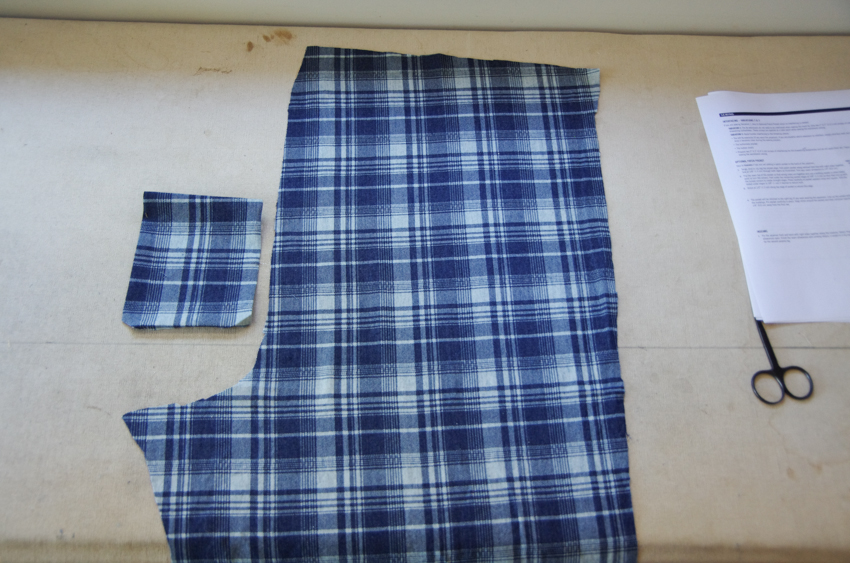
If you are sewing with a fabric that doesn't include a directional print, you might like to try your hand at rearranging the cutting layout to save a bit of fabric. For example, I flipped one of my leg pieces upside down and was able to cut out a size XL using 1.9 m instead of 2.4 m. Your fabric use is very dependant on the size you are sewing too, this is why we broke the Materials Required chart and Cutting Layouts into two separate size groups. You will use a lot more fabric for a size 4XL than you will a XS and you likely won't be able to save fabric by flipping a pant leg when sewing anything much larger than an XL due to the width of the pant legs in proportion to the fabric.
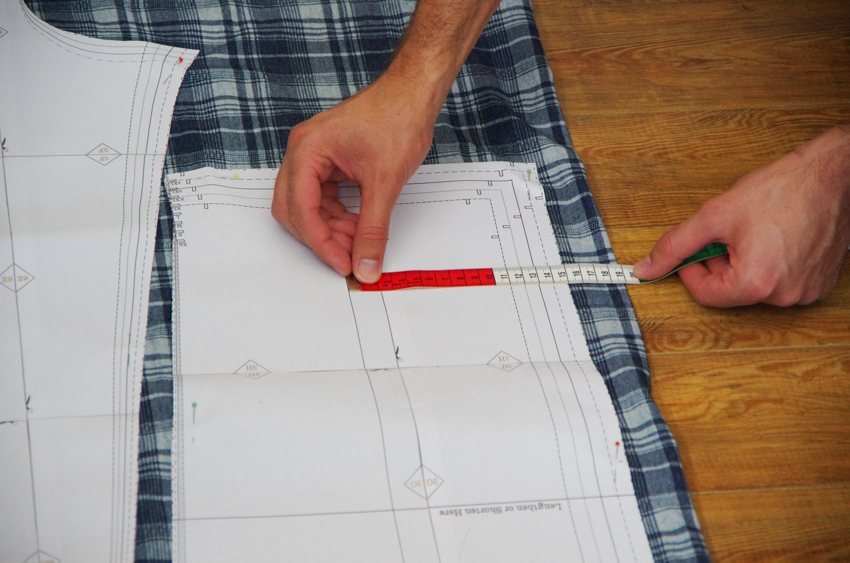
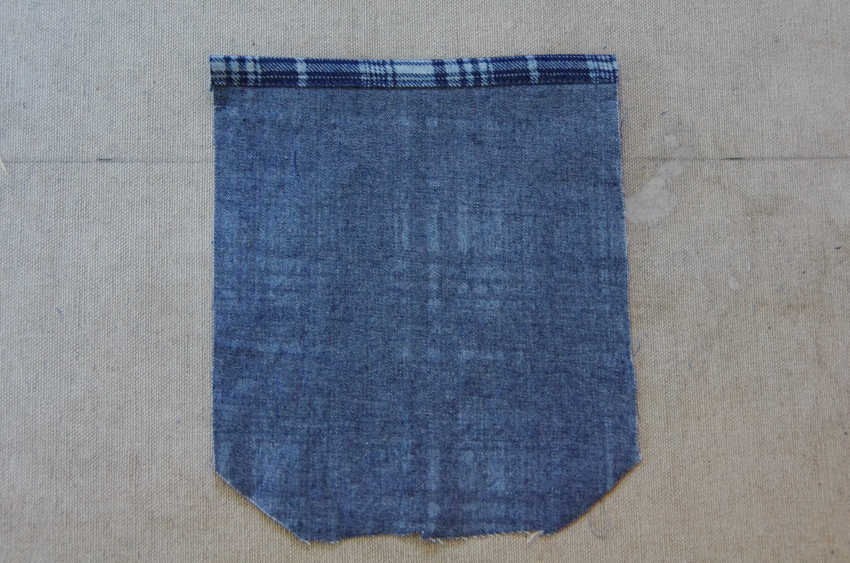
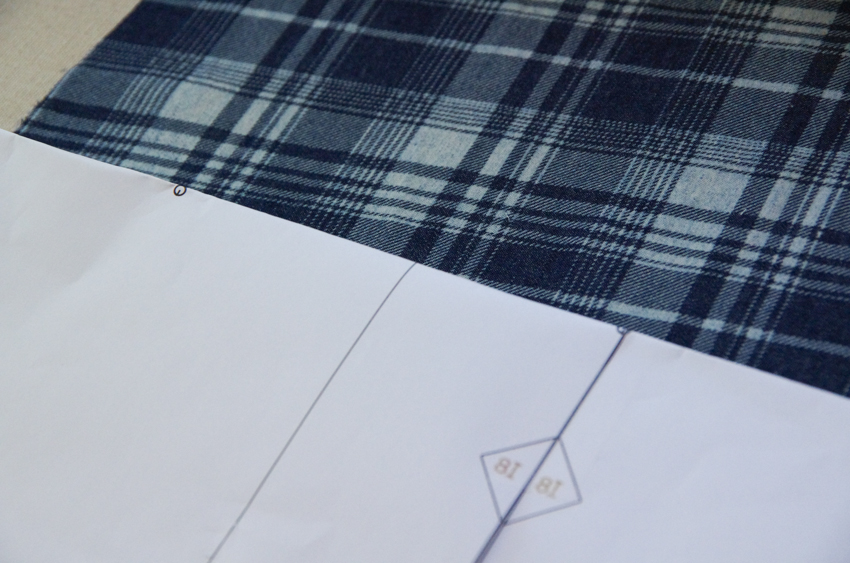
Remember, when cutting out your pieces, to measure from the grainline to the selvage or fold of the fabric at the top and bottom of each piece (as pictured above). This will ensure that you have the pieces precisely on grain which is especially important for long pieces such as pant legs. If you are sewing with a plaid, you might like to pay attention to plaid matching or avoid it as much as possible by placing the patch pocket on the bias. I decided to match the plaid on my patch pocket but I never do a very good job of this...plaid matching is not my strong suit! If you look at many store bought plaid pajamas closely you will notice that plaids are rarely matched...if you enjoy plaid matching and feel that this will elevate your finished garment above what you might find in the store, go for it! If you detest plaid matching (like me), don't beat yourself up about it and just focus on tidy topstitching and personalised details to wind up with a lovingly sewn pair of PJs!
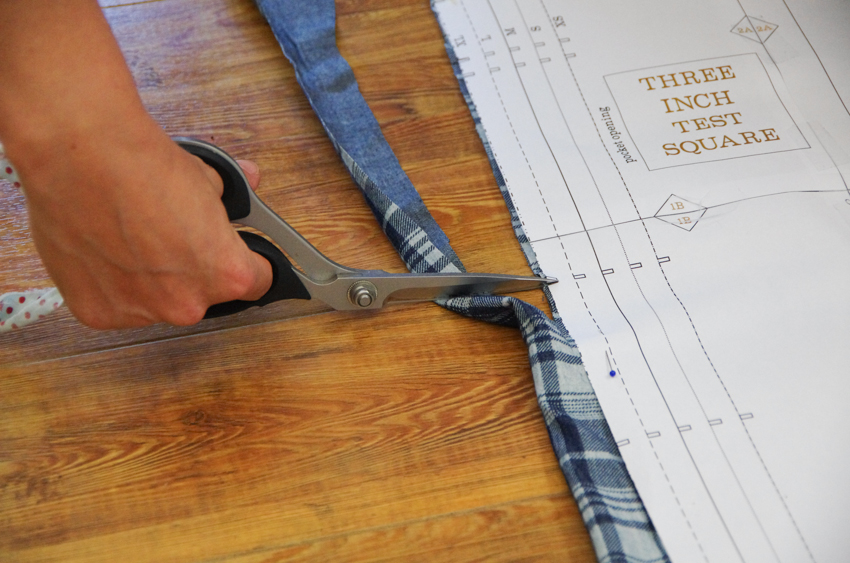
Be sure to clip into each notch as you cut out your pieces. If you desire, you can mark them by cutting small triangles outwards or by marking with chalk but these measures are not necessary with this sewing project because the seam allowances are so large and we won't be needing them uncut for things like french or flat fell seams! Simply clipping 1/4" into the seam allowance is certainly the fastest and perhaps most accurate way to mark notches.
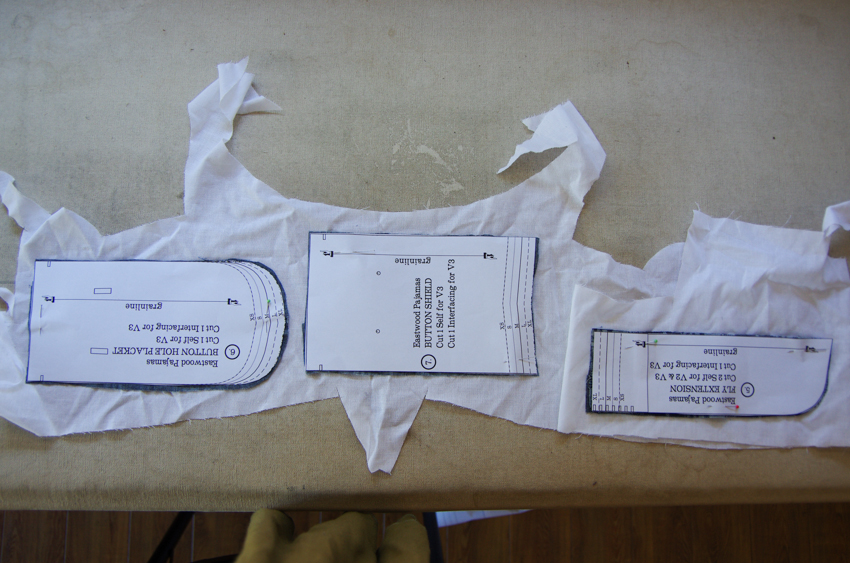
If you are sewing variation 2 or 3 (I'm sewing variation 3), you'll need to cut pieces 5, 6, and 7 from interfacing. Hopefully you can use a small scrap from a previous project rather than having to buy more interfacing...these PJs use such as small amount!
Now that our pieces are cut out, you can choose to transfer the pocket placement marking now or I will show you a quick way to place your pocket a in a bit...just keep your Back pattern piece handy (piece 2).
To assemble our pocket we first need to finish the top edge. You can get fancy by making some binding from one of your fabric scraps if you like. The binding does not need to be on the bias since it doesn't travel along any curves. Alternatives are serging across the top, using pinking shears or zig zag stitching.
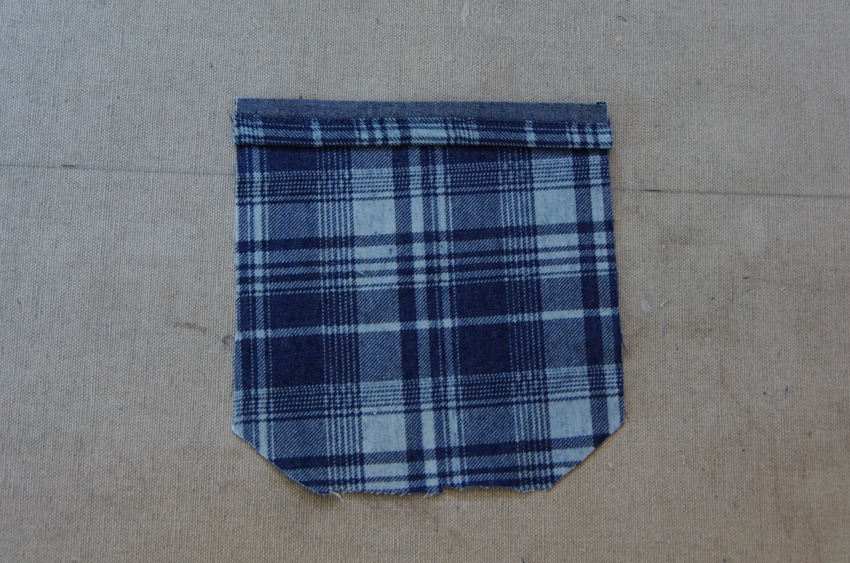
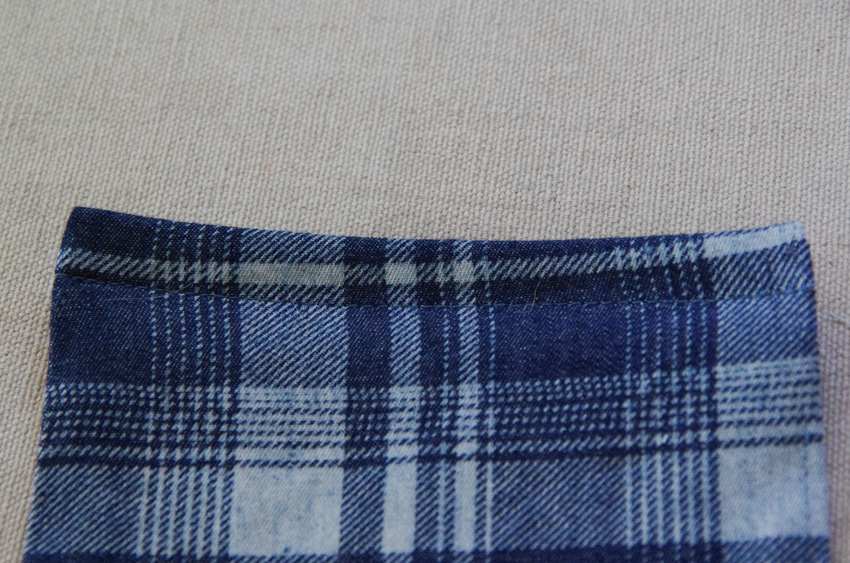
Fold the top edge along the notched fold line with right sides together. Stitch this fold in place with a 5/8" seam allowance on each side.
Trim the extra seam allowance away to reduce bulk and then flip the pocket top right side out. Use a point turner, knitting needle or chopstick to poke out the corners until they are crisp. Press.
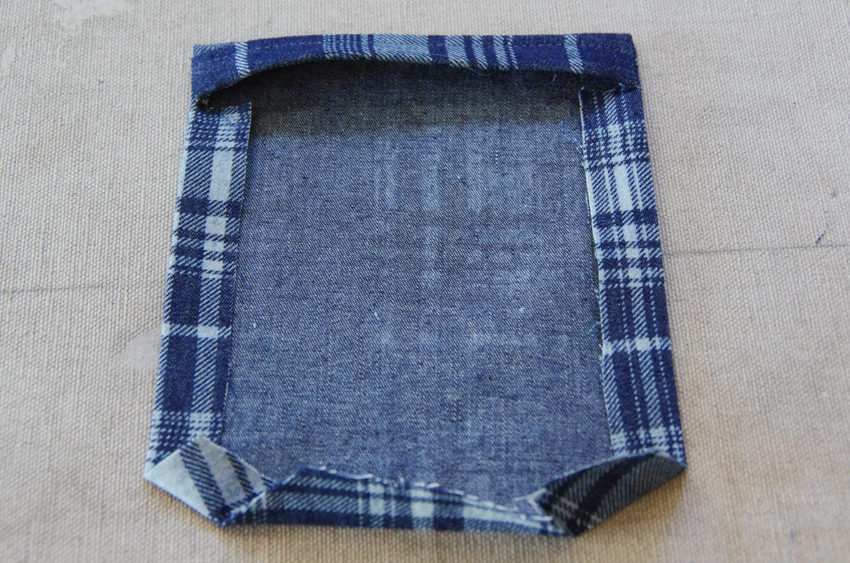
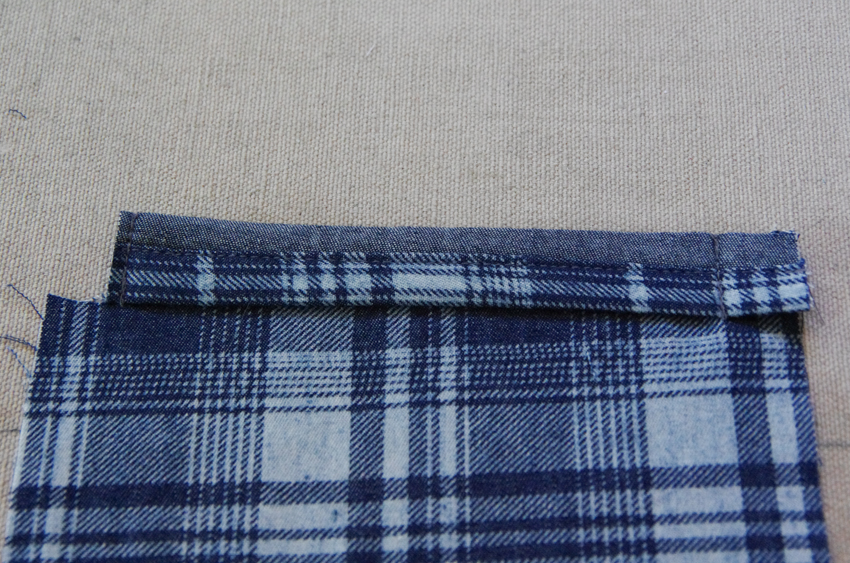
Fold under the rest of the seam allowances and press. If you would like to reduce bulk and hide the raw edges within the topstitching we will perform later, you can trim your seam allowances to 3/8" or even smaller as pictured below.
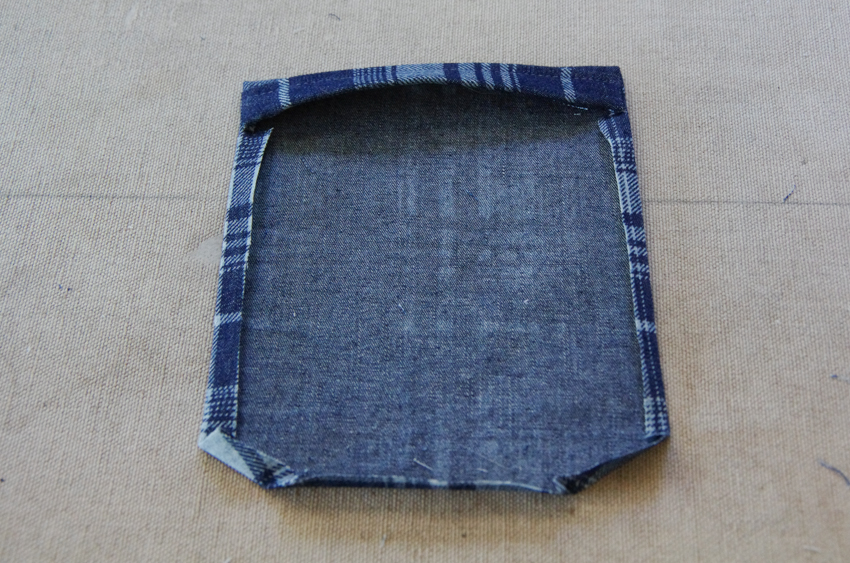
Ensure that your pocket looks nice from the right side (no bumps along the sides), and then topstitch the top edge in place at 1/2". I always forget this step until I've begun to attach my pocket to my pant leg...don't forget this like I do!
Okay, now we are ready to attach the finished pocket to the right leg (if you were wearing the pants). Lay your pant leg on your work surface. The right side should be facing you and the curved crotch should be pointed towards the left...if you double check that this is the case you will be certain that you grabbed the correct leg!
To quickly place the pocket on the pant leg, lay the pocket approximately where you think it might go. Next, lay the paper pattern piece upside down on the pant leg and pocket so that the curved crotch of the paper and fabric line up. Fold back the paper pattern piece crisply along the top pocket placement dots:
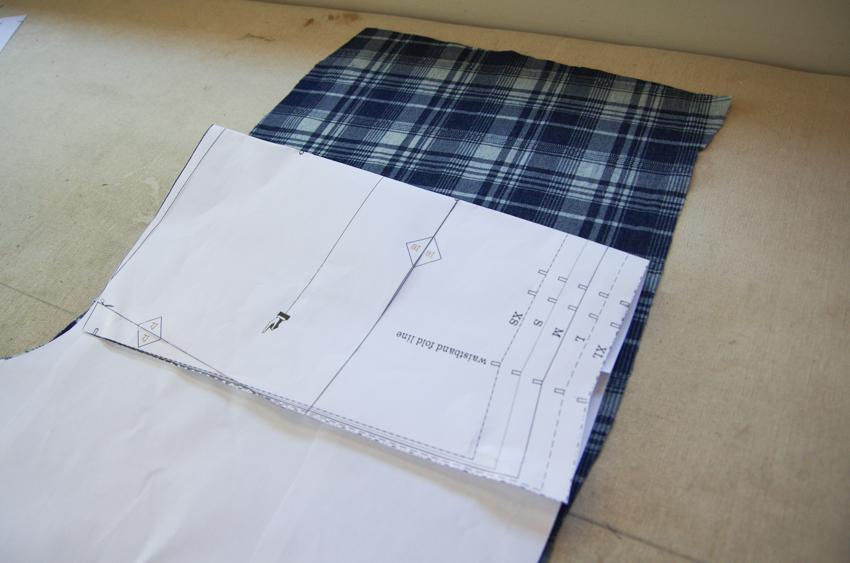
Now shift the pocket up or down until the top edge matches this paper fold. Your pocket is now placed! Remove the paper pattern and pin the pocket to the pant leg.
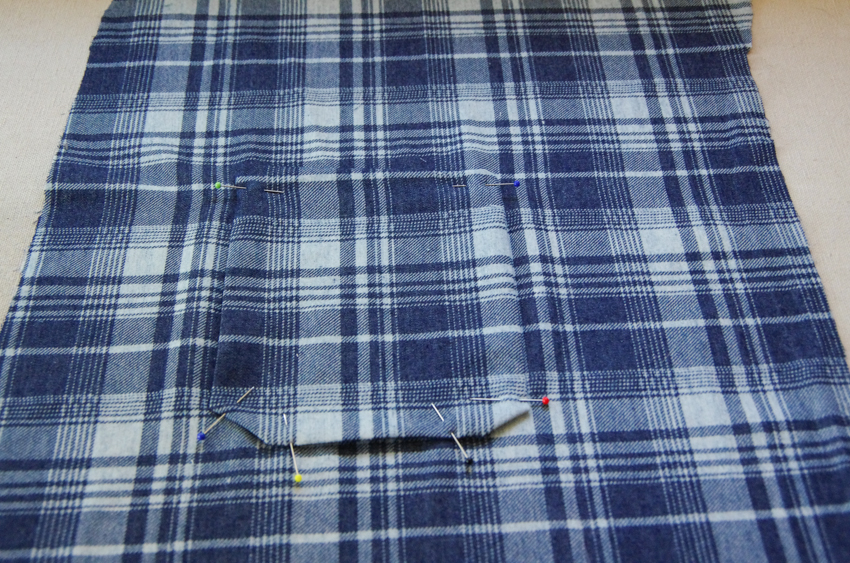
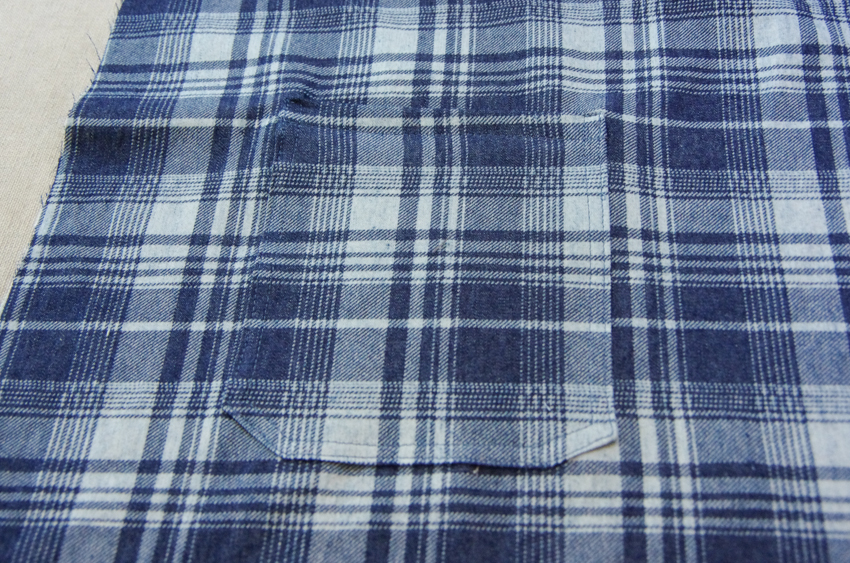
Edgestitch the pocket in place and then continue your stitching to topstitch 1/4" away from the edgestitching to make a very strong pocket.
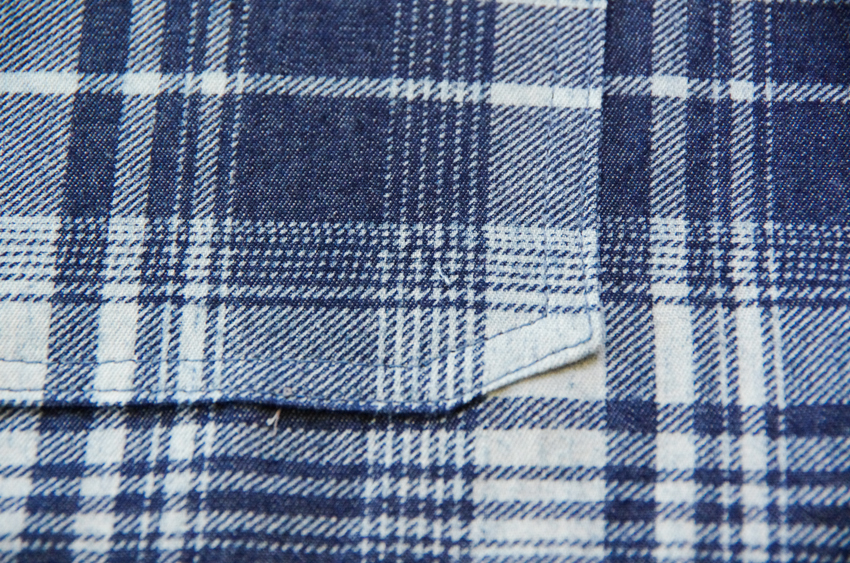
Stand back and admire your pocket! I'm pretty happy with my plaid matching in this case (it's not perfect but darn close!).
We will continue with the sewing process on Wednesday...be sure to give yourself a good long chunk of sewing time if you are stitching Variation 3 as we will be constructing the entire fly. If you are sewing Variation 1 you won't need nearly as long. I won't be walking through Variation 2 but will point you in the direction of some great mock fly tutorials if you need some extra help!
