Eastwood Pajamas Sew-Along : Day 1 - Choose a size and variation
Eastwood Pajamas Sew-Along Schedule
Day 1: Elastic choices, adjusting for fit and style
Day 2: Cutting out fabric, sewing the optional patch pocket
Day 3: Sewing the inseams and optional mock or functioning button fly
Day 4: Pockets and side seams
Day 5: Waistband, optional drawstring and hemming
Finished - the PJ Parade
Let's start work on our Eastwood Pajamas! Today we will be discussing elastic choices as well as modifications you can make for fit and style.
Picking a Variation
First thing first, we need to pick the variation we want to sew. I've broken the pattern into three paths:
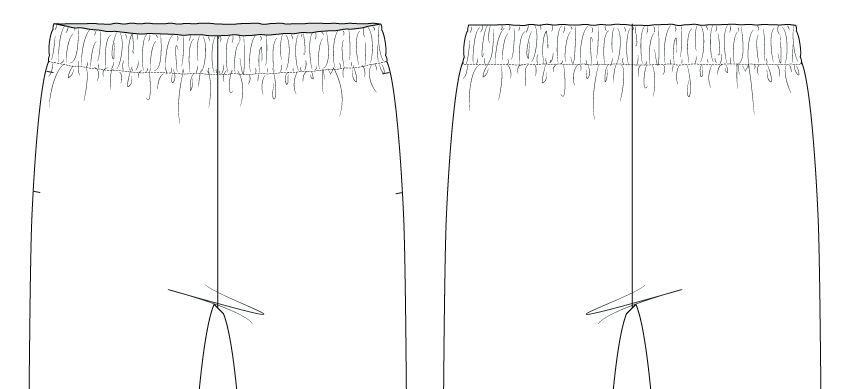
#1: Quick with few details: These are the simple drawstring pajamas that are an ideal batch sew for all the men in your family at Christmas or an excellent first time garment for a sewing instructor to walk their student through. They feature an encased elastic waist (simply fold over the fabric, stitch and then insert the elastic), inseam pockets and no extra topstitching. They do not have any sort of fly.
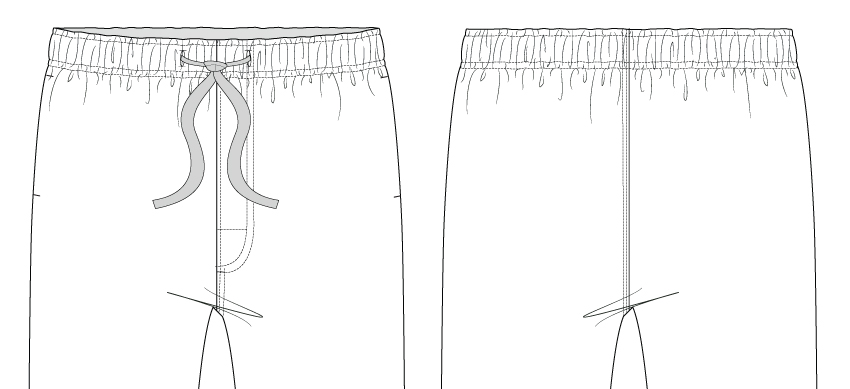
#2: A moderate amount of details: Try this variation if you want to practice your topstitching, love the look of a fly without quite so much effort (they feature a simple mock fly), and want a functional drawstring. They feature topstitching along the seat seam for added strength.
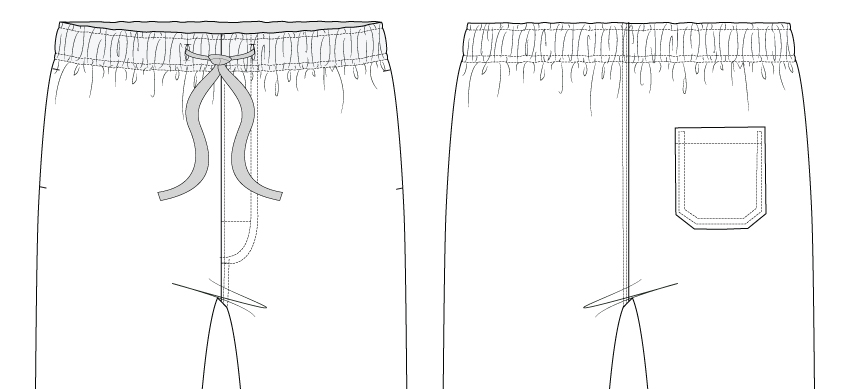
#3: All the bells and whistles: A great practice run before sewing your first pair of jeans! Add a patch pocket (just as you would for jeans), create a fully functioning button fly and then sew all the detailed topstitching included in Variation 2.
Of course, there is nothing stopping you from mix and matching - for instance, you could topstitch the seat seam on Variation 1, add a patch pocket to Variation 2, or skip the drawstring on Variation 3. Let your patience, skill level, and fabric choice help you to decide how many details you would like to add or avoid.
Choosing Your Size
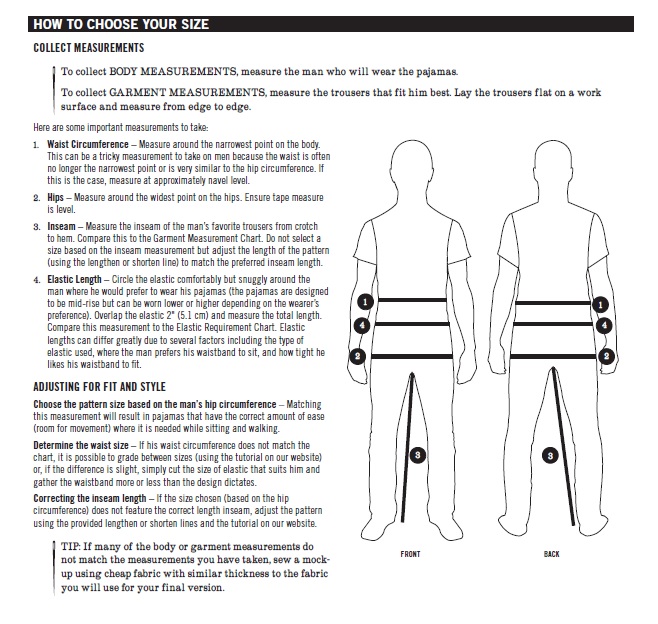
Before you choose your size for the Eastwood Pajamas, please read over the "How to Choose Your Size" section on page 3 of the instruction booklet. You'll notice that I recommend choosing your size based on the man's hip circumference. This is because the waistband size can quite readily change depending on the elastic style that you choose and how you fit the elastic to the wearer. This makes it very easy to pick a size that you know will fit well - as long as there is enough ease (room for movement) in the hips, you have plenty of wiggle room for adjustments at the waist and legs!
All About Elastic
To find the correct elastic length, refer to the Elastic Requirement Chart (below and on page 4 of the instruction booklet), but, unless your pajamas are a surprise gift, please don't stop there!
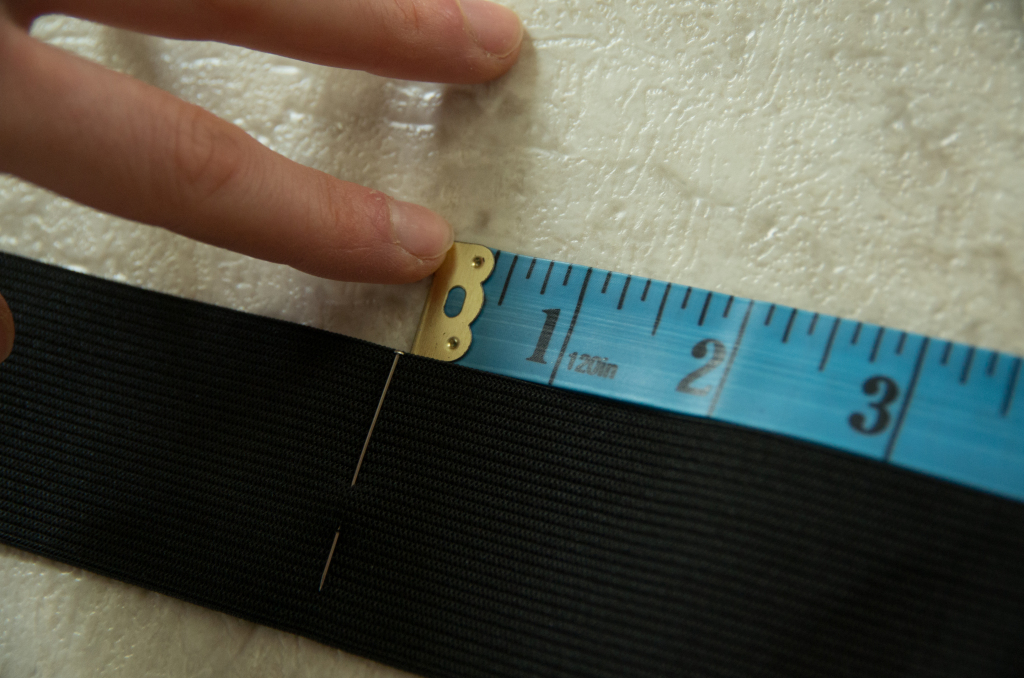
 Wrap the recommended amount of elastic around the man where he would like the pajamas to sit. People differ greatly on how they like their pjs to sit - they may prefer to sit them up higher on their waist for a close fit at the crotch or, as is more common, they may sit them quite low for an easy fitting crotch (and some people sit them so low they almost look like a dropped crotch!). One pajama pant design can be worn in many different ways...thus, you will ensure the best fit if you circle the elastic around the wearer where they like it to sit and circle it as snug as they find comfortable.
Elastic varies greatly and may stretch out as you stitch over it while topstitching to complete the waistband for Variation 2 and 3. You might like to take a scrap of elastic, fold it inside a scrap of fabric and then do some 'practice' topstitching over it. Do you notice the elastic stretching or does it retain it's shape. If it stretches longer and does not snap back once you've finished stitching, you'll likely want to choose a different, better quality elastic.
Here are some options I like for enclosed waistbands:
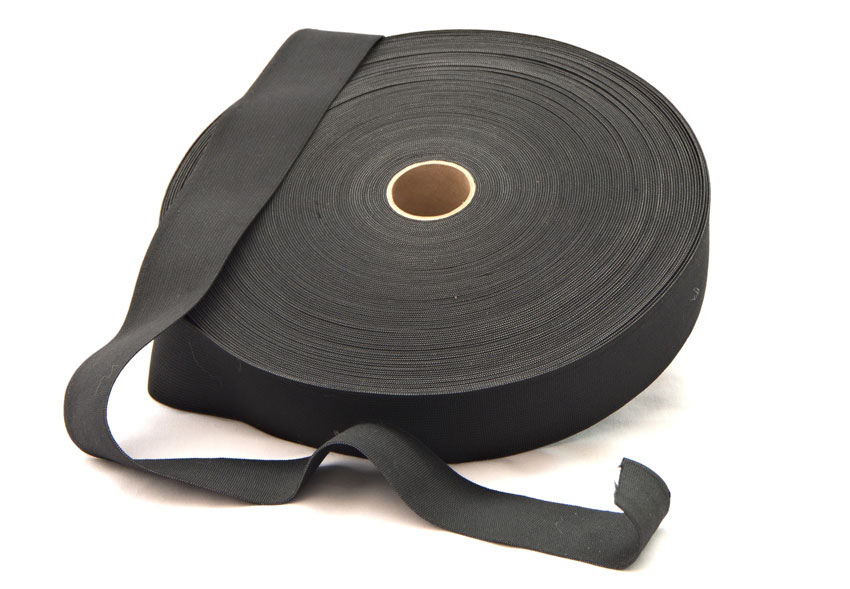
Top Choice: Woven Elastic - this is a tough elastic that is not prone to rolling. It does not become narrower when stretched and does not weaken when sewn through. Most woven elastics are intended to be sewn into casings so they are not very soft. They pair best with mid to heavy weight materials since they are so thick - a woven elastic like the one pictured would be perfect for cotton flannel pjs. The image above is from an excellent post by Craftsy explaining different types of elastics and their uses...check it out for more info!
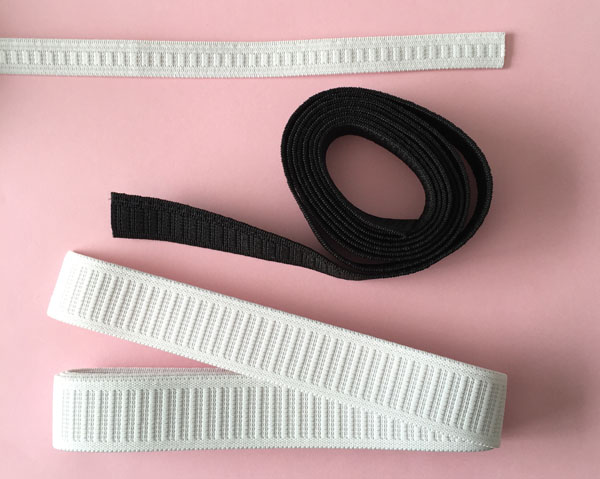
Runner Up: Knitted Elastic - a good quality knitted elastic is both soft and strong. It retains it's width when stretched and (if it is good quality) it retains it's strength when stitched through. Test a knitted elastic carefully before committing to using it (by stitching through it as mentioned above) to see if it ripples and becomes mishap-pen. The above photo is the sturdy knit elastic that we used to stock in our shop to pair with our Comox Trunks. You can find something similar here.
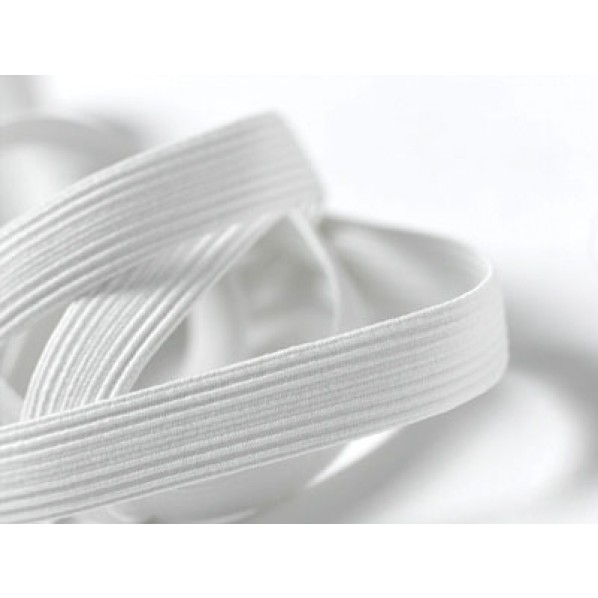
Avoid: Braided Elastic - This type of elastic loses it's stretch when it is stitched through so it is not a good choice for Variation 2 or 3 of the Eastwood Pajamas. You could get away with using it inside the casing of Variation 1 but a better choice would be woven elastic which would be far less likely to roll within your casing. Braided elastic lovely in narrower casings (elasticated sleeve hems or lingerie for instance) so, let's save it in our stash for that purpose!
Adjusting Leg Length
After determining the correct size based on the hip measurement and determining the elastic length and desired fit at the waist, it's time to check leg length. You can adjust the length of the Eastwood legs for both fit and style preferences.
Lengthening or Shortening for a full length pajama:
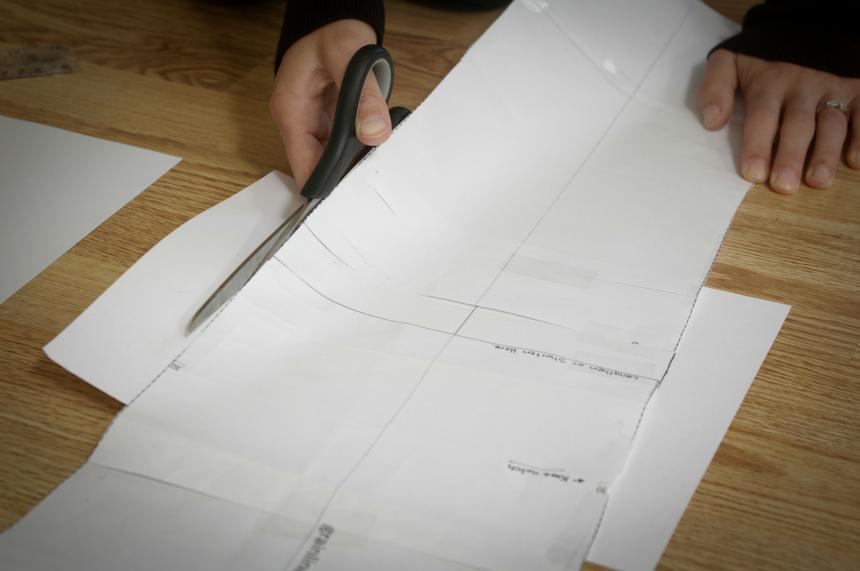
Before cutting out your fabric, be sure to measure the man's inseam. You can either measure on their body or, more accurately, you can grab a pair of the man's favorite pjs or trousers and measure those. This is more accurate because then you will be able to determine how low he prefers the crotch of his pants to sit (instead of measuring right up to the top of his leg). If the inseam on the Eastwood Pajamas differs from his preferred length, don't worry, this is an easy adjustment. Use the "Lengthen and Shorten Here" line and the tutorial on our website to adjust the pattern to his perfect length.
Shortening to create cropped pajamas:
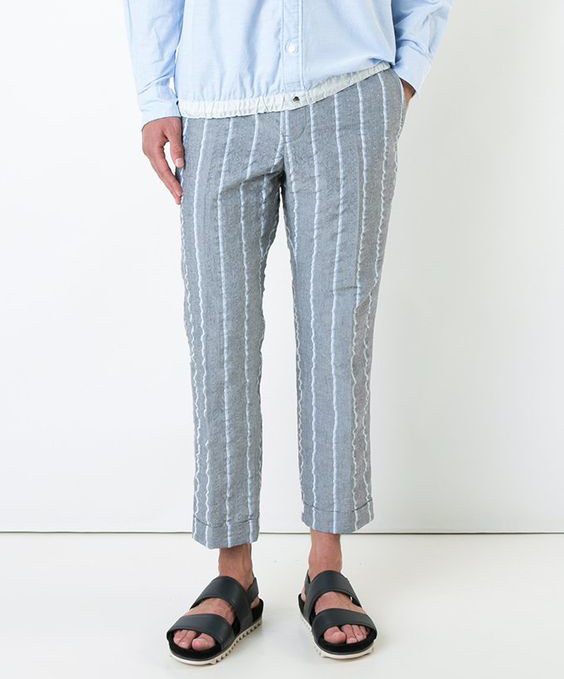
There are a few ways you could go about making breezy cropped linen pjs. The simplest is to just roll up the hem of the finished pjs to create a cuff (as per the example above from our Eastwood Pajamas Pinterest board). You could tack this in place by stitching along the inseam and side seam so that it doesn't come unrolled. Or, if you don't want the bulk of a cuff, you could shorten the PJS as per our tutorial but this time, overlap until you reach your desired inseam length. I think 4-6" should do it! Once you overlap you'll need to smooth out the lines to create a nice taper but you won't need to do anything more than this since you've preserved the hem shaping! Now, just sew as per the instructions.
Shortening to create boxers:
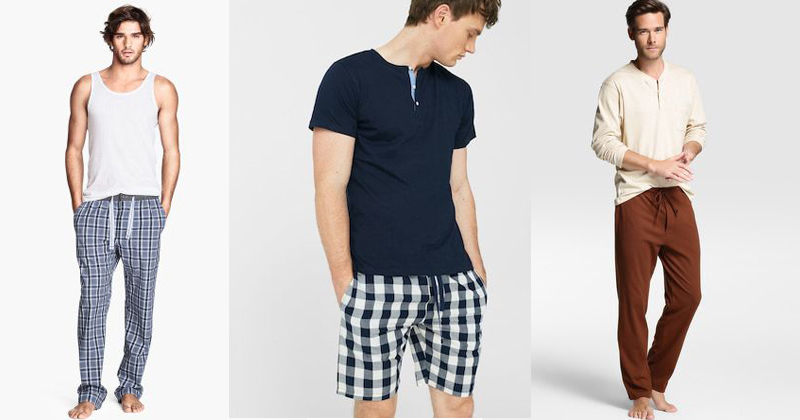
To create boxer length Eastwoods, you will need to draw a new hemline. Measure the inseam of the man's preferred boxers...it will likely be somewhere between 3-6" (the example above looks close to 6" to me). Draw a horizontal line across the front and back pattern pieces, just like the "Lengthen or Shorten Here" line. Don't cut here though! We need to add the hem. This needs to flare out to match the taper of the side and inseam. I've detailed how to do this in the Sayward Raglan Sew-Along. In that scenario we were shortening a sleeve pattern piece but the exact same steps apply! For the Eastwood Pajamas you will need to add a 1.5" hem (whereas the Sayward featured a smaller 1" hem).
