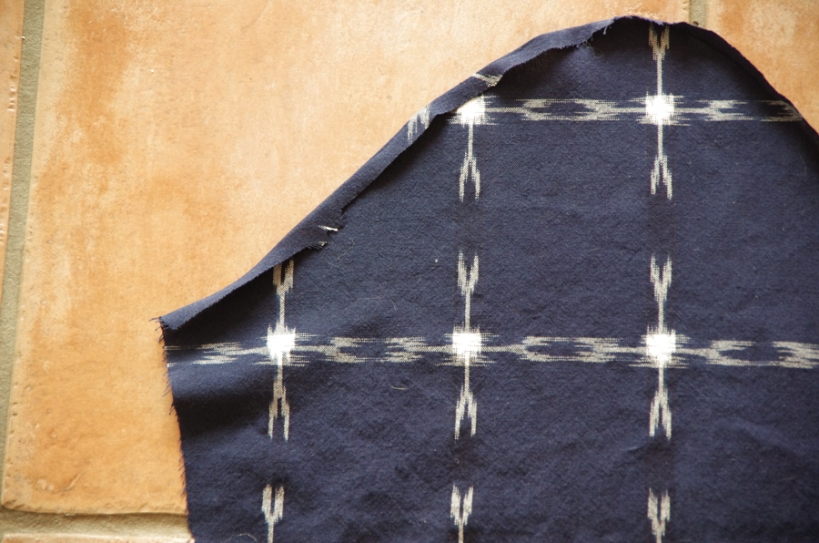
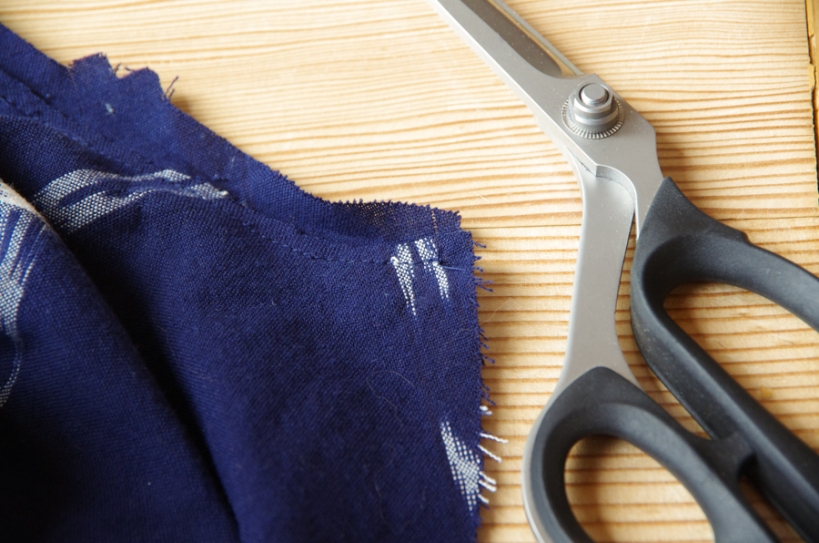
Fairfield Button-up Sew-Along: Day 10 - Attach Sleeves and Main Seams
Today we are assembling the optional sleeve tabs and attaching the shirt sleeves to our Fairfield Button-up Shirts. By the end of your sewing stint today you will be able to try on something that actually looks and fits like a shirt!
Let’s begin with the sleeve tabs. They are very easy and are a great way to add a casual vibe to a button-up shirt.
Place two sleeve tab pieces with right sides together. Stitch around all edges (except for the flat top) using a 1/2″ seam allowance.

Trim and grade the seam allowances closely to reduce bulk as much as possible. I like to trim off the excess fabric at each of the three points as well (this isn’t pictured in the photo below):
Flip the sleeve tab right side out and press.
Lastly, top stitch around the sleeve tab 1/4″ from the pressed edge.
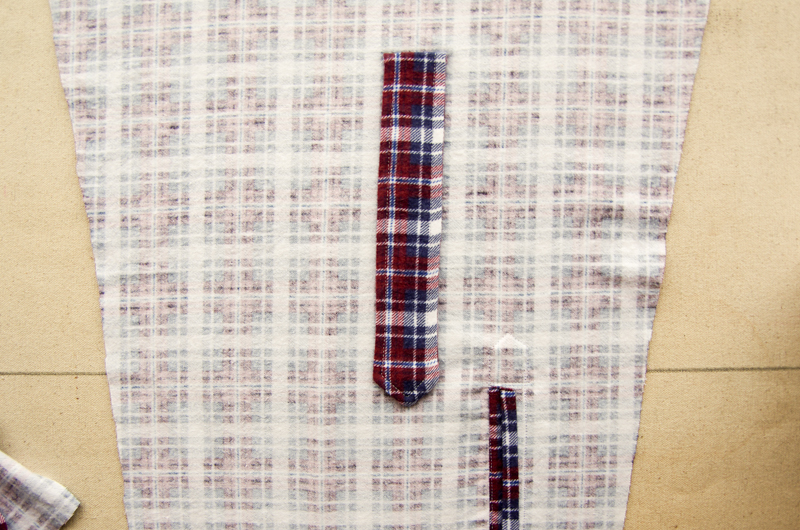
Repeat this process for the second sleeve tab. Now that the tabs are assembled, it’s time to add them to both shirt sleeves! The sleeve pattern piece includes a placement marking for the sleeve tab. Transfer this marking to your fabric (I like to use my pin method – I place a pin through the paper pattern and both layers of fabric. I flip the entire thing over and place a pin in the reverse direction. I then peel off the paper pattern and make a chalk marking where the second pin has remained.)
Place the sleeve tab on to the wrong side of the sleeve. The point should face upwards and the raw flat edge should but up against the tab placement marking. Pin to secure it in place.
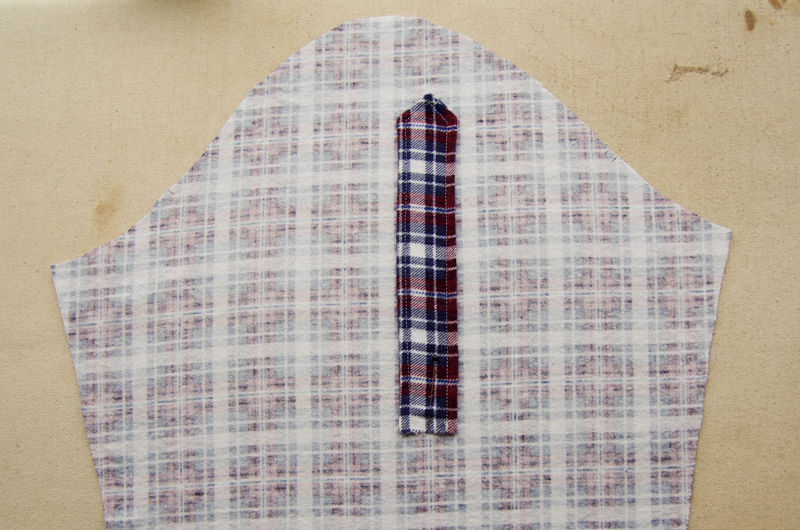
Stitch across the raw edge of the sleeve tab using a 1/4″ seam allowance.
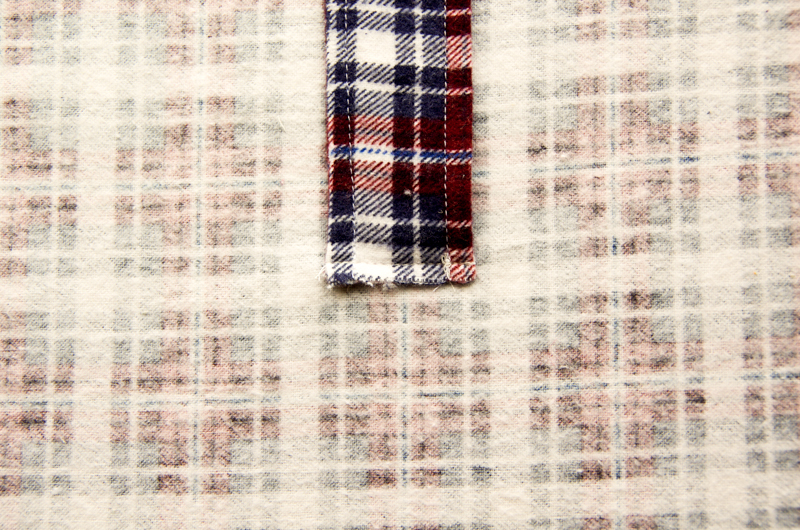
Flip the sleeve tab down over the stitching line and press.
To enclose the raw seam allowance, we are going to sew a decorative box filled with an optional “x” of top stitching. Stitch from wrong side of the sleeve using the edges of the tab as a guide. The box can be as tall as you like – I’ve stitched it approximately 1/4″ tall here but you can make it 1/2″ or even taller if you like. Stitch carefully because it will be visible on the right side of the sleeve.
And that’s it for the sleeve tab (until we add the button and buttonholes later)! Let’s attach the sleeve to the shirt body now:
Prep the sleeve pieces by folding over 1/4″ of the seam allowance to the right side of the sleeve.
Next we will pin the sleeve to the body of the shirt with right sides together. The folded edge of the sleeve lines up with the raw edge of the shirt body.
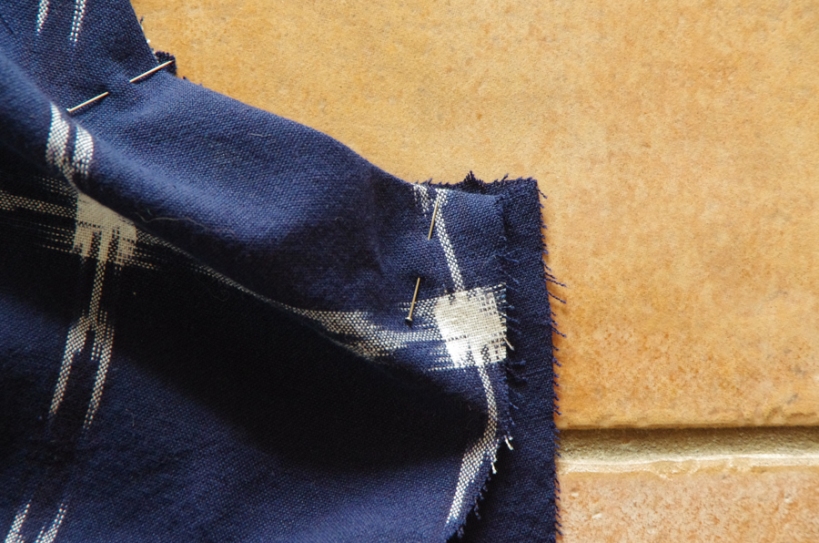
When you add your pins, keep the folded 1/4″ out of the way.
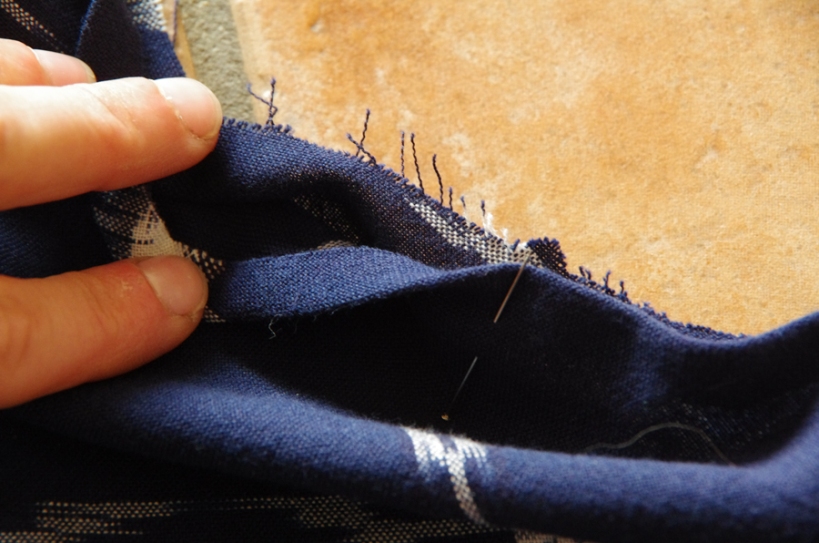
Sew the sleeve to the armhole using a 3/8″ seam allowance. Don’t stitch the folded fabric into your seam by accident! I find it helps to gently and temporarily unfold it so that there is no chance of this:
Trim the smaller seam allowance (the armhole on the shirt body) to 1/4″ if you like to make it easier to create the flat fell seam. If your fabric frays a lot like mine does, don’t trim to closely to the stitched seam or else it will weaken it.
Finish the flat fell seam by pushing the seam allowances towards the body so that the folded sleeve head seam allowance encases the body seam allowance. Iron carefully to make sure the flat fell seam is consistent in width. Pin your folded seam allowances in place. I find the more pins the better at this point!
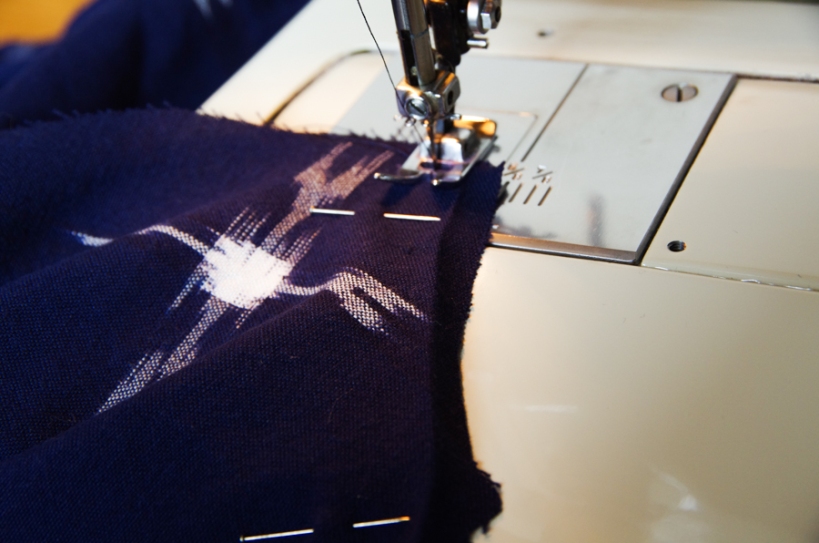
Now you can stitch your tidy package of seam allowances closed so that no raw edges can escape. In the photo below I am stitching from the right side of the shirt using a very scant 1/4″ seam allowance. Stitching from the right side makes it simpler to stitch a consistent distance from the seam. I have also tried stitching from the wrong side so that it is easier to see where the edge of the seam allowance package is. You can try both ways to see which works for you!
From the wrong side of the shirt you will see a tidy package of seam allowances like this:
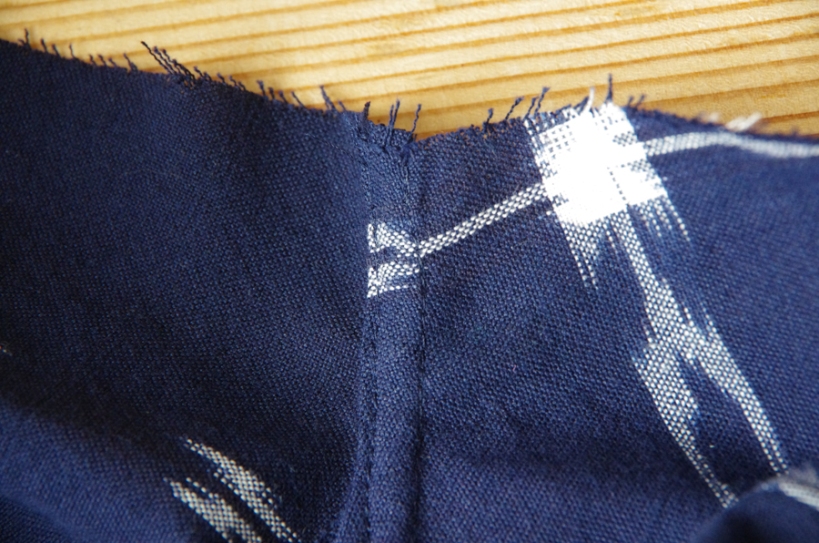
From the right side of the shirt you will see one line of stitching and one seam.
Your first flat fell seams on the Fairfield shirt are finished! Now we will dive right back in to sew the next set of flat fell seams – these ones feature the seam allowances on the right side of the garment and extend all the way from the sleeve seam to the side seams.
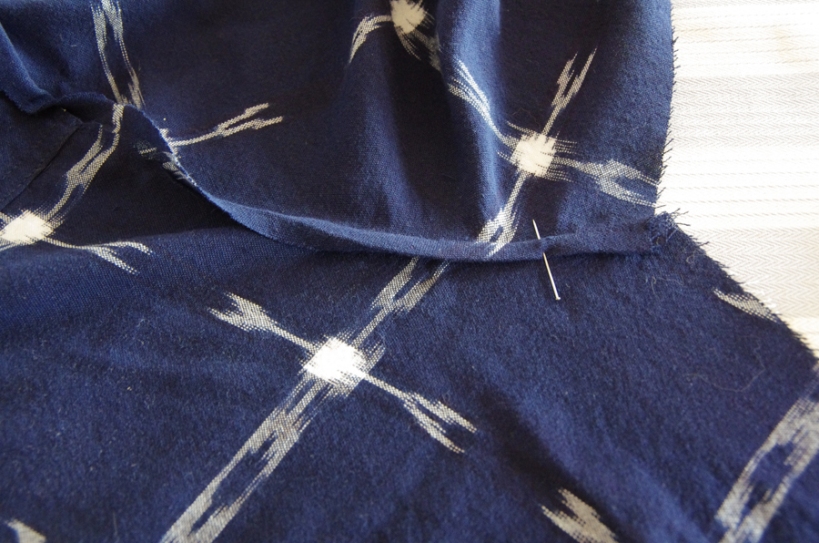
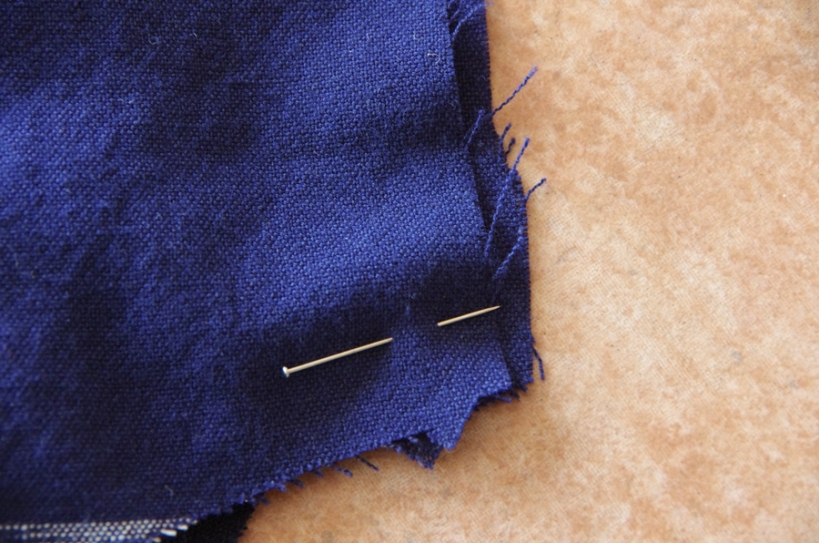
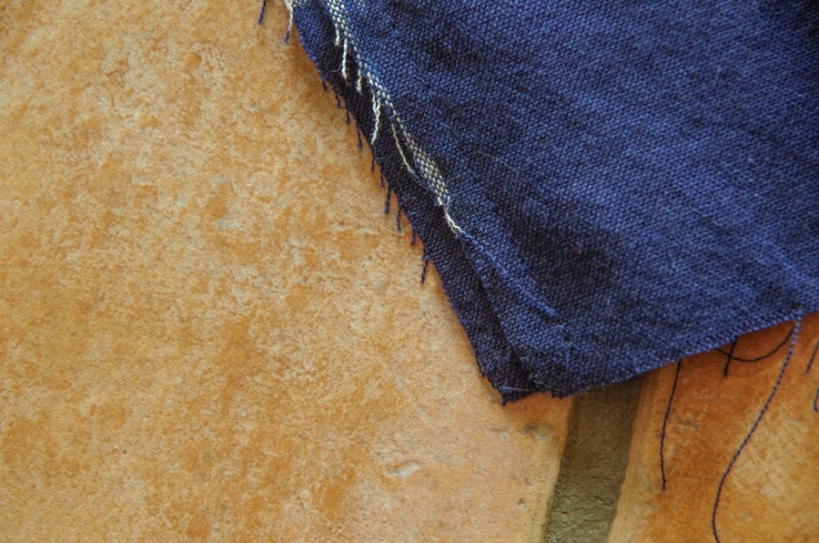
Begin by pinning the side and sleeve seams with wrong sides together. The seam allowances are offset – the back of the shirt has a small 1/4″ seam allowance and the front of the shirt has a full 5/8″ seam allowance. Offset them by lining up the notches at the hem.
Here you can see the seam allowances offset and the hem notches aligned:
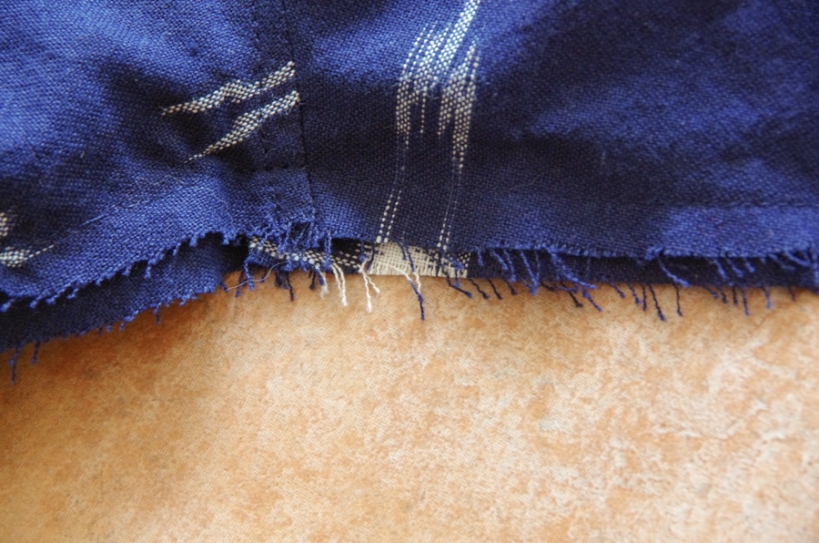
Sew the entire seam from hem notch to the sleeve ends.
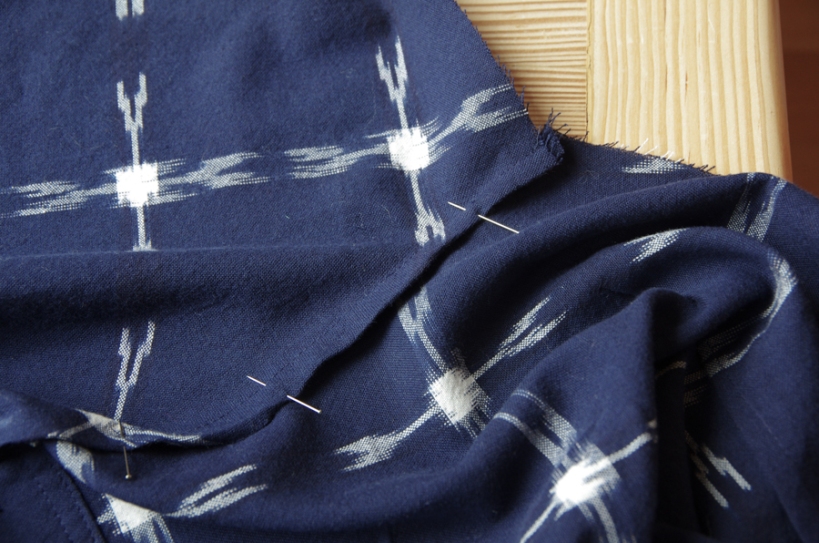
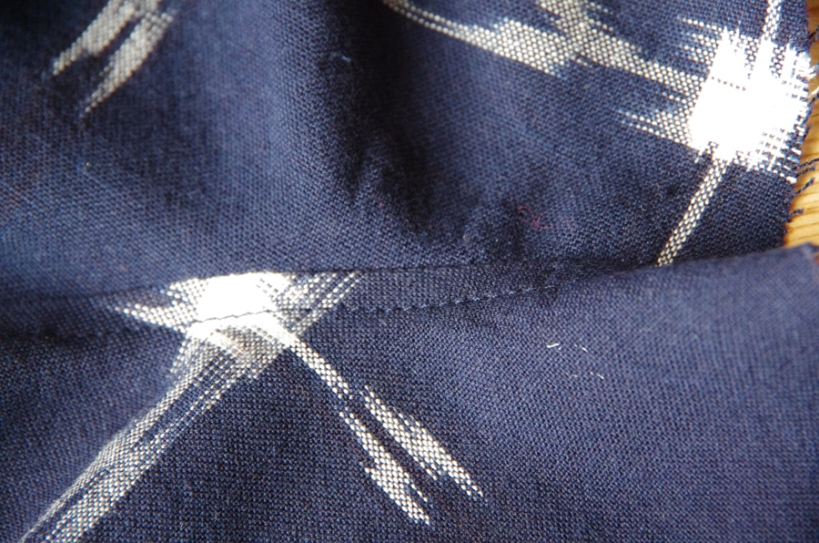
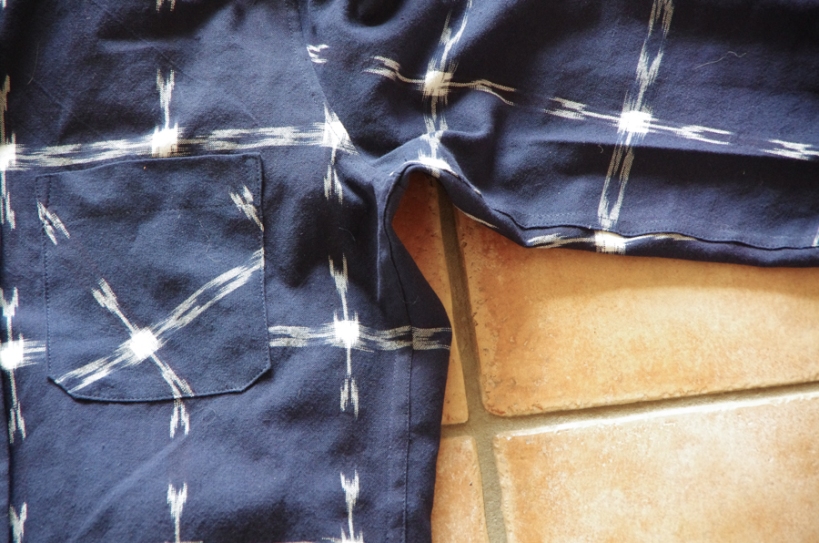
Make sure to line up the seams at the armpit:
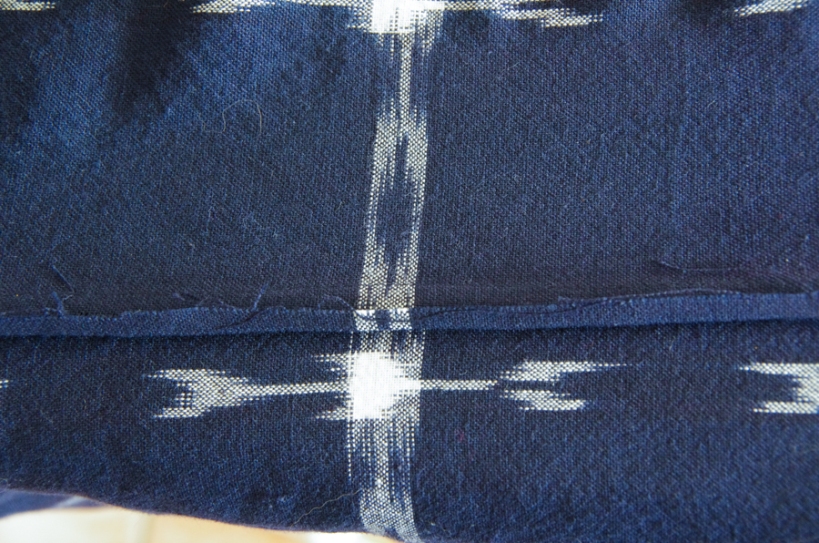
Press both seam allowances towards the shirt front. Press the 5/8″ seam allowance in half so that it’s raw edge meets the raw edge of the smaller seam allowance.
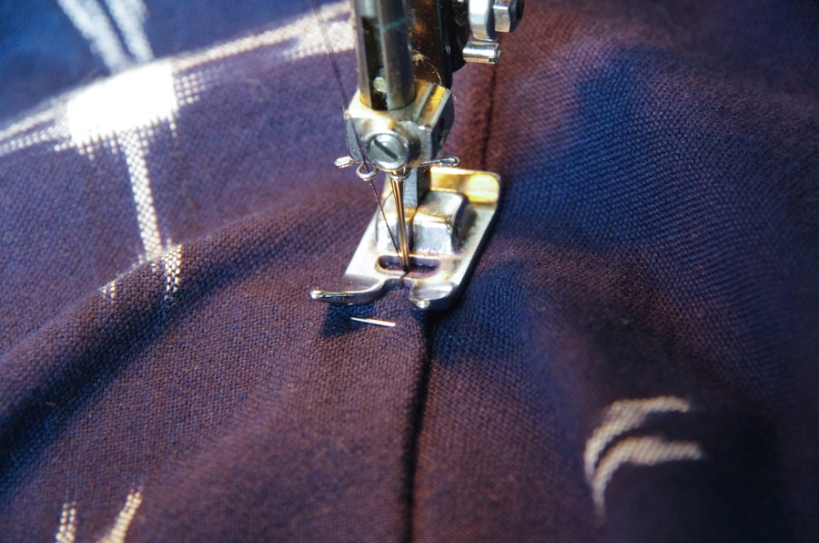
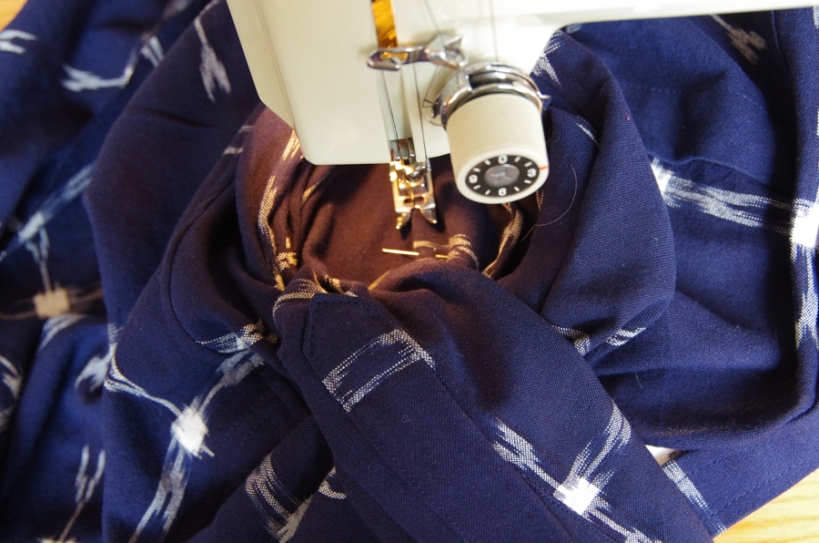
Flip the entire package over towards the shirt back and pin it in place. Stitch along the folded edge of the 5/8″ seam allowance. Go slowly and tuck any fraying threads into the flat fell package as you go so that all you can see is the tidy fold.
I like to start at the hem and work my way towards the sleeve. The sleeve feels a bit like stitching in a tunnel or, as my Nonnie described it, like looking down a well, but don’t worry, just sew slowly and shift your fabric often – you will get to the end of the sleeve soon!
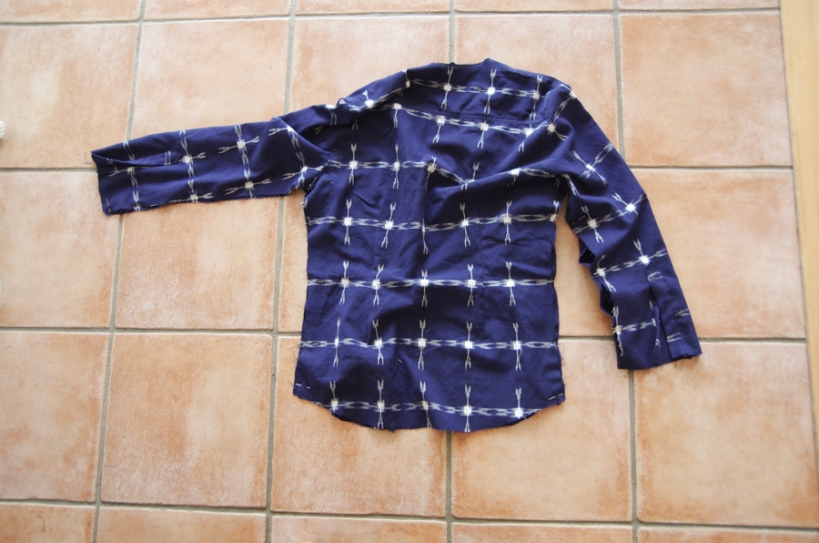
Give your flat fell seams a final press and step back to admire how tidy and professional both the outside and inside of your shirt look!
Have a wonderful weekend! I will be back on Monday with more of the sew-along.