Strathcona Tee Sew-Along: How to Sew with Knits
Welcome to Sewing with Knits 101! I've written a Question and Answer post featuring the main questions that weighed heavy on my mind when I first began to sew with knits. Judging by the emails we get about sewing with knits, these questions are also worrisome to many of you! I hope this post will answer them so that you feel confident to get sewing:
Will my machine sew knits?
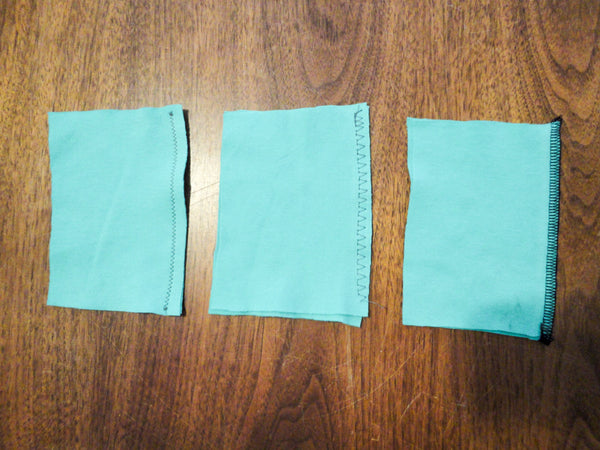
- Three machines, three stitch types: A basic machine with a zig zag stitch, a fancier machine with a "stretch stitch" and a four thread serger.
If you have a basic sewing machine featuring several stitch styles:
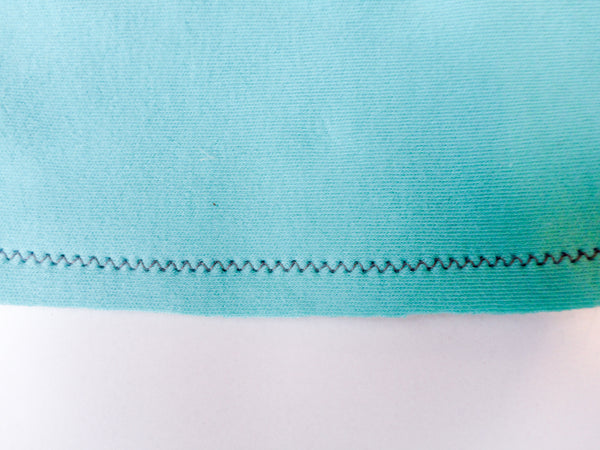
A small zig zag stitch sewn with a regular ol' domestic machine.
Yes! Your machine probably includes a stretch stitch style and will most certainly include a zig-zag stitch. Your goal when choosing a stitch is to find something that will allow the stitches to stretch so that they don't snap when the fabric is stretched (i.e. when the t-shirt is being pulled on over the wearer's head). Test all of the stretch stitch styles to see which one you prefer. I have had sewing machines in the past whose stretch stitch did not allow the fabric to stretch enough for my liking and I found the zig zag stitch was the best choice. The sewing machine I have now has a killer stretch stitch that I almost prefer to my serger because it works like a charm no matter what fabric I am sewing! Once you've found a stitch that stretches to your liking, sew a practice seam and spread it open - do you see thread ladders, bubbles or a tidy seam? If you are using a zig zag stitch the best way to produce a tidy, straight seam is to use a narrow stitch width.
-
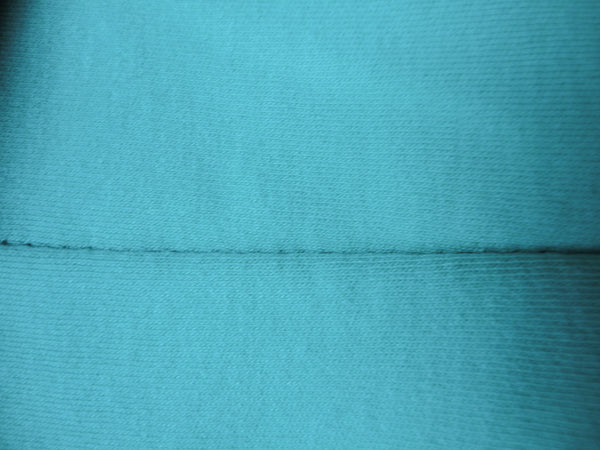
A fairly nice seam with a few small thread ladders visible (these would be less visible if I used a teal colored thread!).
If you have a fancy sewing machine with many stitch styles:
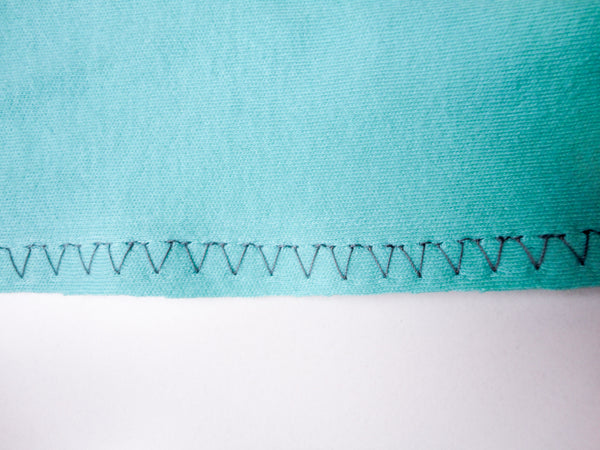
A neat "stretch stitch" option on my fancy old metal Kenmore. There are all sorts of stretch stitch styles so yours might not look exactly like this.
Yes! You are spoiled for choices :). Try out all of your stitch styles to see which one performs best with the fabric you are working with. Thicker knits might sew up nicely with a fancy stitch style that includes many needle holes but you will probably want to avoid this stitch style if you are working with thin and stretchy jerseys. The more the needle punches through the fabric, the more it weakens the fabric - not something you want when your fabric is quite delicate to start with! Of course, you can combat this by using a ball point needle - these round tip needles push past the fabric fibers rather than piercing and breaking them. There is a good chance that your fancy sewing machine came with a walking foot. Now is the time to pull it out! This foot will help to ease the top layer of knit fabric through at the same pace that the feed dogs are pushing the bottom layer through. You will be able to stitch even the most slippery and ungainly knits without distorted seams and rippling hems!
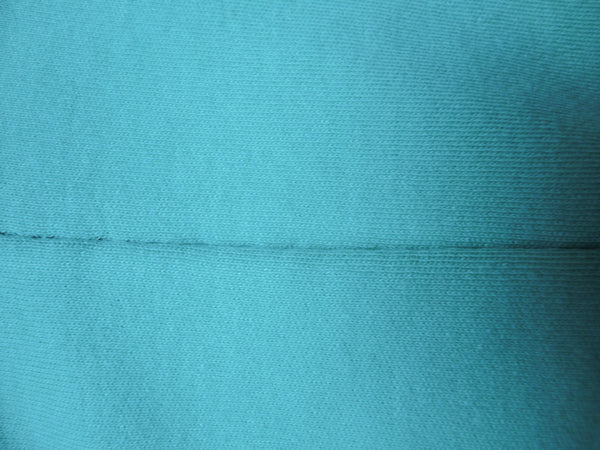
Less visible thread ladders on this seam! I might want to decrease the stitch length though so the gaps appear smaller.
If you have an older sewing machine or industrial sewing machine with only a straight stitch:
While most people would probably say no, I say yes! Just because you only have a straight stitch at your disposal doesn't mean you should avoid knits altogether. The garments you sew with a straight stitch will be more prone to developing holes in the seams if a stitch snaps but you have a sewing machine right there ready to run over any seams again if need be! Besides, if you are gentle when putting on the t-shirt, you can likely avoid breaking any threads. Increase your straight stitch length slightly to allow for a bit more stretch. To finish your seams you could sew another row of straight stitching or choose a knit fabric that isn't prone to unraveling (a jersey for instance) and skip seam finishing altogether!
If you have a serger:
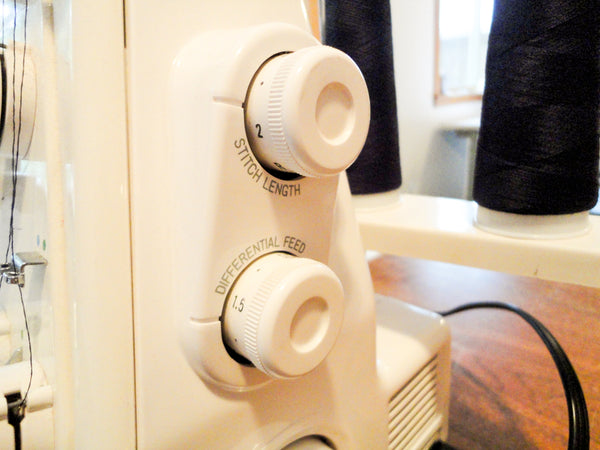
Of course! Sergers are designed to work with knits. Depending on your machine, you can set your threads up to stitch the seam and simultaneously finish the seam allowances or you might stitch the seam using a zig zag stitch and then finish the seam allowance with the serger. One thing to watch out for when serging knits is for stretching or puckering of the entire seam. Below you can see a stretched seam on the left, a puckered seam on the right and a nice straight seam in the middle. To avoid puckering or stretching, play with your differential feed knob and a few fabric scraps each time you start working with a new knit fabric.
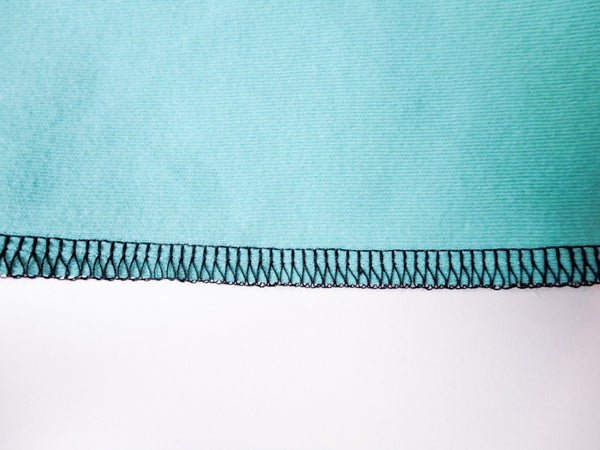
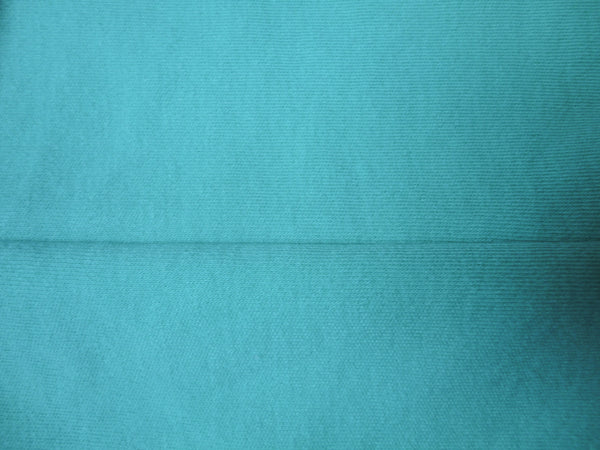
The serged seam - my favorite of all the seams!
My knit fabric won't cooperate while I cut out my pattern - do you have any tricks?
Trick #1: Cut on the floor
You won't have to worry about your knit slipping off the table as you cut if you spread your fabric out on the (clean) floor. If you have a large table that allows you to cut with your entire fabric spread out flat, this will work even better!
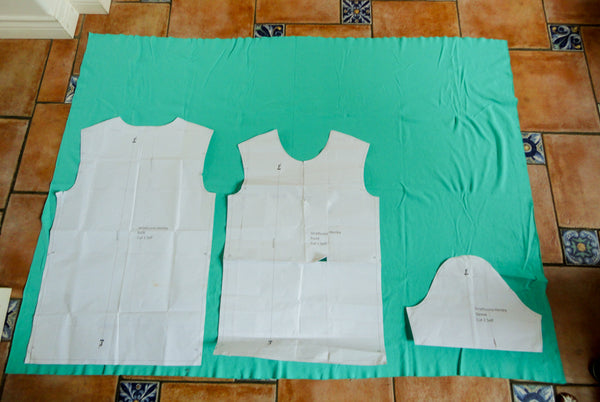
Trick #2: Cut out a single layer of fabric
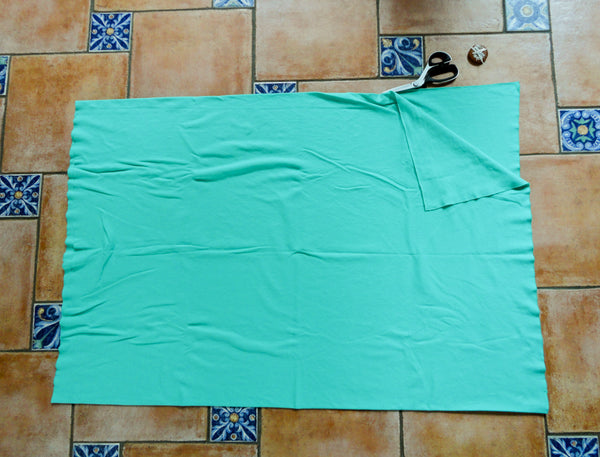
If your knit fabric was knitted in the round (as is commonly the case), you will need to cut the tube along the grainline so that you can spread out your fabric as one layer.
While most sewing patterns ask you to cut out your pattern pieces with your fabric folded in half (with the selvedges together) it is more accurate to cut out knit garments using a single layer of fabric. Working with a single layer will allow you to ensure the knit is completely flat (without folds and ripples) and isn't stretched/distorted in any way. If you have a pattern piece that is supposed to be cut "On the Fold", trace the other half of the pattern piece so that you have paper pattern pieces representing the entire front and back of the garment and do not need cut along the folded fabric edge.
Remember, if you need two of one pattern piece it will need to be mirrored! For example, if you are cutting out sleeves, cut out the first sleeve with the pattern piece right side up on the fabric. Cut out the second sleeve with the pattern piece right side down on the fabric. This will result in two mirrored sleeves (a right and a left sleeve).
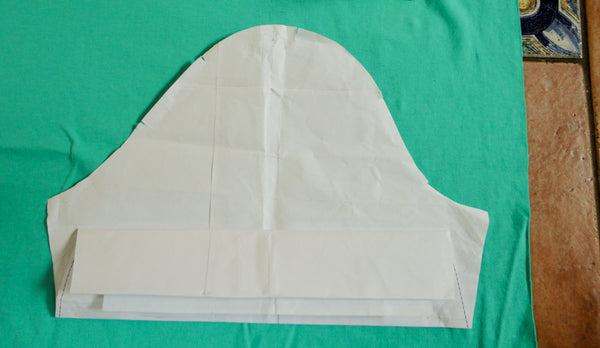
Don't forget to cut mirrored pattern pieces!!!
Trick #3: Use weights
Place heavy items (rocks, soup cans, pattern weights) on your pattern piece and on the fabric around the pattern piece. Weighing everything down will help to combat the shifting of your scissors so that the fabric stays in one place and un-stretched as your scissors move along the edge of the pattern piece.
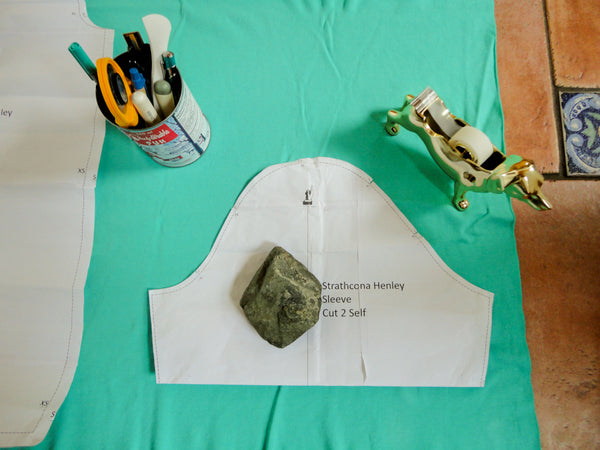
Trick #4: Use a rotary blade or slide your scissors
It is important to cut extra carefully when working with knits because the scissor's movement can easily pull the knit fabric out of place resulting in jagged edges or misshapen pieces. A rotary cutter eliminates any issues caused by scissor blade movement. If you are using scissors to cut, slide the bottom blade of your scissors along the floor or cutting surface and move the top blade up and down. This can be tricky to get the hang of but it will result in much more accurate cutting!
I want my t-shirt to be the best that it possibly can be! Do you have any tips for cutting out the pattern pieces?
Tip #1: Keep the direction of greatest stretch in mind when placing pattern pieces
Double check (or triple check!) that you are laying out your pattern pieces so that the direction of greatest stretch runs around the body (rather than up and down the body). If you cut your pattern pieces so that the stretchiest direction of the fabric is vertical along the body your knit garment will stretch and sag out of shape. When cutting out the neck band for a t-shirt, you have a couple of options for placing your pattern piece on the fabric. If your knit fabric is especially stable and you are worried that your neck band won't be stretchy enough, place your neck band fabric on the bias (at a 45 degree angle to the grainline). If your knit fabric is sufficiently stretchy, place your neck band so that the longest edge is aligned with the direction of greatest stretch (and the narrow edge is aligned with the grainline). This will allow the neck band to stretch around the neck to help to retain the shirt's shape.
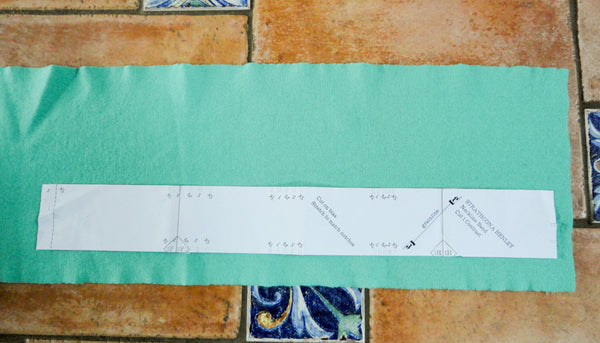
Even though your pattern piece might indicate cutting the binding on the bias, use your judgement based on what type of fabric you have chosen. This neck binding is being cut out with a stretch ribbing so there is plenty of stretch available when I place the long edge of the binding in line with the direction of greatest stretch. If you were using a very stable knit, you might consider cutting the piece on the bias to create more stretch!
Tip #2: Ensure your pattern pieces are completely on grain
Cheap store bought t-shirts often have a very obvious problem - they twist around the body as you wear them so that the side seams are angling towards the front and back. This twisting problem occurs because the grainline is not running vertically down the shirt front and back, instead, it is on an angle. When the manufacturers cut out the fabric they stacked many, many layers of knit and then sawed through them to cut out the pattern pieces. Either the blade of the saw was not sharp enough or the layers of fabric were too thick for the saw to handle, as a result some of the fabric layers (likely the loose ones on the top and bottom of the stack) shifted as the saw cut resulting in twisted, off grain pieces. Don't replicate this common problem while sewing your custom t-shirt! Place your paper pattern piece on the fabric and measure from either tip of the grainline to the fabric selvedge to make sure that the grainline is aligned to the selvedge evenly (pictured below).
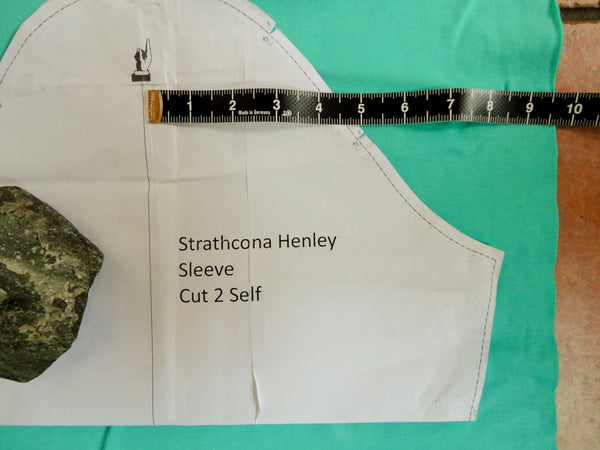
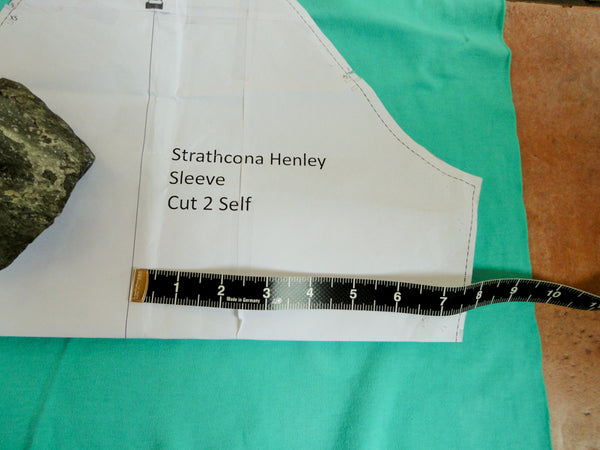
Tip #3: Cut notches outwards
Knits can be prone to 'runs' just as you might see on a knit stocking. Cutting notches inwards as you might normally do when cutting out a pattern weakens the seam allowances of the garment. As you wear and wash the t-shirt you might be horrified to notice that your t-shirt is unraveling at the seams where you cut your notch! Instead of cutting notches inwards, cut little triangles of fabric outwards. If you prefer not to perform this fiddly cutting technique, you could just mark your notches with chalk or a pencil - easy peasy!
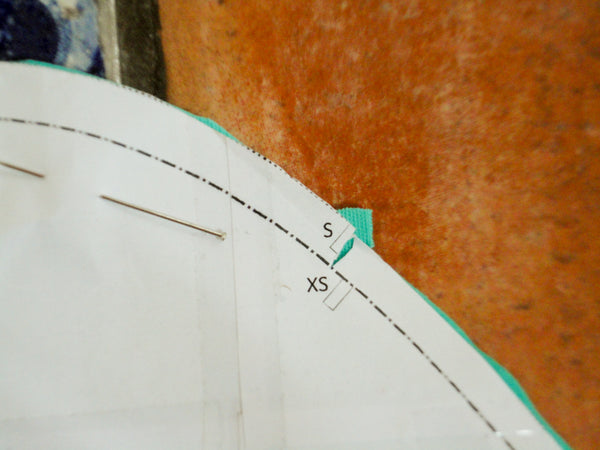
Best wishes while you cut out your Strath Tee! If you take the time now to ensure your machine is operating at full capacity and that your fabric is accurately cut out, the actual sewing of the t-shirt will be a total breeze. Use the #StrathTee to show us the fabric you've chosen and to give us a look at your seam sample progress!

