Sayward Raglan Sew-along: Day 3
This afternoon we are sewing our Sayward Raglan. This post will walk you through each step with photos showing construction using a serger and construction using a variety of stretch stitches on a regular sewing machine. Let’s dig in!

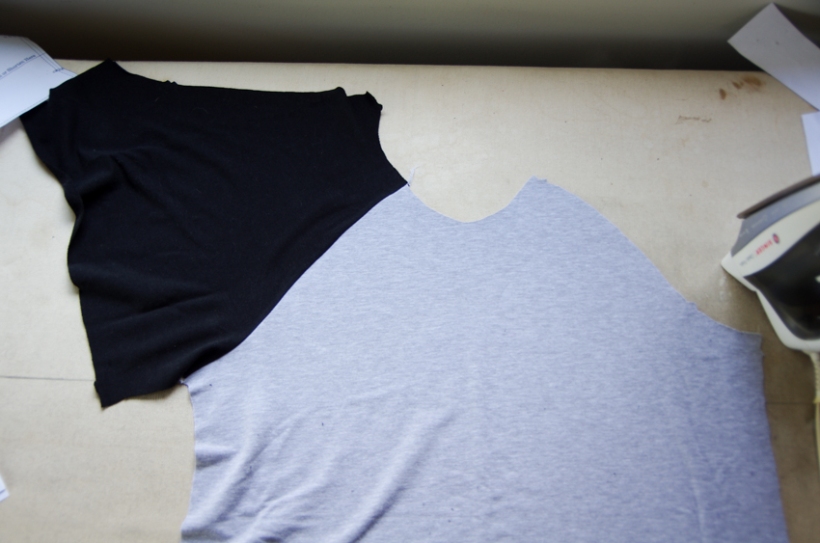
Your raglan should now be cut out from fabric – I like to clip my notches outwards when sewing with knits to avoid creating runs in the fabric (think of the runs that develop when pantyhose are snagged – similar runs can develop in knits).

Begin the sewing process by laying out your shirt front on your work surface with the right side up. Place on of the sleeve pieces on top with right side down. You will know you have your sleeve aligned correctly if the raglan seam with the single notch lines up with the single notch on the shirt front (note that double notches usually signify the back side of a garment).

Pin the sleeve seam thoroughly so the notch lines up.

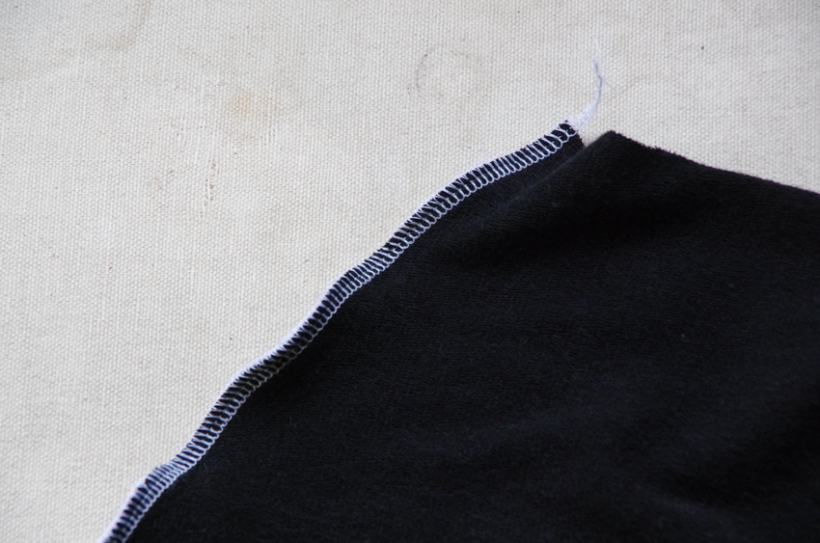
Stitch the seam using a 1.5 cm (5/8″) seam allowance. If you are using a serger, this means you will need to trim off the extra fabric with the serger blade.
If you do not have a serger and are instead using a stretch stitch on your regular sewing machine, here are how some examples of stitches you might use:

A simple zig zag stitch works great. Play around with the stitch length and the stitch width by sewing together two small scraps of fabric to create a practice seam. You want to find the sweet spot where the stitching is not very visible from the right side of the garment when the seam is pulled open and it also is nice and stretchy. If your zig zag is too wide, you will see puckers that almost look like holes on the right side of the garment. If your zig zag is too long, it will behave more like a straight stitch and not have very much stretch.

If your machine is able to do a triple stretch stitch, this is a great option of loose fitting knit garments stitched from sturdy and strong knits. The machine simply goes back and forth over the same straight stitch three times. This makes the stitch very strong so your seam will not snap. This isn’t a good option for delicate knits though since the seam will be stronger than the fabric itself! This means that, when stretched, the fabric is at risk of tearing while the seam stays perfectly intact. When I use a triple stretch stitch I like to finish the seam allowance with a zig zag stitch as you can see above. I then trim the excess seam allowance to make things look tidy and to reduce bulk. You can choose to finish the seam allowances together (like a serger would) and press them towards the back, or you can create a separate line of zig zag stitching on each seam allowance and press them open (this takes longer but creates less bulk at seam junctions).
Some regular sewing machines feature awesome stretch stitches such as the one above (they vary in appearance from machine to machine). This one features a straight stitch broken up with a wide and short zig zag. If you trim the seam allowance before stitching, the zig zag will actually enclose the raw edge of the fabric to create a finish similar to a serger. I still like to trim afterwards though since knits don’t really fray much.
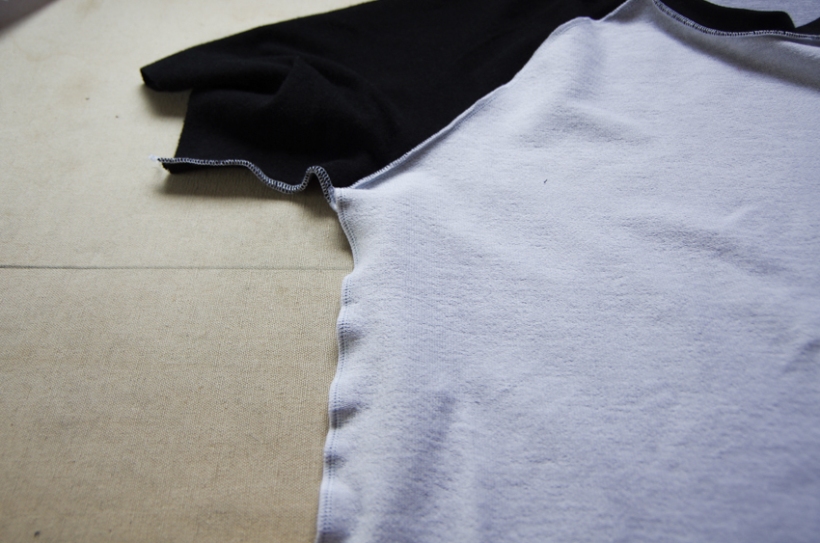
Once your raglan seam is sewn, press the seam allowance towards the sleeve (or open, depending on your preference). Repeat this process with the second sleeve:
Below you can see my serged seam allowances on the wrong side of the t-shirt – they are pressed towards the sleeves.


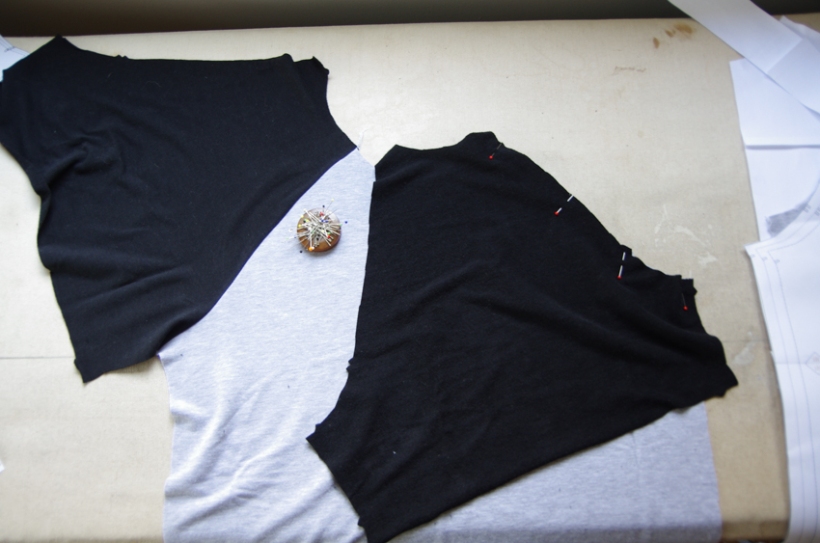
Now we are ready to add the shirt back! Leave your shirt laying right side up on your work surface with the sleeves spread out. Place the shirt back with right side down and line up one of the raglan seams. This time you will be matching the double notch. Pin thoroughly.

Pull the back over to the other sleeve and line up this raglan seam as well (again matching the double notches). Pin.

We are ready to sew the back raglan seams! Use the same stitch style as you did for the front seams and again, press the seam allowances towards the sleeves (or open).

It is beginning to look like a shirt already!

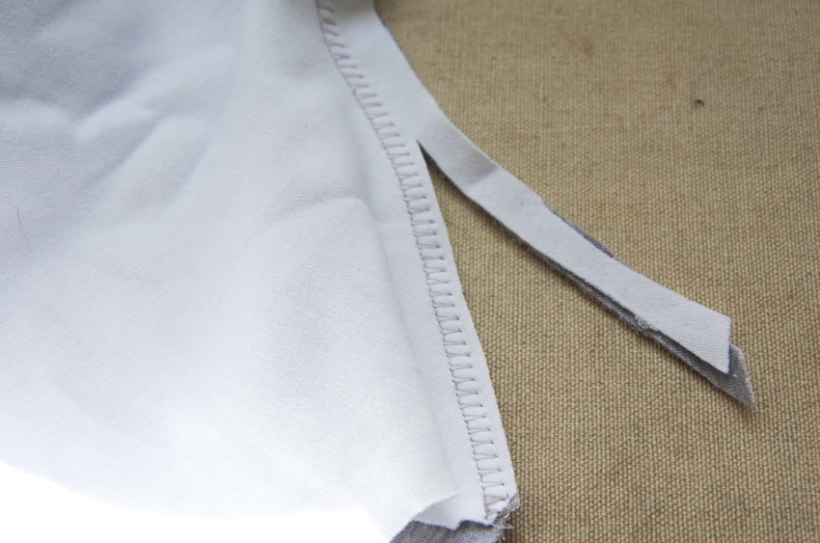
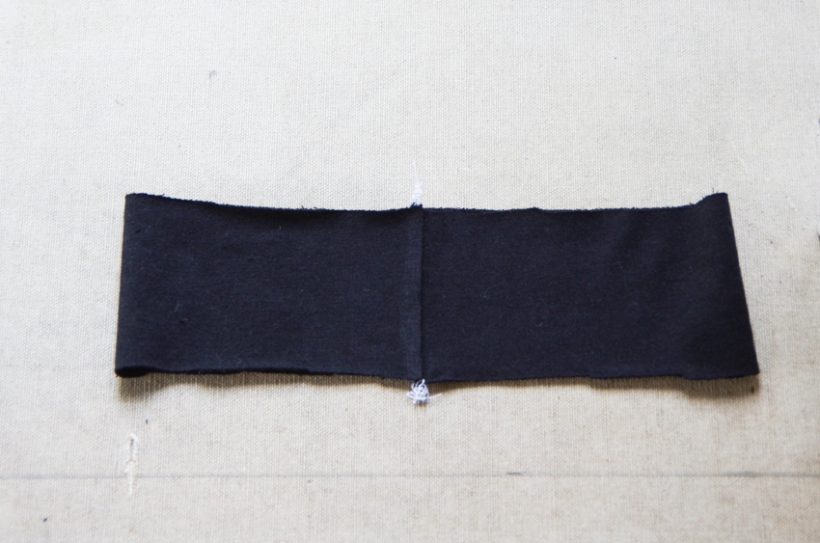
Now it is time to add the neck band. Fold your neck band piece with right sides together and align the two short ends. Pin.

If you like, you can baste the neck band closed at this point and continue following the directions below, all the while using a long basting stitch until your neckband has been sewn to your t-shirt. This is a great way to test the neckband to see if your fabric drapes heavily and drags the neckband until it is too large – this is a common problem with jersey blends but it is any easy one to fix if you do a test fit with large basting stitches. You can simply remove your basting until you are back to this step in the instructions. Sew the neck short ends using a larger seam allowance to create a smaller neckband. When the smaller neckband is stretched to fit on to the neckline, the tension created by the stretching will help the neckline to keep its shape.
The neckband is perfectly drafted to suit stable knits like interlock though, so I’ve proceeded directly to serging here!

Press the seam open or to one side (depending on the stitch style you used). You now have a loop:
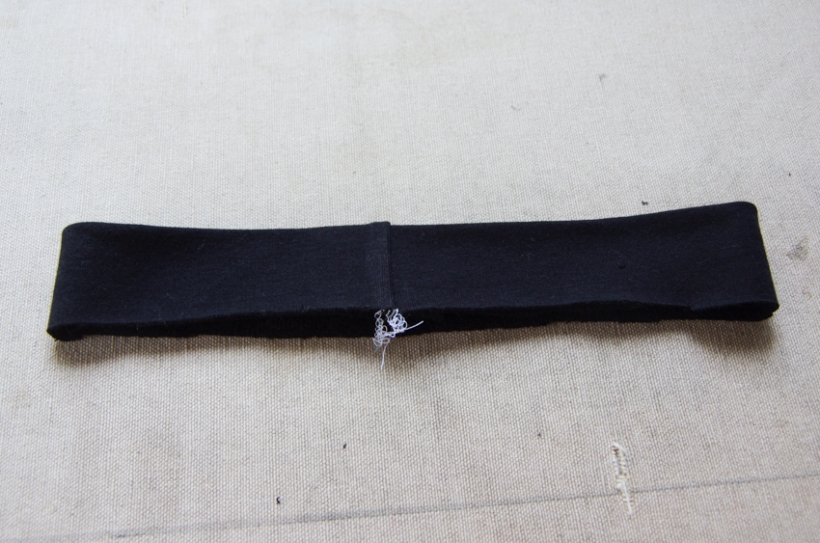
Fold your loop in half so the raw edges meet and wrong sides are together. Press.

It is now time to apply the binding to the t-shirt neckline! You can choose where you would like to position your binding seam – in the photos below you will see I’ve placed it at centre back. If you prefer, you could position it so it lines up with one of the back raglan seams. This is just a matter of style preference and does not effect the shape or fit of the neck band.
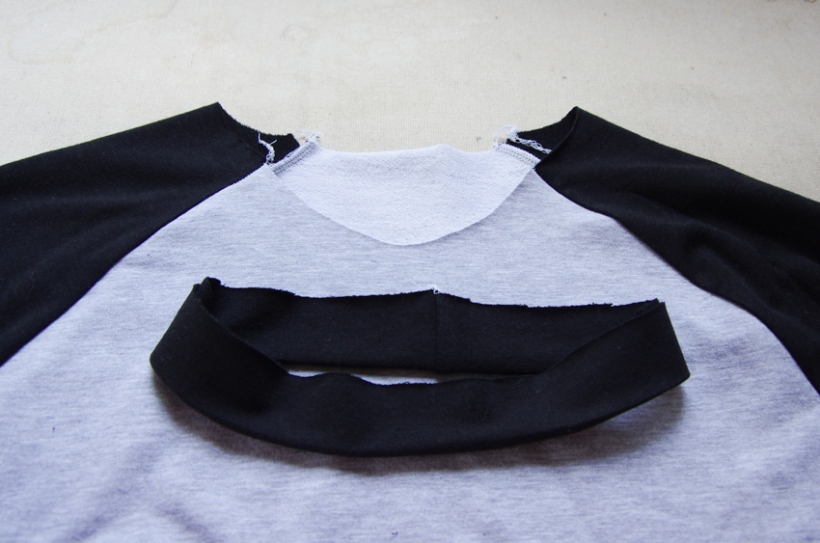
Divide your neck band in half. Line up one half (in my case, the neck band seam) with centre back. Line up the other half (which I’m pinching in the photo below) with centre front. Pin at these points.

Now divide the neck band in quarters. Align each quarter (where I’m pinching in the photo below) half way between the raglan seams.

You will notice that the binding is smaller than the shirt neckline. You’ll also notice that the front binding will need to be stretched more than the back binding to fit the shape of the neckline. Both of these observations are excellent! The small circumference of the binding will stop the neckline from gaping. The extra tension on the shirt front will ensure a shapely neckline where it is most likely to sag.

Stitch around the neckline loop using a 1.5 cm (5/8″) seam allowance. If you would like a slightly tighter crew neck than our pattern is designed to include, an easy solution would be to sew the binding with a smaller seam allowance (1 cm or 3/8″ for example). This will result in a wider neck binding and a tighter neckline.

You can see in the photo above that I began and ended my stitching at center back. This is a great idea if you plan to cover this part of the seam with a garment tag – your untidy backstitching or serger overlap will be nicely hidden! If you will not add a tag, it is a good idea to start your stitching at one of the raglan seams so it is not so obviously visible.

Press the seam allowance towards the shirt body and sleeves.

If you want to prevent the seam allowances from flapping around and also, if you would like to add more structure and stability to your neckline, you can finish off your neckline by circling it with a stretch stitch. This stitching catches the seam allowance so that it is permanently pressed in the correct direction. You can also trim off any excess seam allowance to create a tidier finish.

If you would like to stitch on a garment tag, place it at centre back and topstitch it down across the top and bottom. You could even stitch around the entire rectangle. Remember to keep your stitching as neat as possible because the shape that you stitch will be visible on the back of the garment.


Now that the neckline is complete, we can do a final fit and head on to the side seams. It is very easy to fine tune the fit of the Sayward Raglan. Try the unfinished shirt on the recipient with the shirt inside out.


Pin up the side seams and sleeve seam trying to keep your pins along the seam line as accurately as possible. If you are frustrated by the pinning or worried you will poke the wearer, you could also baste the seams together with a long stitch length before he tries it on.
At this point, you will be able to see if you need to take in the sleeves a little (i.e. sew them with a larger seam allowance) or perhaps taper to a smaller seam allowance at the waist and hips to give him a bit more room in the body.
If you are able, take the garment off the wearer with the pins still in so that you know exactly where you need to sew (now that your seam allowances are no longer consistent!).
Sew the entire sleeve and side seam in one go. Make sure that the underarm seam is aligned as perfectly as you can. Also ensure that the raglan seams remained pressed the way that you intend.

Press the seam open or towards the back depending on the stitch style that you chose.
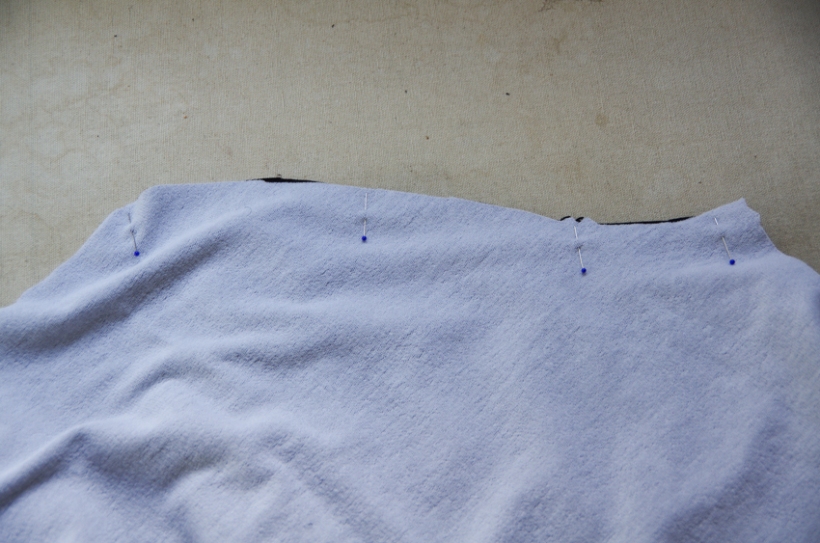
And now we hem! My favourite way to hem hefty knits such as this terry is to serge the edge and then press the fabric under at the hem notch. The instruction booklet shows you some other options to choose from too (particularly suited to lighter weight knits). If you would like to follow along with this photographed method but do not have a serger, don’t worry! You could simply zig zag the raw fabric edge.
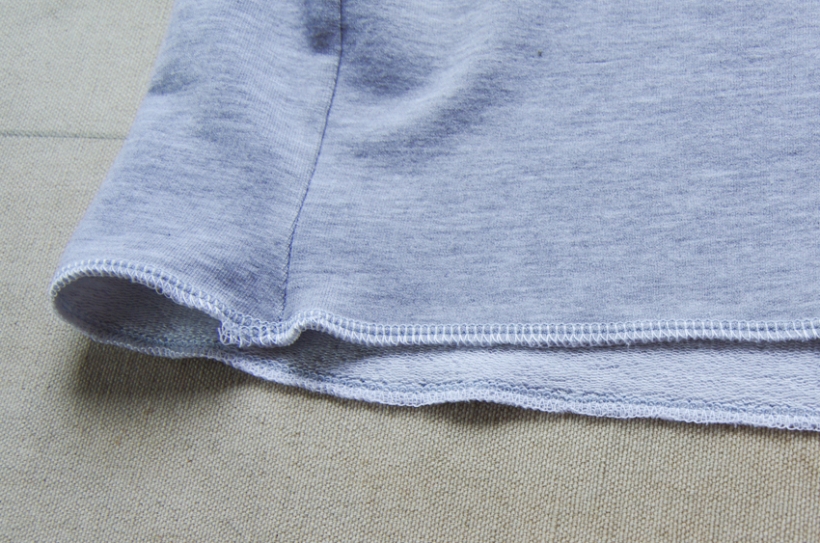
Once the raw edge is finished, fold the fabric edge up once at the hem notch. Pin thoroughly.

The same process applies to the sleeve hems:

Stitch around the hem using a zig zag stitch. In the photo below, I am stitching from the wrong side of the garment. I also like stitching from the right side of the garment.

The advantage of stitching on the wrong side of the garment is that you will have likely placed your pins on this side (so they are easier to take out as you sew) and that it will be more obvious if you are wavering off the edge of your hem or if your hem is puckering as you sew.
The advantage of stitching on the right side of the garment is that you can see how your finished results appear. You might also find that your fabric moves along more smoothly with both layers being moved along at an equal pace…at least this is what I find with my machine!
Test out both options on a scrap piece of fabric to see which side you prefer to sew from. It is essential that you do not stretch either layer of fabric while sewing since this stretching will result in a twisted hem or hem that ripples. Don’t worry, a tiny bit of stretching will likely snap back into shape after the first wash!

And here is what your finished hem will look like! While you would never see a zig zag stitch on a manufactured garment, I think it looks professional and does not seem at all noticeable or distinguishable from a coverstitch hem when worn.

And that’s it! A couple hours of sewing and your Sayward Raglan is complete! If you have already whipped one up and would like your photo shared on Friday’s blog post, please email it to me at info@threadtheory.ca or use #saywardraglan on social media. I can’t wait to see your t-shirts!