Finlayson Sweater Sew-Along: Day 2 - Preparing your Pattern and Fabric
This afternoon will be assembling our PDF pattern and cutting out our fabric.
Preparing Your PDF Pattern
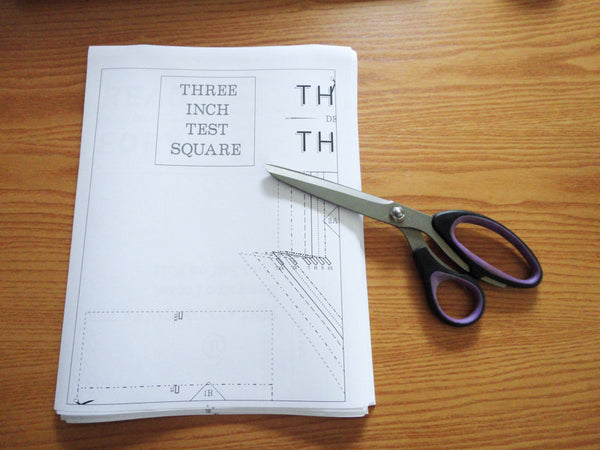
If you haven't already, print out your PDF pattern following the directions in the "Read Me First" file...did you read it first? I hope so! The file includes a chart, so that, if you accidentally drop all your printed pages and they scatter all over the floor (yes...I've done that before) you can still figure out which page goes where. The pages are numbered at the bottom outside the pattern margin, so that is a useful safety measure as well!
The Read Me First file also tells you to ensure that your pages will not be re-sized to fit the page. Printing the pattern at full size (so that the test square measures 3") will result in an accurately sized sweater. Our PDF files have big enough margins that they print correctly on Letter or A4 paper. Also, the margins allow a little leeway if your printer twists paper or grabs it at an uneven pace as ours tends to do. You can see in the photo above the my bottom margin has become very small due to our faulty printer! All the same, as long as everything inside the rectangular border is there, you are ready to start taping!

I have created a 'How to Assemble PDF Patterns' tutorial in the past and you are welcome to refer to this to assemble your Finlayson Sweater if you have never assembled a PDF pattern before. For those that are familiar with PDFs, I thought I would discuss a few of the most important tips during this sew-along just to refresh you!
First, when taping my pages, I find it quickest to cut all relevant edges (the bottom edge and the right edge which include scissor symbols) at one time. Secondly, I tape all the rows together so that I end up with a stack of rows as pictured above. Once that is done, I tape the columns together and I am left with a complete pattern!
Sometimes, if I don't have much floor space to work on or don't feel like crawling about the floor, I roughly cut out the pattern pieces before I assemble the columns. That way, I can just tape together the individual pattern pieces rather than attempting to line up two whole rows worth of pieces 100% accurately. This method takes up so little space that I have been known to assemble PDFs while sitting in bed with only a hardcover book to use as a 'table'!
Choosing Your Size
There are likely very few fit adjustments you will need to make for the Finlayson Sweater since the body of the sweater is boxy enough that it will fit most body shapes.
The key areas to achieve a good fit are: The shoulders, the chest and the sleeve length.
Here is how you measure each area:
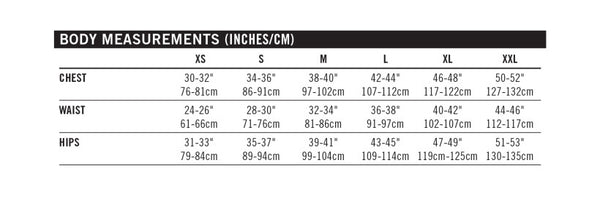
The Shoulders: Measure from shoulder to shoulder, starting and ending where a sleeve seam would sit. Keep the measuring tape fairly close to the base of the neck. On certain body types (hunched shoulders) this might mean the measuring tape is slightly curved. Once you record your shoulder measurement, compare it to the Shoulder Width measurement included in the Garment Measurements chart.
The Chest: Measure the entire circumference of the chest by circling the measuring tape around the widest part of the chest and shoulder blades (make sure you include the shoulder blades - it is easy to let the tape slip below them by accident). Make sure the tape is level and positioned just below the armpits. Once this measurement is recorded, you can compare it with the Chest measurement provided in the Body Measurements chart.
The Sleeve Length: Arm length can differ greatly from person to person, even if the rest of the body measurements are similar. Thus, it's a really good idea to check the sleeve length corresponds with the person's arm length every time you are about to sew a top. To find out how much you need to shorten or lengthen the sleeves when sewing our patterns, you will need to measure your underarm length. This isn't a standard measurement used by most pattern companies, but it is my favorite way to measure arm length because it so directly corresponds to the sleeve seam length which is easy to measure. To measure the underarm length, measure from the arm pit, along a slightly bent elbow, to the base of the thumb. This is your underarm length and can be compared to the Sleeve (Seam) measurement included in the Garment Measurements chart.
Since I am making my Finlaysons for myself, I cut a size XS with which my body measurements were very similar aside from the arms. I had to shorten the sleeves considerably to match my stubby arms :P.
It is important to note that the Sleeve (Seam) measurement is the final length of the sleeve, measured along the seam (and including the cuff). If you like your sleeves to sit lower than the base of the thumb, you may need to lengthen the sleeve and if you like your sleeves to sit closer to the wrist you will likely need to shorten it. My underarm length measured 18 3/8" and the Sleeve (Seam) for size XS measures 20 3/8". So: 20 3/8" - 18 3/8" = 2". This is the amount of length I needed to take off of the Sleeve pattern piece.
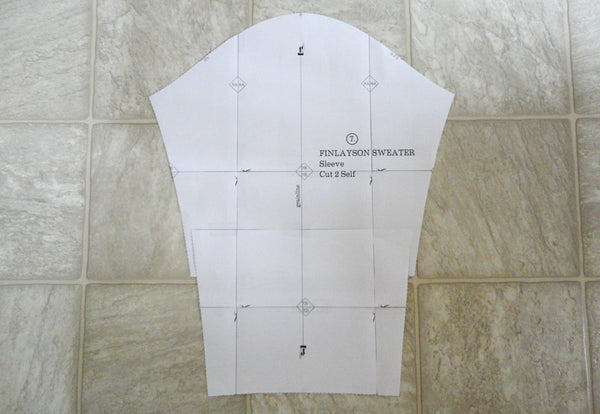
To shorten the sleeve, cut along the "Lengthen or Shorten Here" line on the Sleeve pattern piece. Overlap the two pieces as pictured above and tape them together.
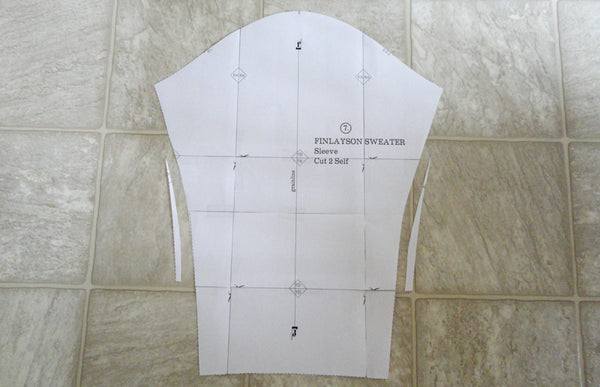
Now trim off the jagged edges so the sleeve seams are once again gently curved and smooth. If you were to add length to your sleeve, you would cut along the same line and add extra paper to fill the gap. I covered lengthening and shortening pattern pieces in detail for our Jedediah Shorts Sew-Along, so you can check that out if you would like more photos and explanation!
Now we're ready to cut out our fabric! The layouts we provided in the instruction booklet are quite conservative about how much fabric you will need - especially if you are cutting out an XS or S sweater! We don't like to estimate too low because I think it is ALWAYS better to end up with too much fabric than not enough! To illustrate how much fabric you can save if you are creative with your pattern piece layout, are not using a fabric with a nap or directional print, and are cutting out one of the smaller sizes, I managed to cut out my Finlayson Variation 1 from my double knit using only 1.2 m of 150cm/60" wide fabric! It was an adventure, that's for sure...
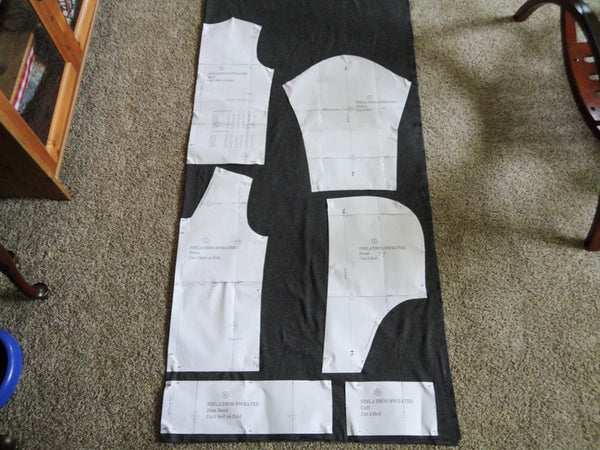
First, I laid out the fabric with the selvages folded towards the center to create two 'Folds'. With the fabric laid out in this manner, I fit the pattern pieces on like this:
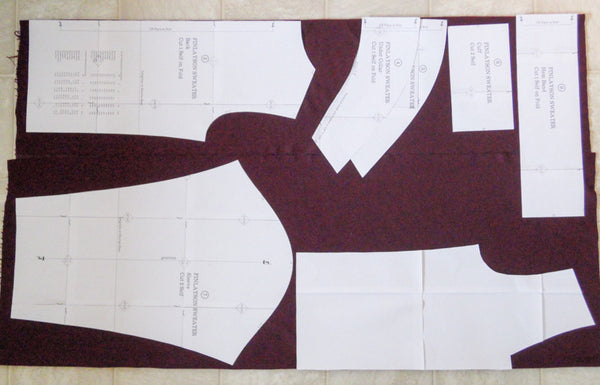
As you can see (in my unclear photo...sorry!), the pieces in the top right corner extend beyond the salvage. I cut all pieces that fit first and then adjusted the fabric like so:
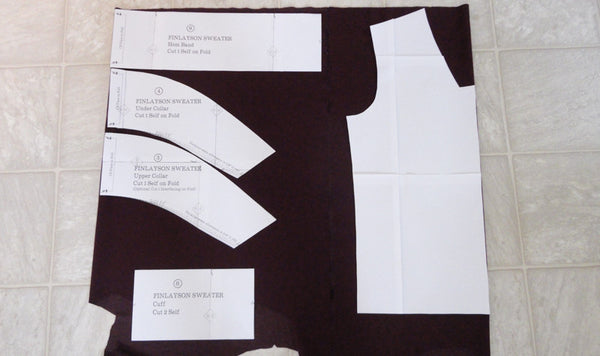
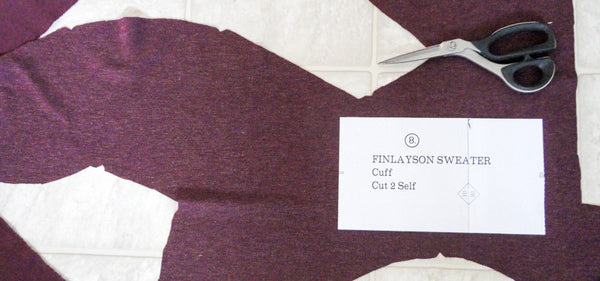
Still, the Cuff piece did not fit on the folded fabric so I cut the remaining pieces and then unfolded the fabric. I cut the two cuffs on a single layer:
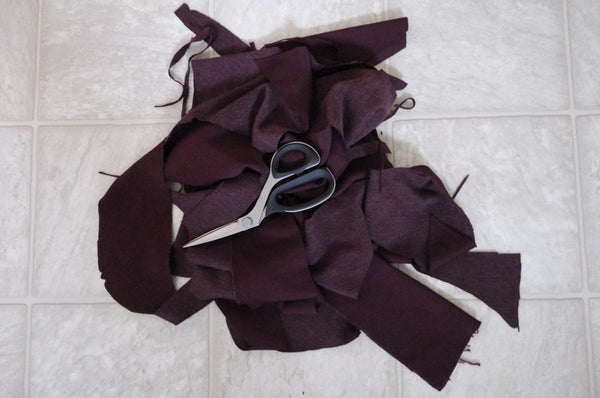
It was tricky and a bit of an adrenaline rush as I began to worry I didn't have enough fabric but...in the end it saved me 1.2m of fabric! WOOT! Look at how small my scrap pile was:

When I cut out knit fabrics I always cut my notches outwards to form little triangles rather than notching inwards. This will prevent 'runs' occurring in the fabric.
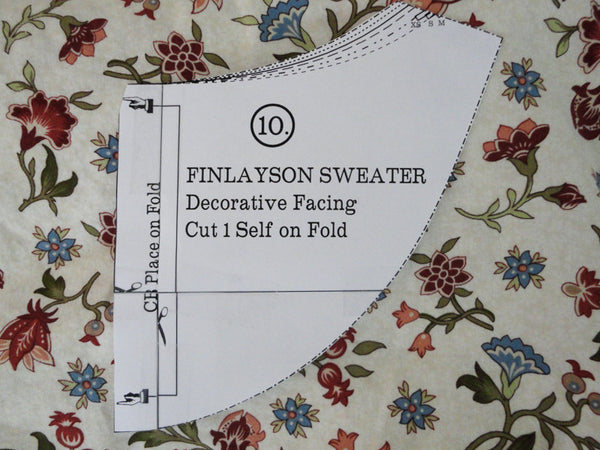
The last pattern piece I cut out was the Decorative Facing. I chose a pretty cotton for this as it doesn't really need to stretch!
And now on to Variation 2! I laid this one out without being so stingy with my ponte knit fabric.
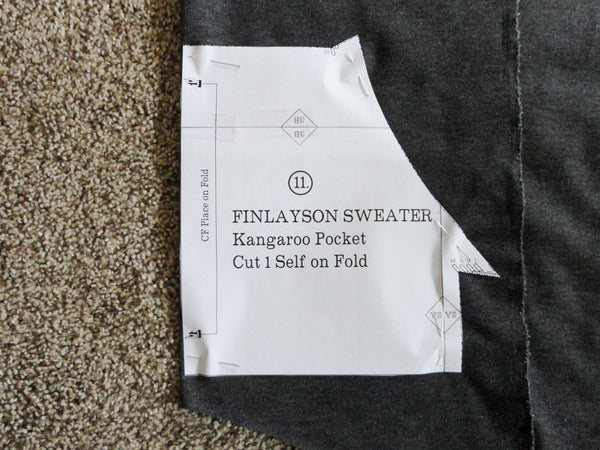
I saved a little bit of fabric (enough to make a knit mini skirt perhaps? Or a super cozy colour-blocked Scout tee!) by cutting out all pieces except the Kangaroo Pocket first and then refolding the remaining fabric narrowly (rather than in half) to cut out the pocket on the fold.
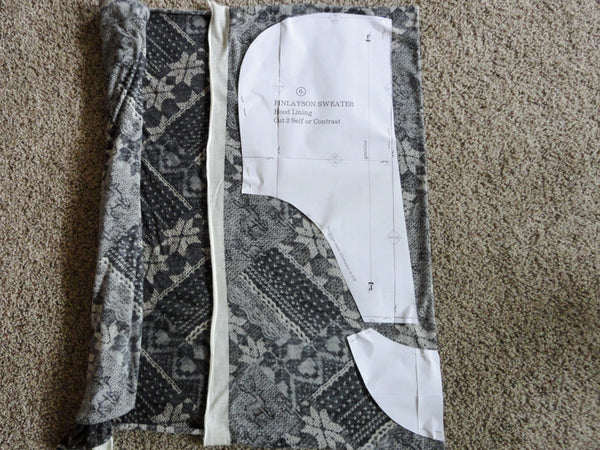
I cut out the Hood Lining and the Decorative Facing out of a light contrast knit.
And now our Finlaysons are all cut out and we are ready to get sewing!