Finlayson Sweater Sew-Along: Day 4 - Preparing and sewing the collar and hood
Today we will be moving on to perhaps the trickiest part of this sweater - the collar or hood! That being said, it really is only tricky in the context of how easy it is to sew the rest of the sweater, the cross over collar/hood is actually quite simple.
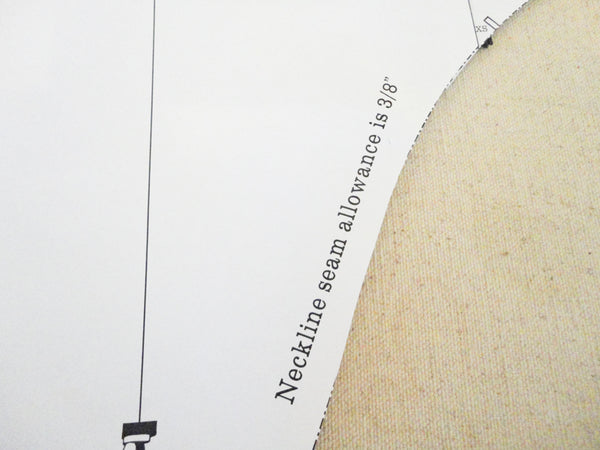
First things first, it is important to note that the seam allowance for the neckline is 3/8" rather than the 5/8" used for the rest of the sweater. We decided to use a 5/8" seam allowance for most of the sweater so that people using a regular sewing machine (rather than a serger) can sew the Finlayson just as they would sew a woven garment. For the collar, however, it makes more sense to use a smaller seam allowance which produces less bulk. That way there is less trimming involved once you have sewn your seams.
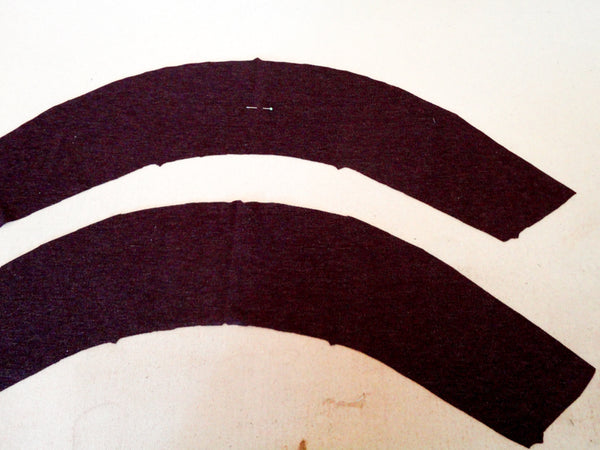
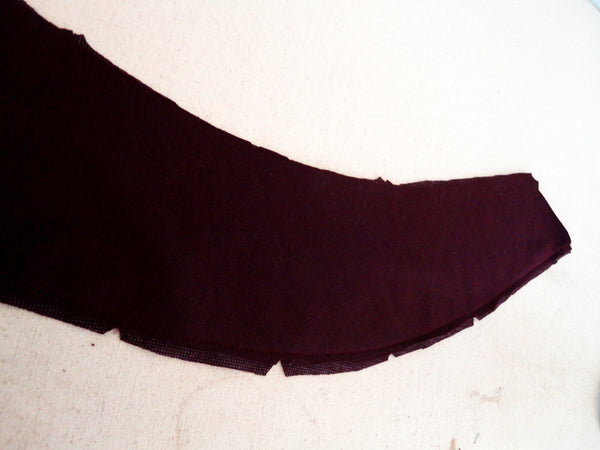
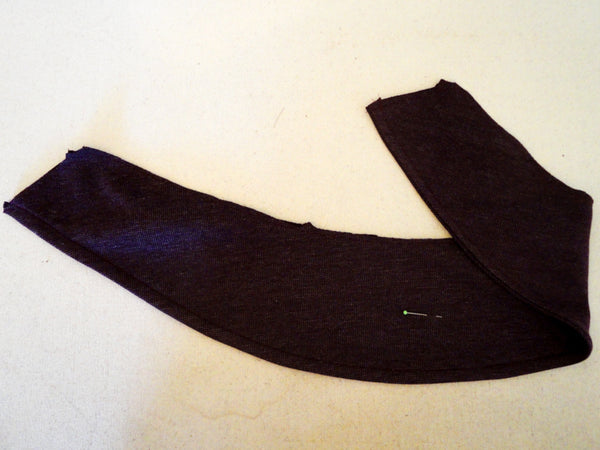
Let's begin with Variation One (if you are sewing Variation 2, scroll down considerably until you see the grey sweater!). Distinguish between your Upper and Undercollar pieces by placing a pin in one of them or marking it in some other way. I pinned my Upper Collar.
To assemble the collar pieces, place the two pieces right side together and pin along the long convex curve . Make sure to match the notch at the center and stretch the rest to fit (as the two collar pieces are shaped slightly differently to encourage the seam to roll under once the collar is finished). I stitched my pieces together using the reinforced stretch stitch and a 5/8" seam allowance (since this isn't a neckline seam).
It is a good idea to grade this seam to reduce bulk. You can do this by trimming one seam allowance to 1/4" and the other to approximately 3/8".
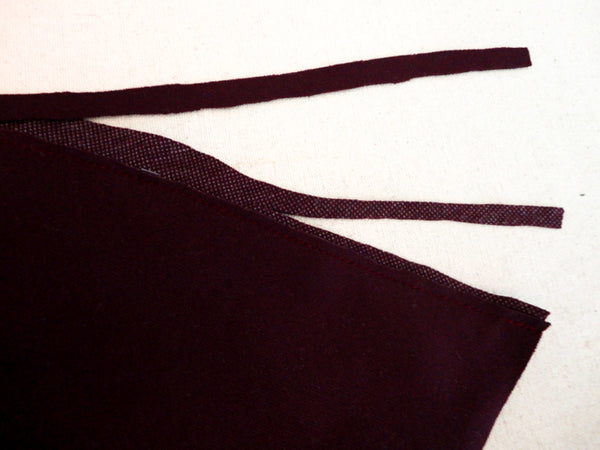
If your fabric doesn't seem to fray or pull and run too much, you can clip triangular notches into your seam allowance so that the curve turns right side out nicely but you might want to avoid doing this if your fabric shreds along raw edges very easily - you don't want to weaken the seam!
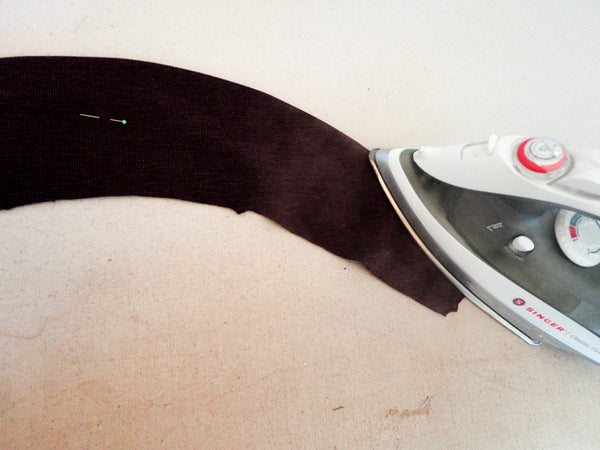
Flip the collar right sides out and carefully iron so that the seam sits slightly turned towards the under collar.
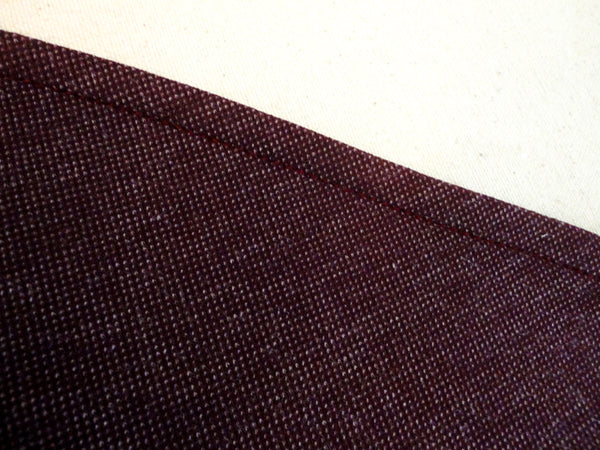
At this point you have three options - you can choose to leave the collar like this, you can under stitch the seam allowance and under collar together to help the seam stay rolled to the underside, or you can do what I have done in the photo above - top stitch 3/8" from the finished seam along the entire curve.
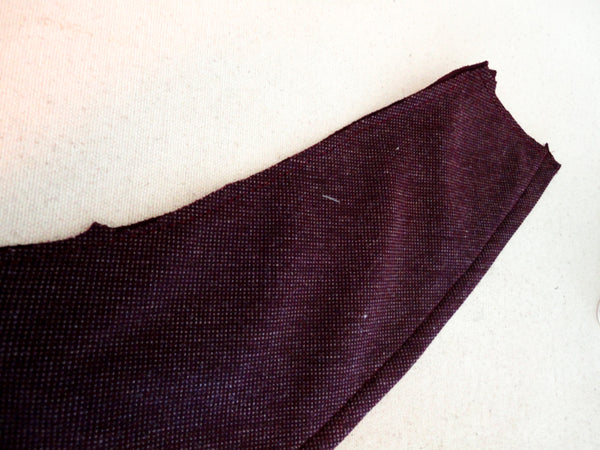
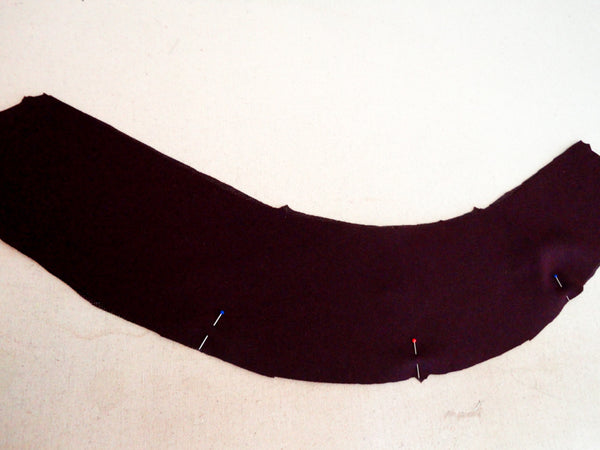
The last step to prepare the collar before adding it to the sweater is to baste the remaining Upper Collar and Under Collar raw edges together. You'll need to ease the layers again gently to make sure that all notches match.
Now it's time to do a bit of origami! Place your collar in front of you with the Under Collar visible. Fold the right end inwards as pictured above.
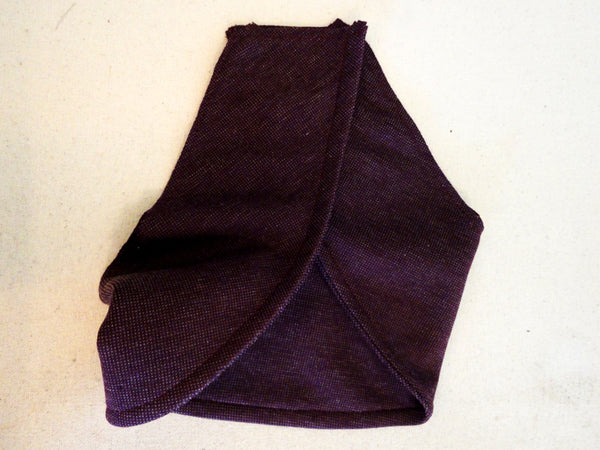
Fold the left end inwards and stack the narrow collar ends together.
Lift up your collar and, without changing its positioning, place it on top of the sweater front.
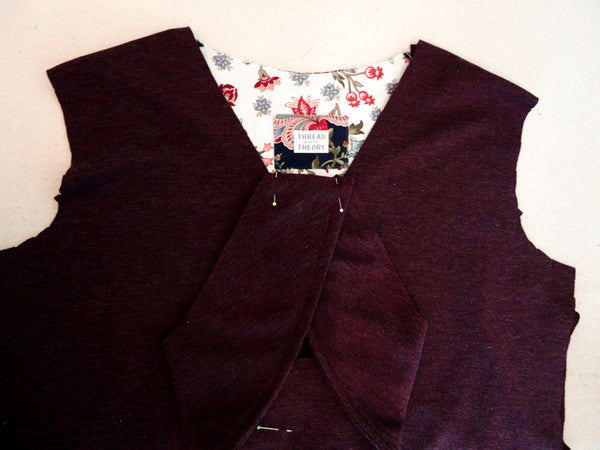
Line up the collar notches with the placement markings on the sweater front (I've placed pins at these two positions so you can see them clearly). Stitch, using a reinforced stretch stitch or just a straight stitch, from placement marking to placement marking (remember to use a 3/8" seam allowance! Your seam will start and finish 3/8" from either collar edge.
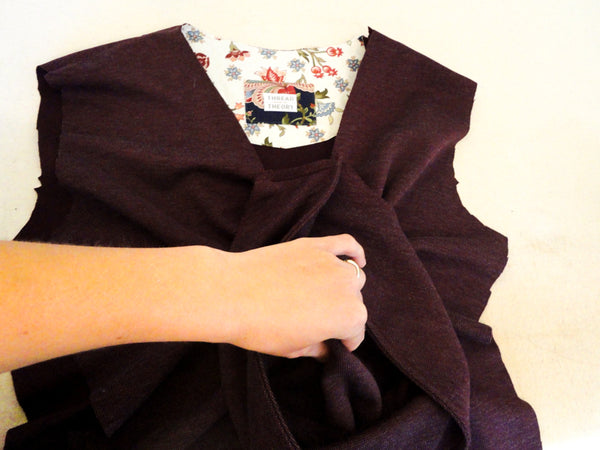
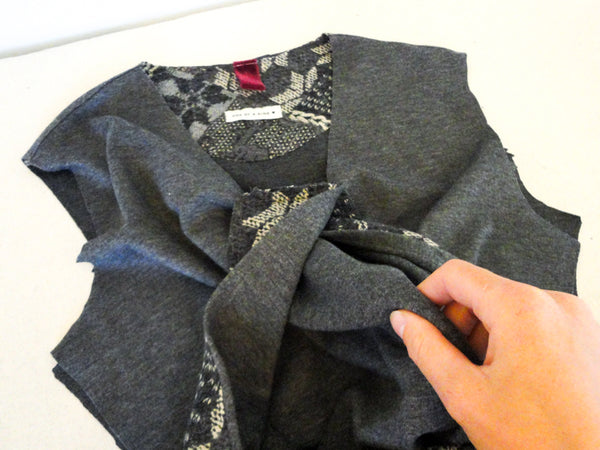
Now that the base of the collar is attached, it is necessary to re-position the collar so that it lines up with the sweater neckline. I do this by grasping the sweater through the loop of the collar (see photo above) and pulling the entire sweater through the collar loop.
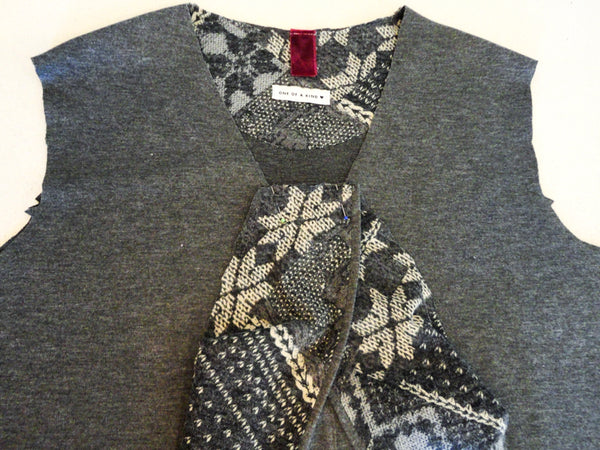
With some shifting and re-arranging, your sweater will eventually be positioned as photographed above - you can see the armholes in the middle of the photo and the sewn collar front on the right hand side. All raw neckline and collar edges are lined up together.

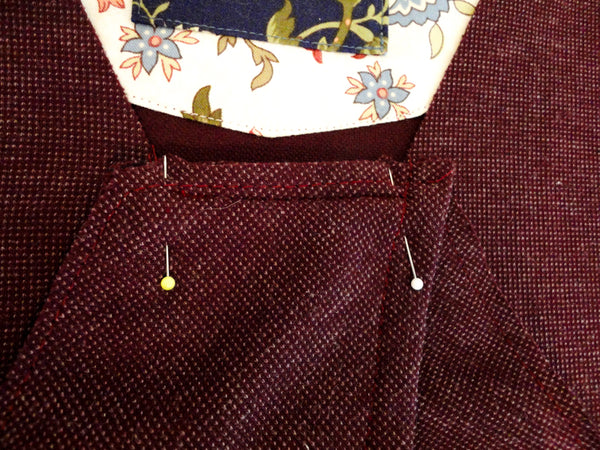
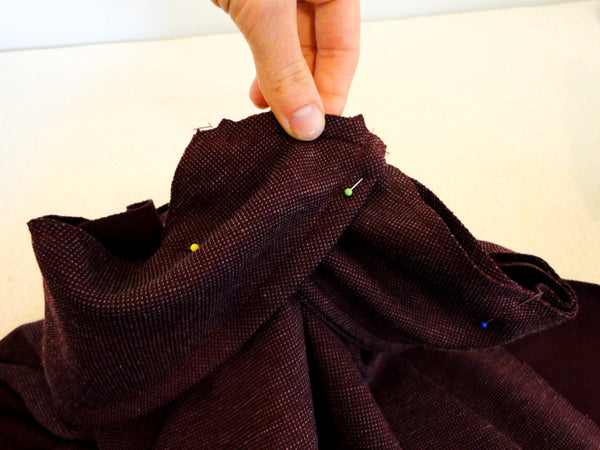
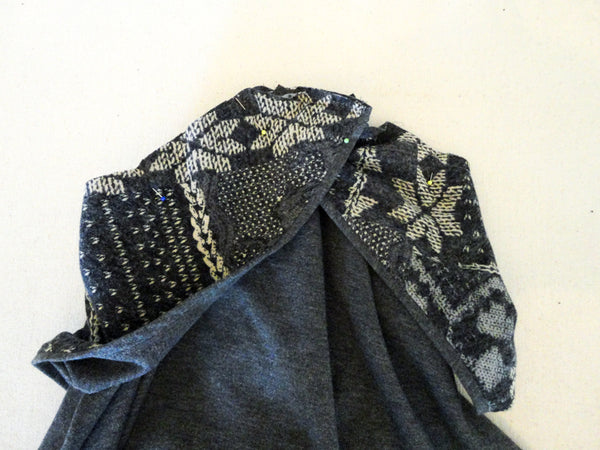
Above is a photo of the positioning from a different perspective. You can see the collar front in the middle of the photo and the pins mark where the collar notches match with the shoulder seams. Pin the entire collar circle in place.
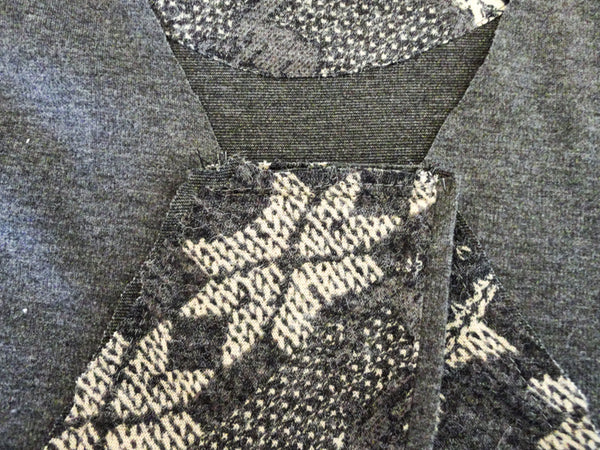
At the collar front we will begin our stitching where we left off along the front of the collar. Keep in mind, when you begin and end your sewing of the collar loop, that there is quite a bit of Sweater Front fabric that needs to be kept out of the way while sewing (see the photo below). I like to sew the collar loop with the collar visible and the sweater against the bed of the sewing machine but you are welcome to sew this loop from the sweater side too (if you want to keep a close eye that the sweater doesn't get pinched in the seam!).
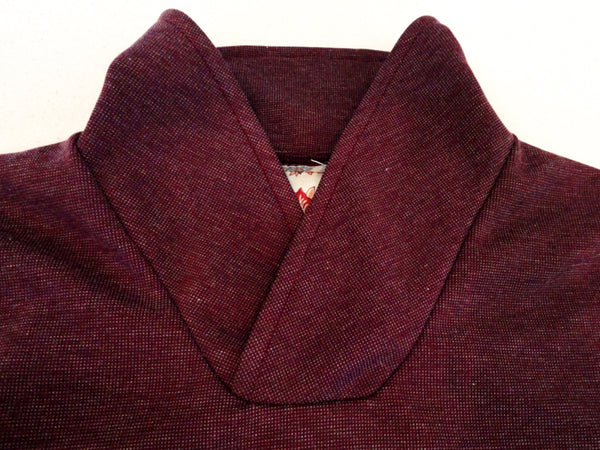
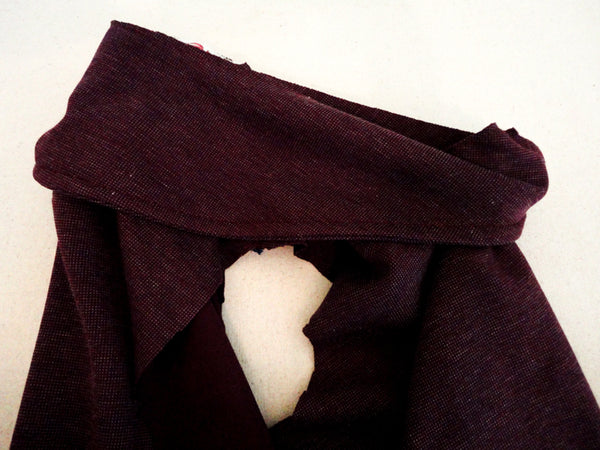
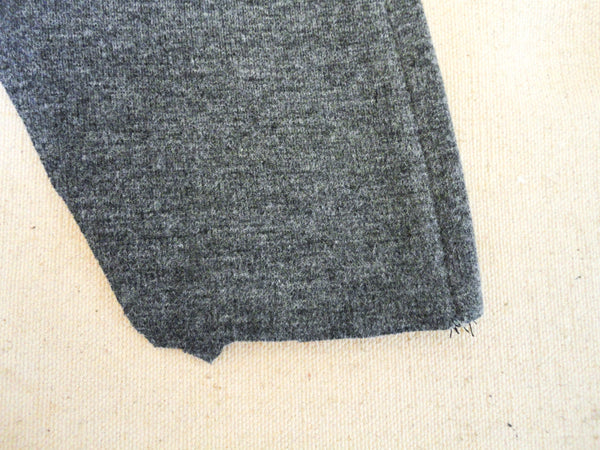
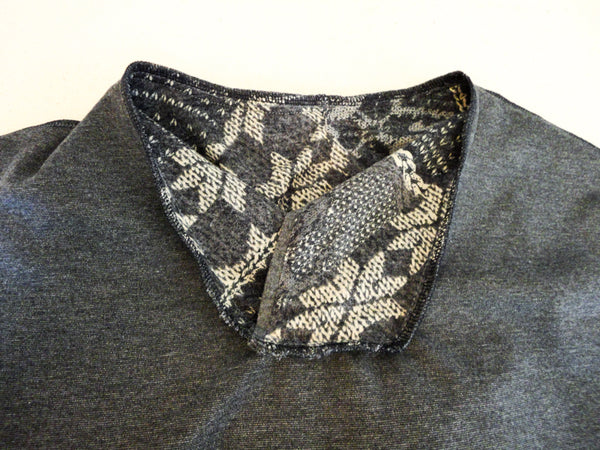
And here we have it! The finished collar (before any ironing or top stitching).

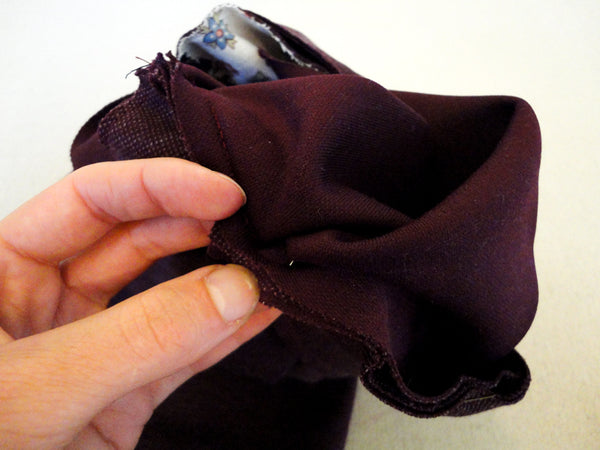
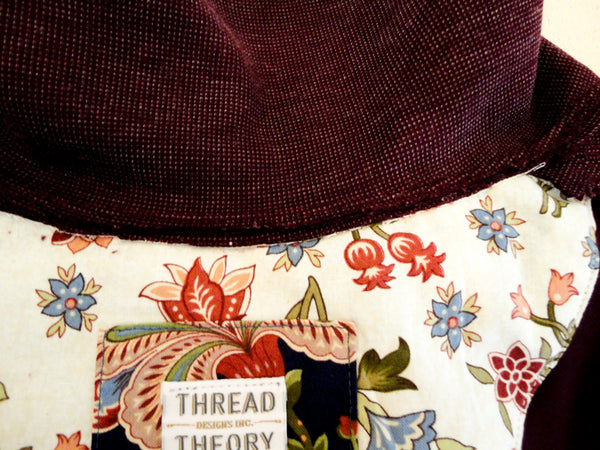
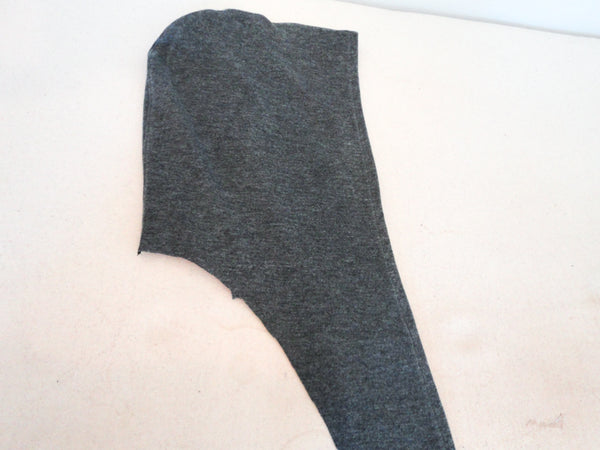
This is what the collar front looks like from the inside. You can see that my seam curves quite considerably at the corners - it should look more angular than this but I finished my front collar seam slightly too far from the collar edge. This little mistake didn't cause much harm though! With a bit of ironing and top stitching (as we will do shortly) the rounded corners looked perfectly presentable!
Trim the collar seam allowance as much as your fabric requires (depending on how easily it frays and how bulky it is). You could grade these layers to reduce bulk further if you prefer. Once trimmed, press the seam allowance towards the sweater.
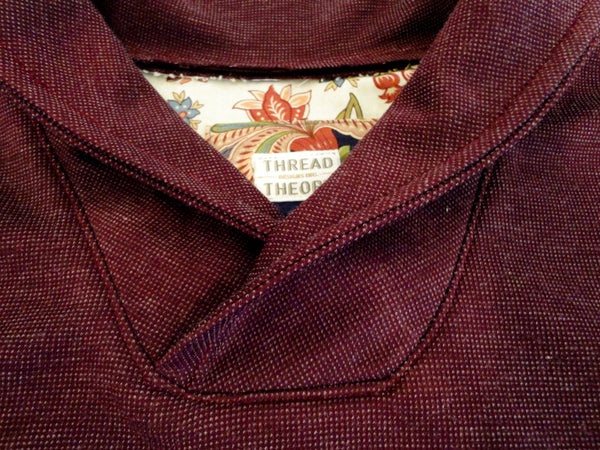
As an optional way to create a flat and crisp appearance, you can top stitch the seam allowance in place all along the collar seam. I started my top stitching at a shoulder seam so that the back stitching will stay hidden under the turned collar. I top stitched 1/8" from the collar seam.

Congratulations, your sweater has a finished collar!
Now let's move on to Variation Two and sew the hood:
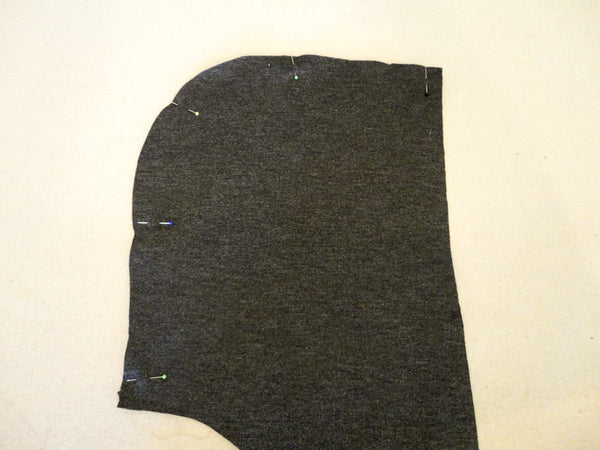
Place the Hood pieces with right sides together and pin along the hood curve.
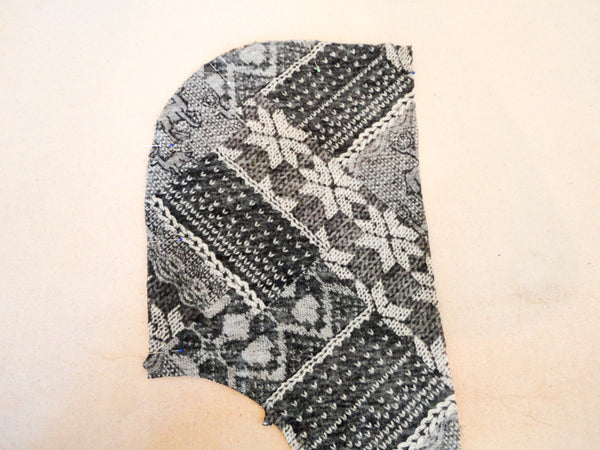
You can do the same pinning to your lining pieces and sew both seams in one go! Since I am sewing this sweater with my serger, I simply serged these seams. You could also use the reinforced stretch stitch or a zig zag stitch for this seam.
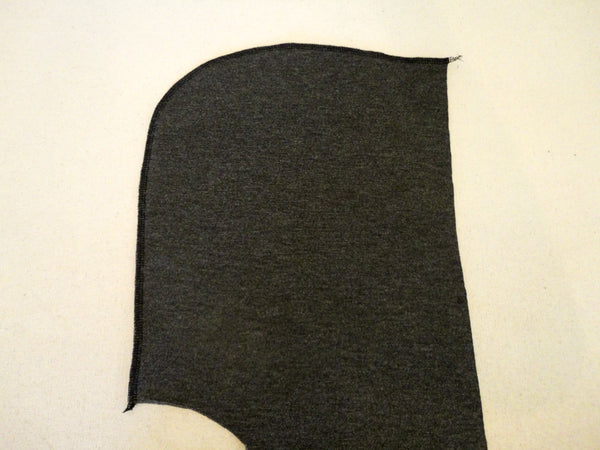
Iron the seams to one side or open depending on what type of stitch you used to sew them.
I decided to top stitch 1/8" from my seam to echo the top stitching elsewhere on the sweater. Top stitching looks so nice and crisp on this ponte de roma!
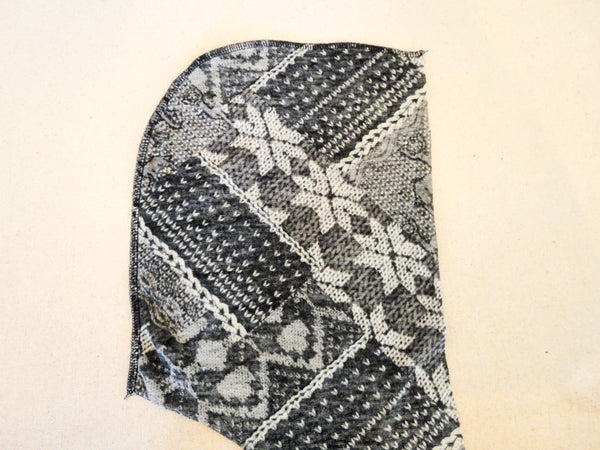
To join the lining and hood together, place these pieces with right sides together.
Pin along the long hood edge and stitch using your chosen method (I serged).

Flip the hood so that right sides are out and line up the rest of the raw edges. You'll notice that the hood piece is larger than the lining so make sure to line up the notch at the narrow base of the hood and turn the seam under to the lining side (pictured below).
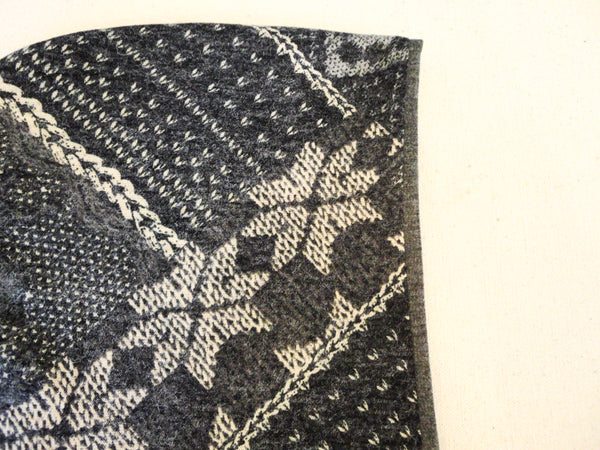
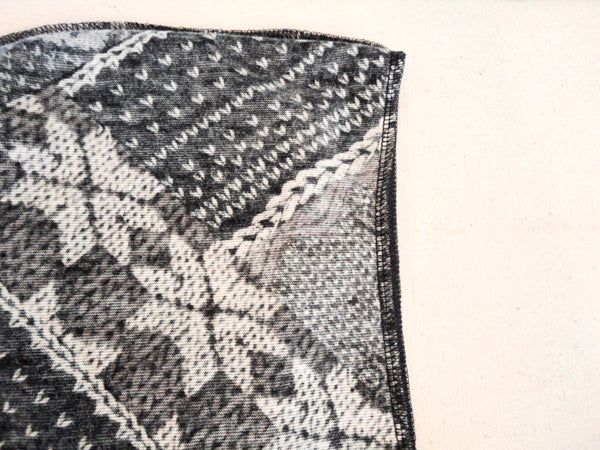
I finished the hood edge by top stitching 3/8" from the hood edge (the folded fabric - not 3/8" from the seam, which is folded under).
And now it is time to finish the neckline seam. At this point we will begin stitching using a 3/8" seam allowance (I explain why at the very beginning of this post).

Pin the hood and lining layers together along the entire hood base. Baste these layers together using a long stitch. No need to back stitch!


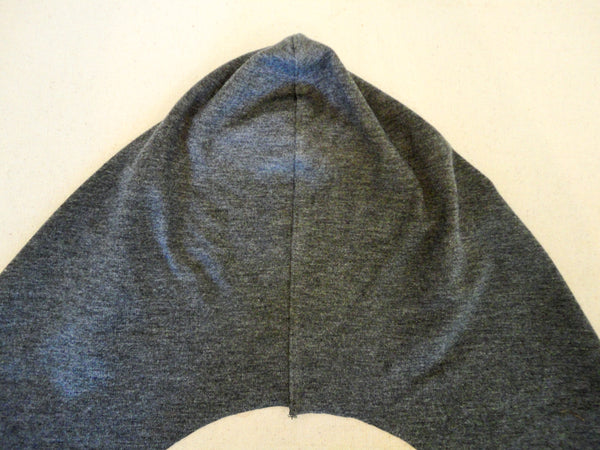
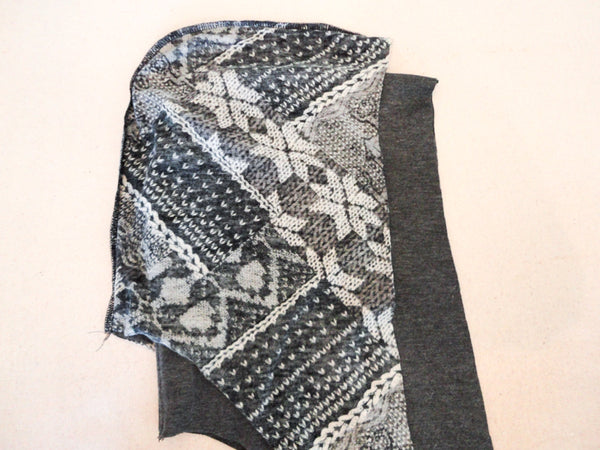
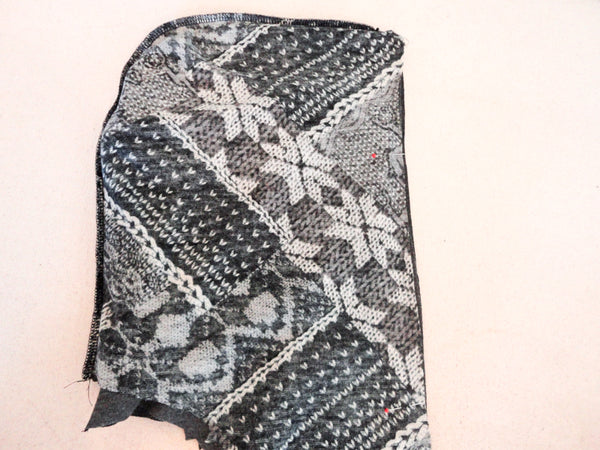
As with Variation One, it is now time for a little origami! For more detailed photos of this folding process, refer to the collar photos earlier in the post. You will need to place the hood in front of you with the right side visible. Fold the right end inwards and then fold the left end inwards to stack the narrow collar end on top of the first one.
Without changing the hood positioning, place it on top of the sweater Front right side. Pin the narrow hood ends to the neckline base. Make sure to line up the notches on the hood with the placement markings on the sweater Front.
Stitch along the hood base using a 3/8" seam allowance - begin and end at the placement markings and notches (3/8" from either collar edge).
Now that the base of the hood is attached, it is necessary to re-position the hood so that it lines up with the sweater neckline. I do this by grasping the sweater through the loop of the hood (see photo above) and pulling the entire sweater through the hood loop.
Now that your sweater is through the hood loop, you'll be able to shift everything around until all the neckline raw edges of both the hood and sweater are lined up continuously. Pin everything in place matching the hood notches with the shoulder seams. Now we are ready to stitch the neckline! As I mentioned for Variation One, you will want to watch that the sweater fabric at the two front corners is free from your stitching - it is prone to becoming pinched so carefully shift the folds out of the way as you stitch.
I stitched my neckline with the serger only - but feel free to use a straight stitch or reinforced straight stitch if you want to be on the careful side (it isn't much fun to stitch-rip serging if you need to adjust your seam line!).

Press your seam allowance towards the sweater. To continue my theme of top stitching, I top stitched, starting at a shoulder seam, all the way around the neckline.

Doesn't that look nice? I hope yours does as well!