Finlayson Sweater Sew-Along: Day 5 - Neckline twill tape and the kangaroo pocket
Welcome to the next installment of the Finlayson Sew-along! We'll be adding twill tape (or ribbon) to our necklines today for a fancy and professional looking finish. We'll also be sewing the kangaroo pocket. I'm adding this pocket to my grey ponte de roma sweater (Variation Two) but you could add it to either variation depending on your preference.
I'm going to go over two techniques for adding ribbon or twill tape to your Finlayson Sweater's neckline. The first technique will be slightly different than the one we include in our instructions and the second technique (which I've used for the grey Variation Two) will be the same as in the instruction booklet.
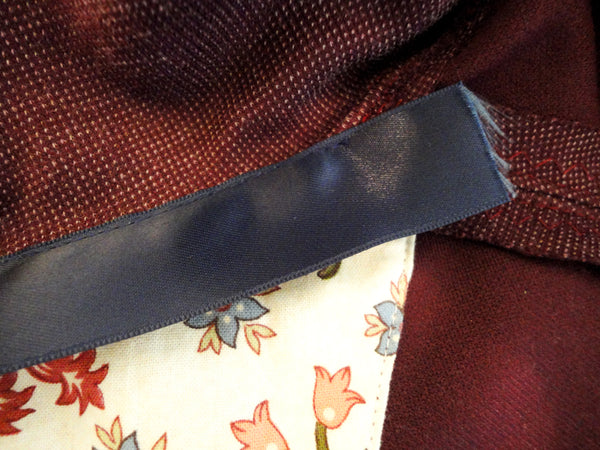
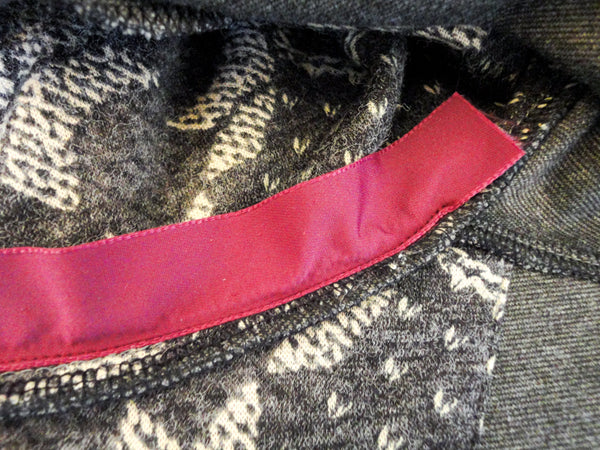
This first technique is a bit simpler but also a bit less professional version of applying trim to the neckline. I stitched the ribbon directly onto the sweater without folding under either ribbon edge. This will work well if your ribbon isn't very wide (my 1" ribbon was quite wide for this technique but, since it is satin, it still managed to bend to the neckline curve fairly well) and if it's edges aren't very scratchy.
To apply the ribbon, you will need to thread your machine with a thread colour that matches the ribbon on the top and a bobbin full of thread matching the sweater on the bottom. Pin your ribbon to the neckline so that the top of the ribbon lines up with the neck seamline and the rest of the ribbon extends into the sweater below. Allow the ribbon to extend at least 1/2" past the shoulder seam on either side of the neckline.
Simply top stitch the ribbon along the neck seamline, stitching as close to the top ribbon edge as possible:
If your ribbon is too long, trim either end of it so you have 1/2" that is unsewn along the top. This is kept free to tuck under before you sew along the bottom of the ribbon (leaving no raw edges).

Pin the bottom of the ribbon and the tucked ends in place. Stitch along the bottom of the ribbon, and, if you like, stitch along either ribbon end to keep the tucked ends from slipping out (this isn't very necessary with narrow ribbons (1/2" twill tape for example) but is probably helpful with 1" ribbons like the one I used).
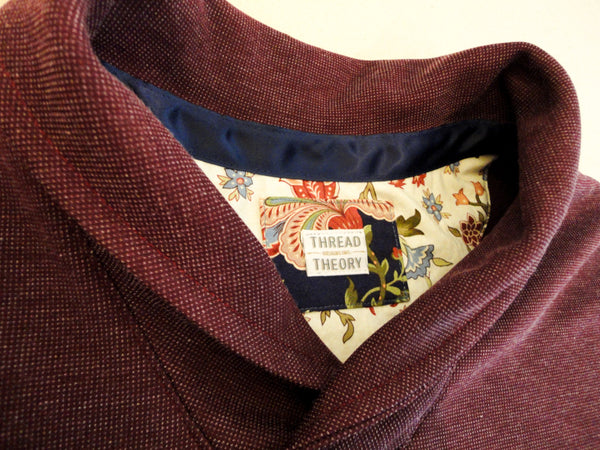
And there you have it! A gorgeously finished neckline!
Now I will show you the very slightly more complicated method that I included in the instruction booklet.
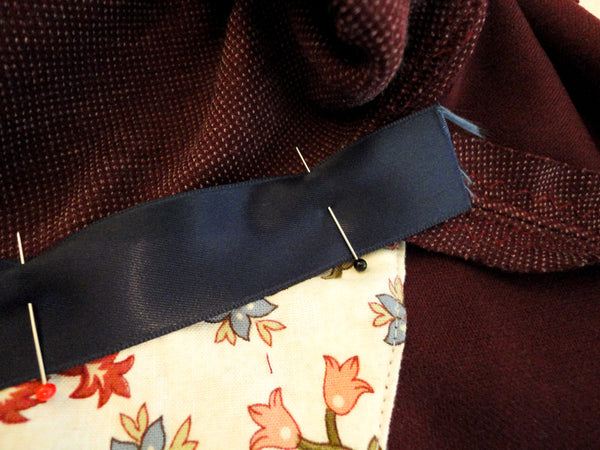
The only difference with this method is that it results in a ribbon with a tucked under top edge. This is potentially softer on the neck and creates a narrower ribbon finish which means the top stitching visible from the right side of the sweater will be closer together and thus a bit more attractive. To begin this method, pin the ribbon/twill tape to the garment with the right side of the ribbon facing the sweater and the bottom ribbon edge lined up with the neckline seam. The rest of the ribbon will extend above the sweater towards the collar.
Stitch the bottom edge of the ribbon in place using a thread that matches the ribbon on the top of your sewing machine and a bobbin of thread matching your sweater on the bottom.
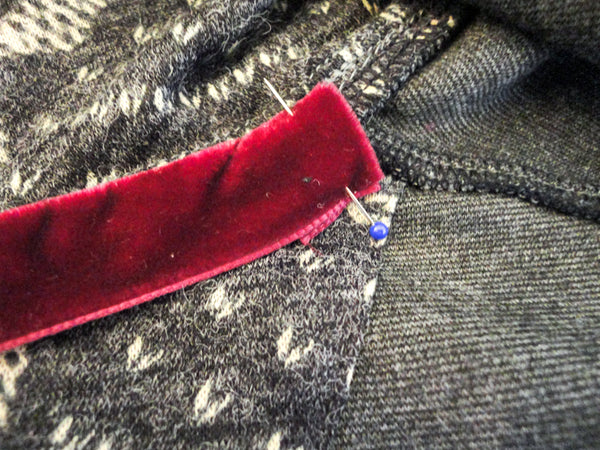
Trim either end of the ribbon so that 1/2" free ribbon extends beyond the shoulder seam and stitching. Fold the ribbon downwards to cover the neckline seam allowance and fold under the 1/2" free ends.
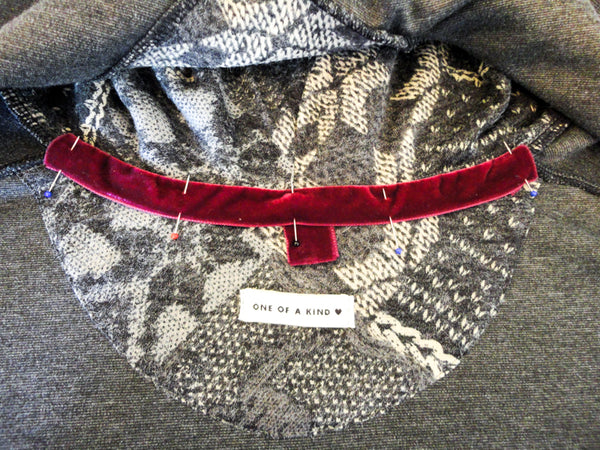
Pin the folded ends and rest of the ribbon in place.
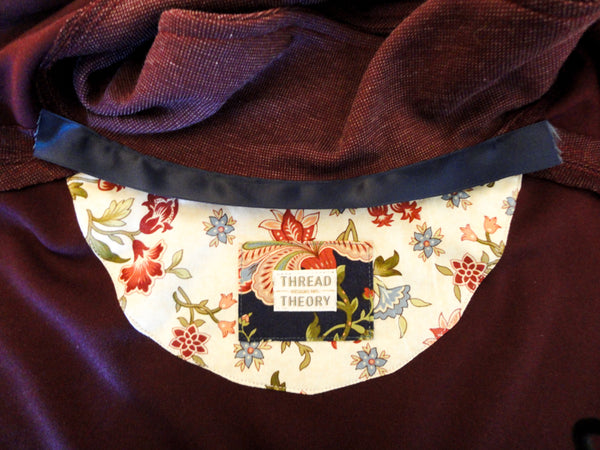
Stitch along the bottom and the folded ends of the ribbon. Voila, you have a beautifully finished neckline!

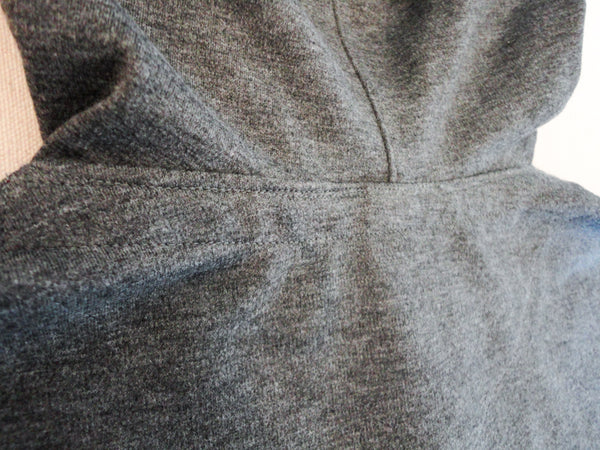
This is what your sweater will look like from the outside. Of course, if your twill tape or ribbon were thinner than mine (the recommended 1/2" for example) your top stitching would look much closer together.
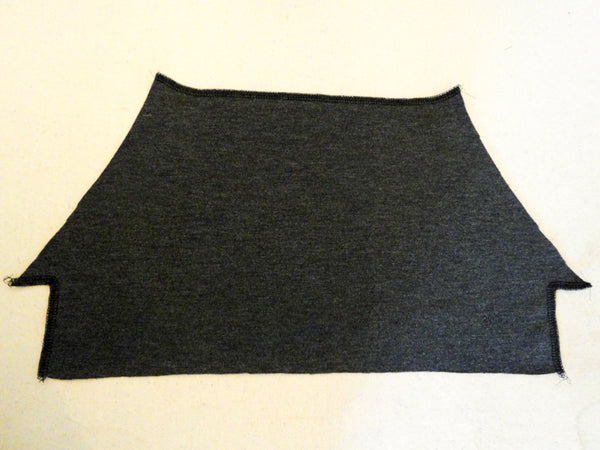
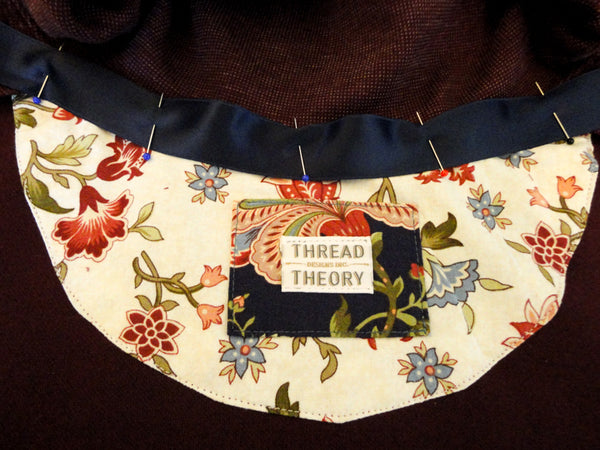
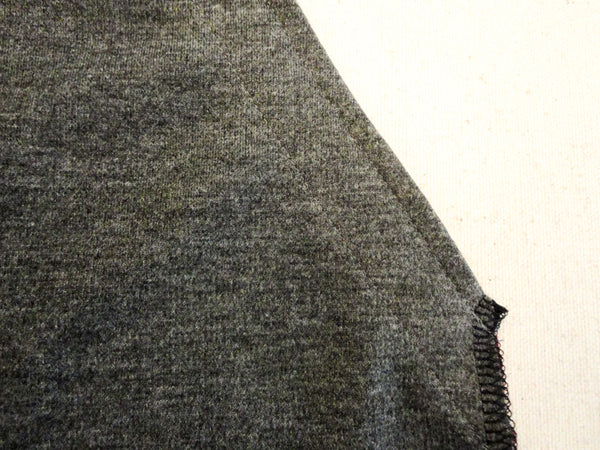
Now we'll move on to the kangaroo pocket! Finish all edges (as per the instructions) or, if you are wanting to finish only the very necessary edges, you can finish the edges depicted in the photo above. I finished my edges with a serger but you could also use a zig zag stitch.
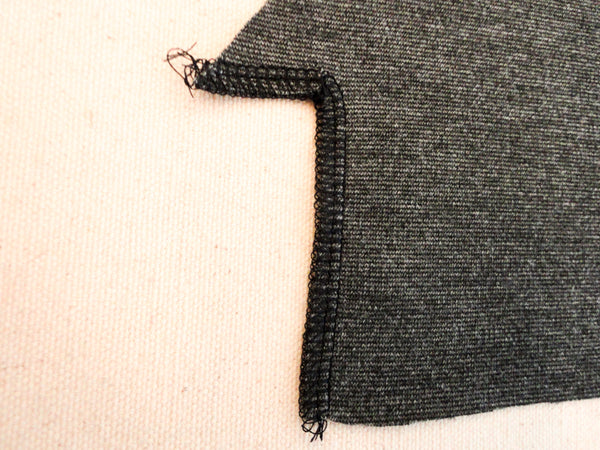
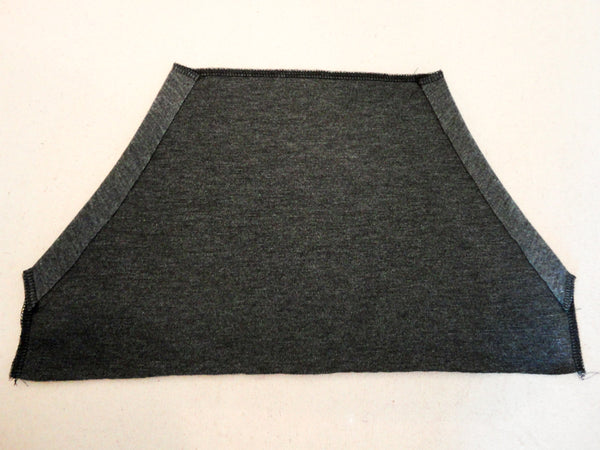
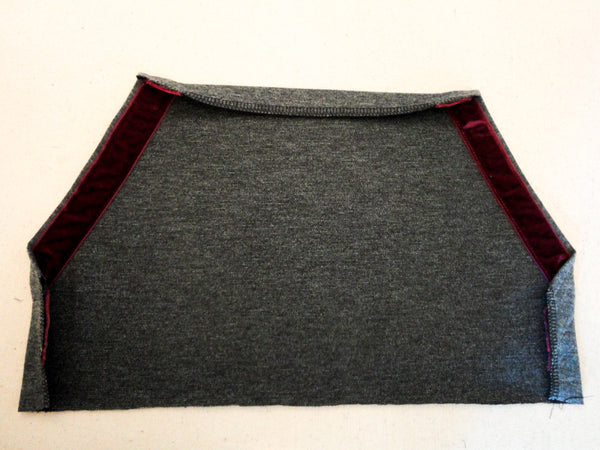
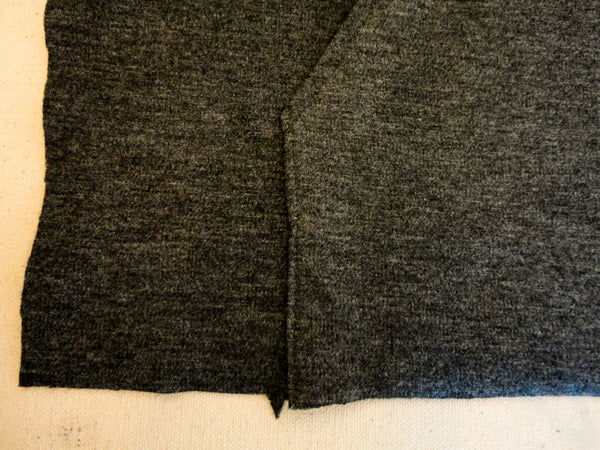
Now fold over the slanted pocket openings (5/8").

Pin your trim over the raw pocket opening edge. At first, I placed my trim centered over the raw edge but I ended up shifting it closer to the folded edge before stitching because I wanted my top stitching to be close to the edge on the outside of the pocket. You would not need to shift your trim this way if you are using 1/2" twill tape as recommended!
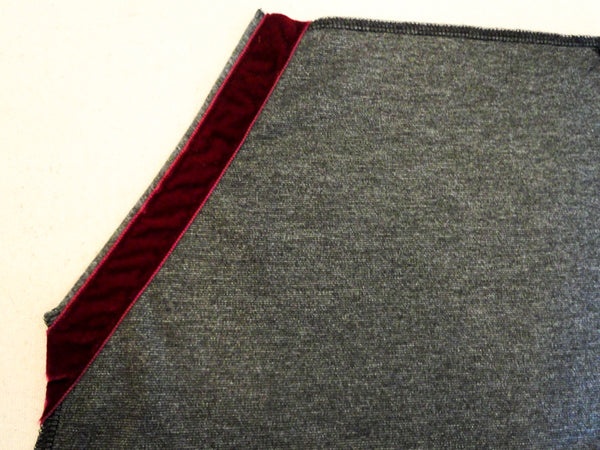
Stitch down either edge of the ribbon and trim any ribbon extending past the pocket.
Above is how your pocket will look from the outside!
Fold under the remaining 5/8" seam allowances. You don't need to fold under the bottom edge of the pocket because it will be aligned with the bottom of the sweater front and finished when we add the hem band at a later point.
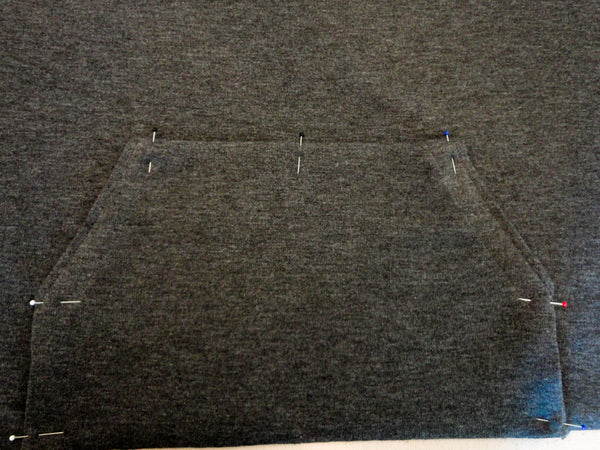
Pin the kangaroo pocket to the sweater Front matching the pocket sides with the notches along the sweater Front bottom edge.
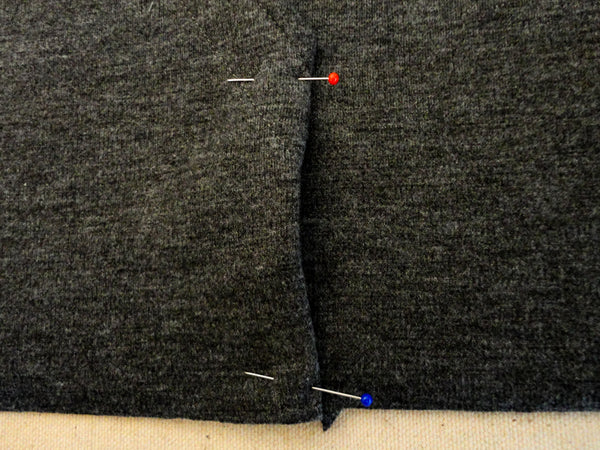
Stitch the pocket to the sweater along the sides and top, keeping the stitching 1/8" from the folded edge. If you would like, you are welcome to baste the bottom of the pocket in place so it doesn't shift about.