Finlayson Sweater Sew-Along: Day 6 - Sewing the sleeves and side seams
Today we'll be adding the sleeves to our sweaters and sewing the side seams. You'll be able to try your sweater on by the time you're done this session of sewing!

The sleeve pieces include a double notch on one side and a single notch on the other. Double notches always signify the 'back' of a garment and, in this case, they match with the double notches on the sweater back armhole.
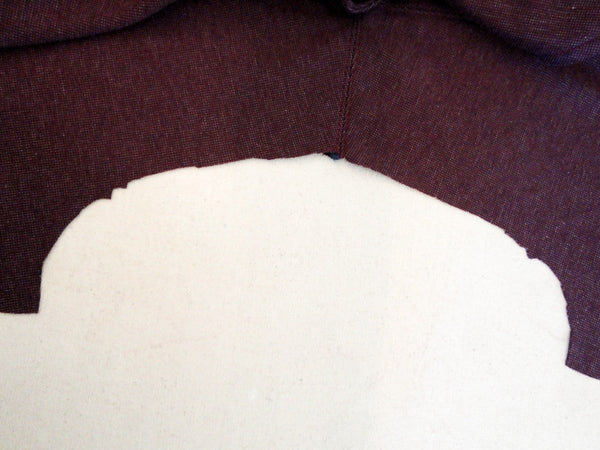
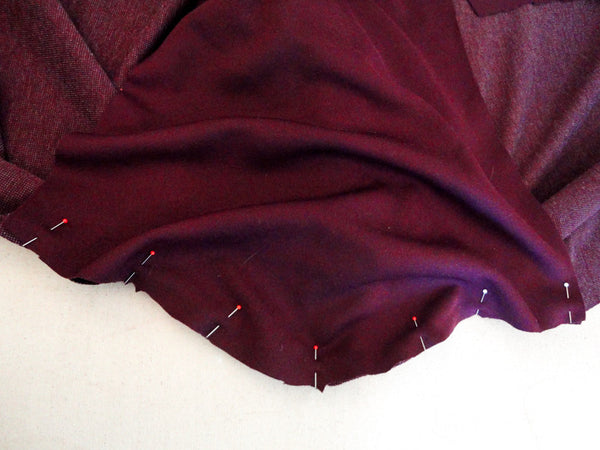
Pin the first sleeve to the sweater with right sides together and notches matching. You might want to use quite a few pins to help the sleeve contort to the shape of the armhole.
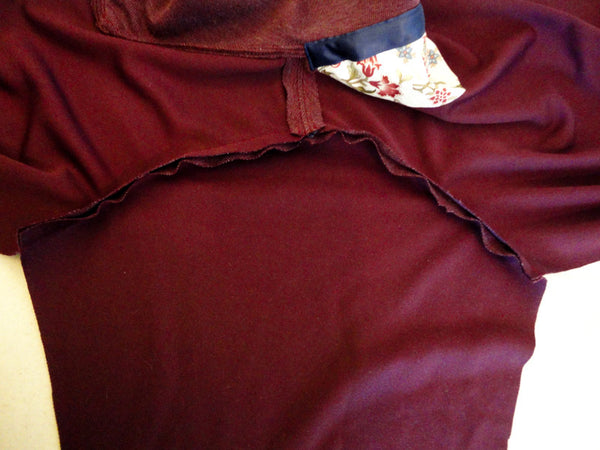
Sew this seam slowly, adjusting the fabric to keep the raw edges lined up as you go.
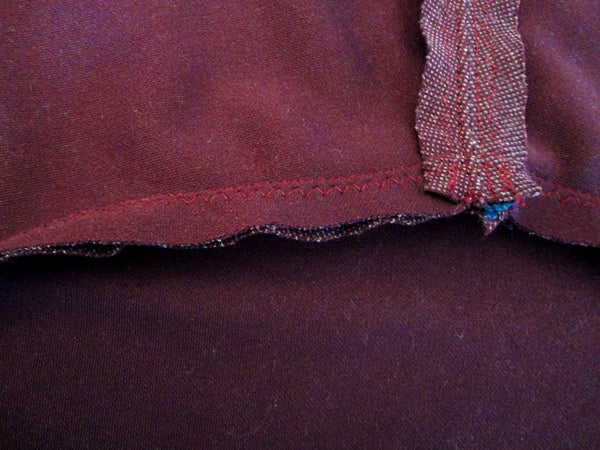
I sewed the seam with a reinforced stretch stitch and finished the seam with a zig zag stitch.
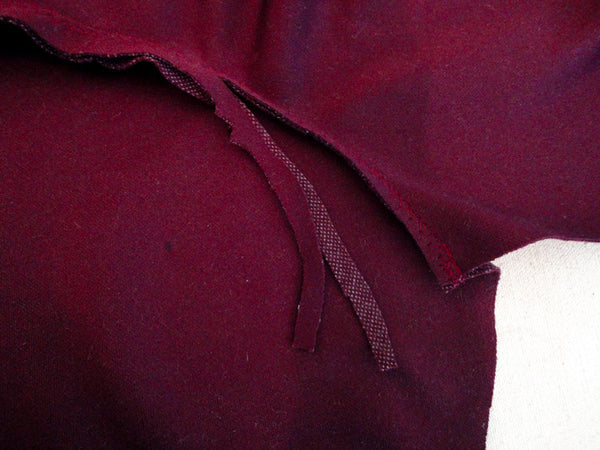
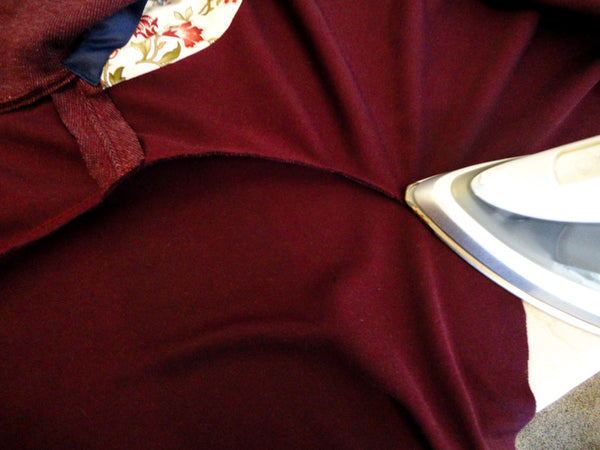
If you'd like, you can trim the seam allowance to reduce bulk along the sleeve seam. Press this seam towards the sleeve (as pictured below).
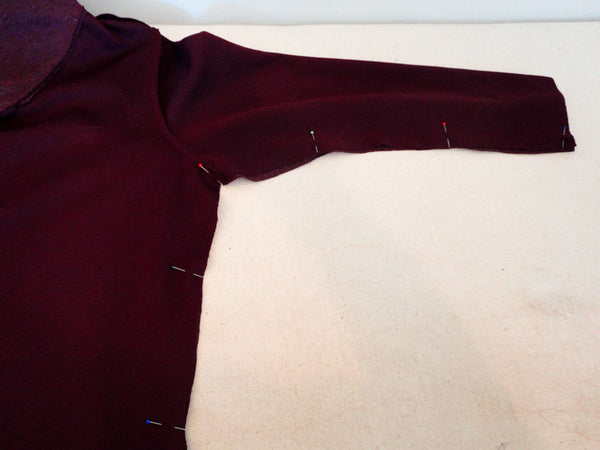
And now it's time to stitch our side seams (one of the most exciting parts of sewing a garment, in my opinion! Our sweater is finally taking shape!). Pin the side seams and arms with right sides together. Take extra special care to match the armhole seam.
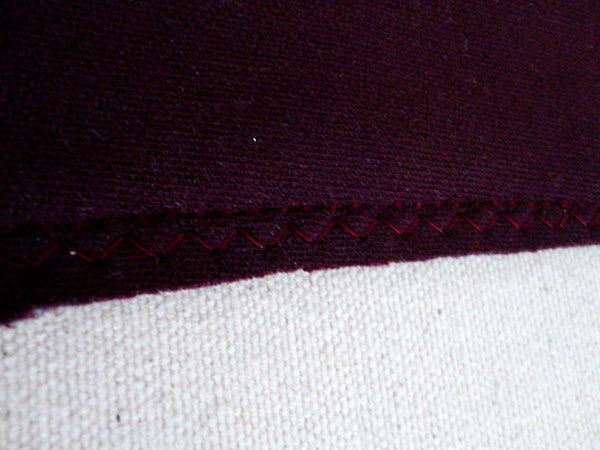
I stitched the whole seam using the usual reinforced stretch stitch and finishing the seam with a zig zag stitch.

Depending on what stitch you used, you can either press the entire seam open or you can press the seam allowances towards the back.
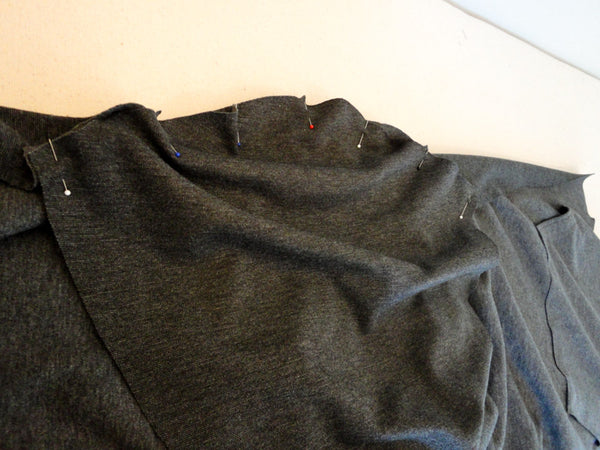
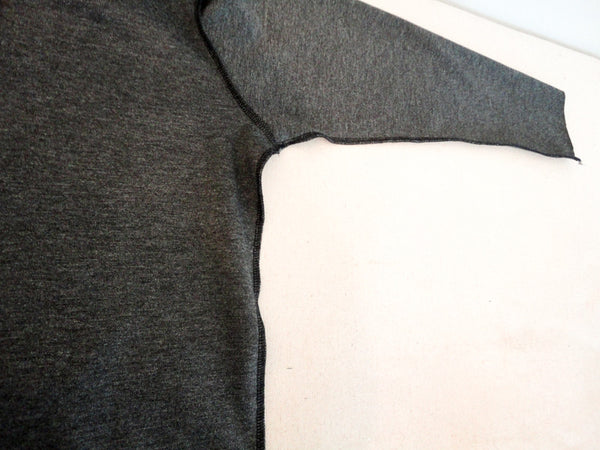
Since the sleeves and side seams are the same process for Variation One and Variation Two, I'll include only the relevant pictures to show you the serging on this version:
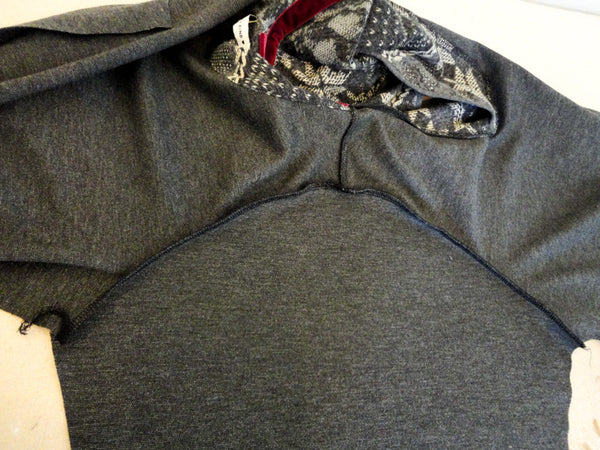
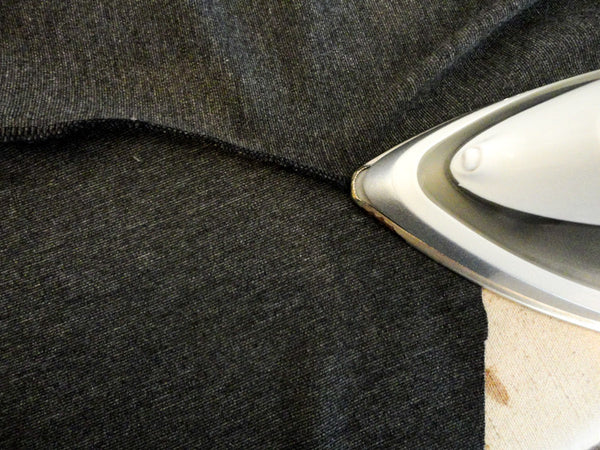
Press the serged sleeve heads towards the sleeve.
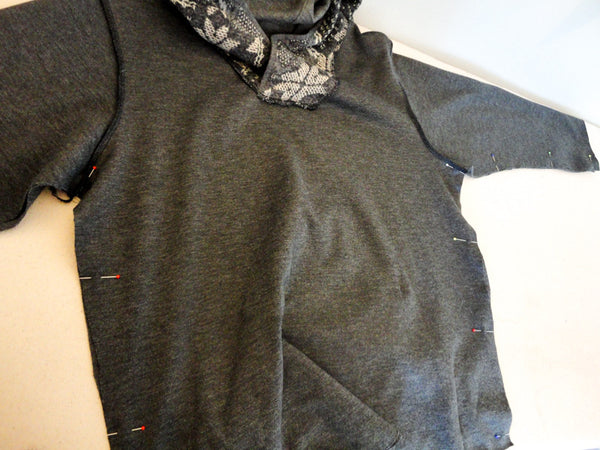
I also serged the side seams and pressed them towards the back:
Well, that's it for today! A fast and easy one :).
