Today I’ll share some of my thoughts on rivets and strengthening details with you and I will show you a detailed step by step of my Otter Wax application process.
Strengthening Details
Let’s start with a few stitching techniques that you might not find suggested in most trouser pattern instruction booklets (but that can be easily added to any pair of trousers even after they are finished!):
-
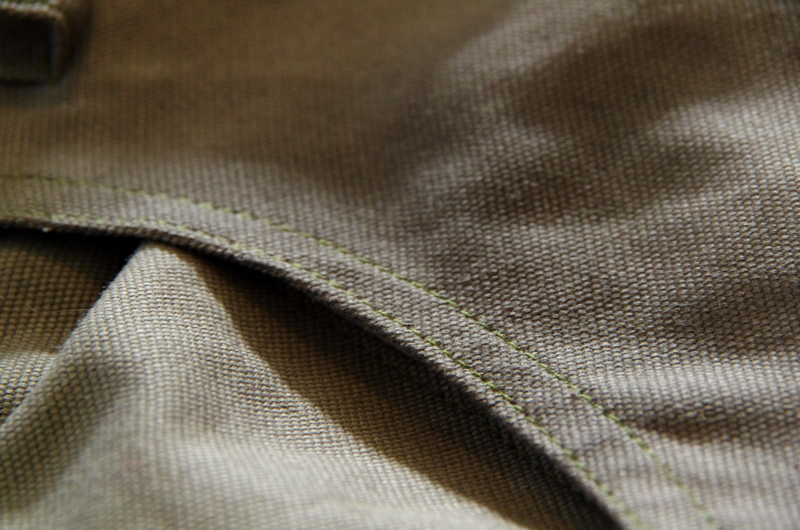
The side seam edge stitching: Press both seam allowance towards the back and edge stitch through all layers. This will prevent pants from ripping or stretching out after heavy front pocket use.

-
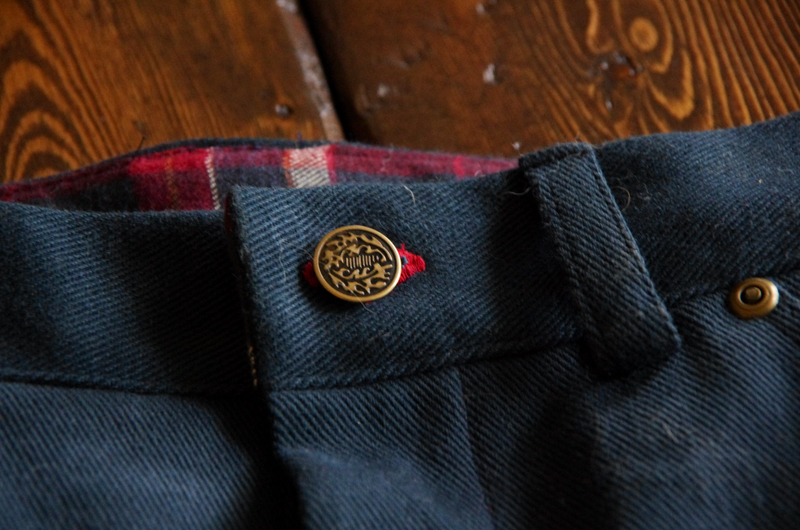
The fly ‘bartack': On this pair I’ve just back stitched excessively at the end of my faux flat fell seam. You could also do a narrow zig zag stitch (i.e. a buttonhole stitch) for a very professional detail.
-
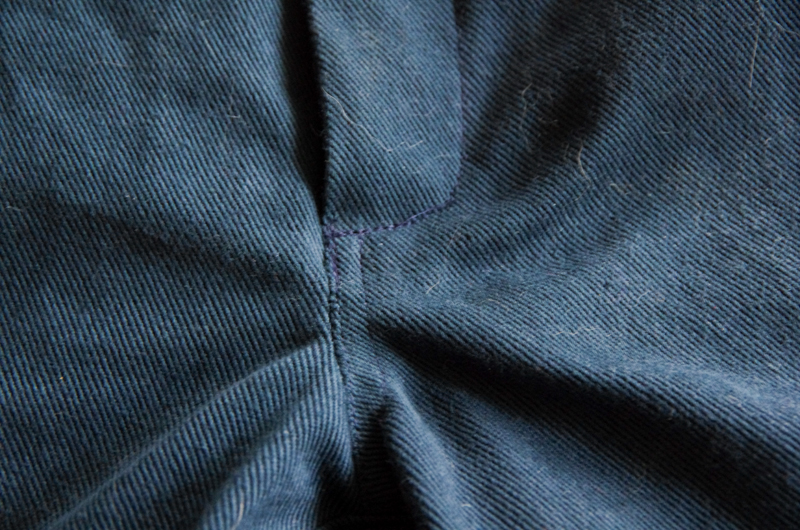
The faux flat fell seat seam: This is much easier than stitching a real flat fell seam along the crotch of the pants and it allows you to position or even clip the seam allowances at the base of the fly so that both the seam allowances and the fly sit flat.

Otter Wax Application

(Before Waxing)
This is how Matt’s Jutland Pants looked before I added Otter Wax or a button.
I decided to apply Otter Wax to Matt’s Jutlands before attaching the jeans buttons and rivets because I figured the metal hardware would be tricky to wax around and I didn’t want to fill the rivets with pools of wax by accident! All the same, if you wanted to wax a finished pair of jeans or trousers, you could trim a small chunk of wax off of the bar and use it to get into tight areas. You could also melt any excess wax off of the rivets and button by using a hair dryer. For this pair of pants I ended up using 1 1/2 bars to create one medium-heavy coat of wax.
Otter Wax recommends rubbing the wax into the fabric and then simply leaving the garment to cure for 48 hours. I like to speed up the process considerably and also add a couple layers of wax by pairing the heat caused by friction with the heat of a hair dryer. Here is the technique that I’ve grown accustomed to:

Prep an area of fabric by heating it with a hair dryer. I work on one section at a time when waxing a large project – you can even leave the project partially finished for days on end and come back to it when you have a few spare minutes. Even though the finished area will have cured, you can simply wax the remaining area and you won’t be able to notice where you left off once the whole garment has cured.

Hold the area taught with one hand and rub the wax on with the other hand.

Rub until enough wax has transferred onto the material to fill the weave of the fabric (this is just a suggestion – you can make your coat of wax as thin or as thick as you would like to create a variety of appearances and levels of water resistance!).
Heat the waxed area with a hair dryer and rub the partially melted wax into the fabric. I really like how deeply the wax sinks into the fabric when it is melted like this. The fabric becomes stiffer and the final product feels very dry (and in no way sticky). You’ll notice that skipping the hair dryer and simply leaving the garment to cure by laying it flat to ‘air dry’ will create a different effect – the wax sits closer to the surface of the fabric and fills any divets caused by the weave of the fibers to create a fabric with less/different texture.
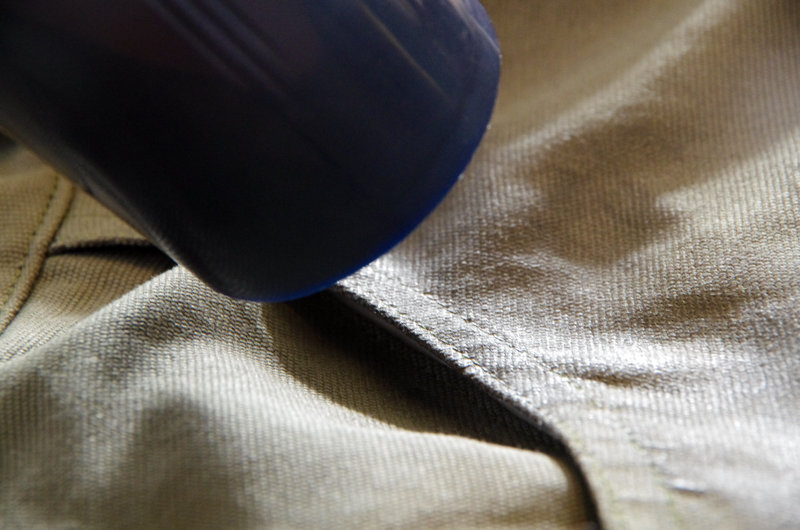
Continue this process until the entire garment is waxed! Here are the pants at the half-way point – you can see the very different texture created by the wax:

Here are the finished pants:
 At this point, you could leave it to cure even further than it has or you could proceed to add a second coat of wax. Sometimes I like to wait a few days to make sure the project is fully and completely cured before adding a thin ‘touch-up’ coat. This way I can make sure the project is fully water resistant without getting carried away with my second coat and wasting a bunch of wax.
Now that Matt’s Jutland Pants are waxed, they need to be cared for differently than a regular pair of pants. They can’t be put in the wash of course, because the warm water and soap would remove the wax! Instead, the waxed pants need to be brushed with a stiff bristle brush to remove dirt. They can also be placed in the freezer overnight to kill any bacteria and remove any smell (put them in a ziploc bag so they don’t take on whatever smell your freezer might have…mmm frozen soup and lasagna jeans). If this all sounds a bit weird and maybe a little unhygienic to you, not to worry! You could carry out this method of cleaning for as long as you can stand and then periodically hand wash the pants by turning them inside out and washing in cold water with a delicate soap designed for hand washing. Keep in mind that this will likely remove at least a little bit of your wax coating so it is a good idea to keep a bar of Otter Wax on hand to touch up your pants after you’ve hand washed them. Either that, or you can embrace the gradual wearing of your waxed pants – you’ll notice that as the wax wears off it has greatly assisted in the creation of the coveted worn creases that denim enthusiasts strive for!
There is a considerable history/group of enthusiasts attached to the practice of waxing pants. Here are a few intriguing links to immerse you in the crazy world of waxed jeans!
- Heather Lou mentions last year’s waxed jeans craze in her Ginger Jeans Sew-Along post about personalizing your jeans.
- A YouTube video demostrating how to wax jeans using Otter Wax – so relevant!
- A post on waxing a variety of fabrics and a discussion of waxed garments from a practical rather than ‘fashion-statement’ standpoint – I linked to this great post when we first launched Otter Wax in our store.
- A discussion about the various techniques suggested for cleaning waxed jeans on Fashionista.
Rivet Application Tips:
Once I finished waxing Matt’s Jutlands, I added rivets to both pairs of pants. Here are some tips to accompany Matt’srivet application tutorial. Keep in mind that, unlike Matt, I’m not very skilled at wielding a hammer so these tips are catered towards people who might be hesitant about using woodworking tools in the sewing room:

- I find the only way I can successfully and strongly apply rivets is to use a very solid metal backing when hammering them in place. Without the backing my rivets don’t grip very tightly and sometimes fall off after a while. With the backing, they are SUPER strong. We use this scrap piece of metal (you can find similar pieces at junk yards, scrap metal stores, or even at hardware stores which often have metal chunks sold as though they were a ‘cutting board’ to use during metal work projects). Alternatively, you can use the fiddly little metal backers that are often sold with snap and rivet kits in the sewing store. If you plan to make lots of pants featuring rivets, I highly recommend getting yourself a nice solid and heavy piece of metal – it works WAY better!

- While Matt warns not to hammer too hard when applying your rivets and jeans buttons for fear of tearing through the metal (especially when attaching jeans buttons), I found I had to hammer harder than I was expecting. That being said, start by hammering your first rivet gently, pause and see if you can pull the rivet apart, and if you can, increase the strength of your hammering gradually until there is no way you can separate the two rivet pieces. It’s better to air on the side of caution than destroy your little rivet with excessive force!

- Be creative with your rivet placement to create ‘designer’ pants. I tend to skip change pockets altogether (and have not included a pattern piece for this tiny little pocket with the Jutland Pants pattern) because big manly fingers have such trouble accessing anything placed in that pocket so it just goes unused. We didn’t want to limit you when using our Jeans & Pants Essential Notions Kit so we included six rivets – enough to secure a change pocket and the two front pockets just as you would find on classic denim jeans. You can use these six rivets anywhere you like though! I decided to apply six rivets to my uncle’s back pockets to make them SUPER strong :)
Thank you for joining in on our Jutland Sew-Along! I hope you’ve had time to finish any pairs you intended as Christmas presents. I’ll be posting my two pairs of finished pants next week and would love to feature yours on our blog if you have a chance to email or post photos! Email us at info@threadtheory.ca or #JutlandPants.