For today’s sew-along post, let’s talk about pocket customization!
Mountain Pocket Top Stitching Design
First off, due to popular demand, Matt and I have created a template so that you can re-create the mountain top stitching that I added to the Jutland Pants from our photoshoot.
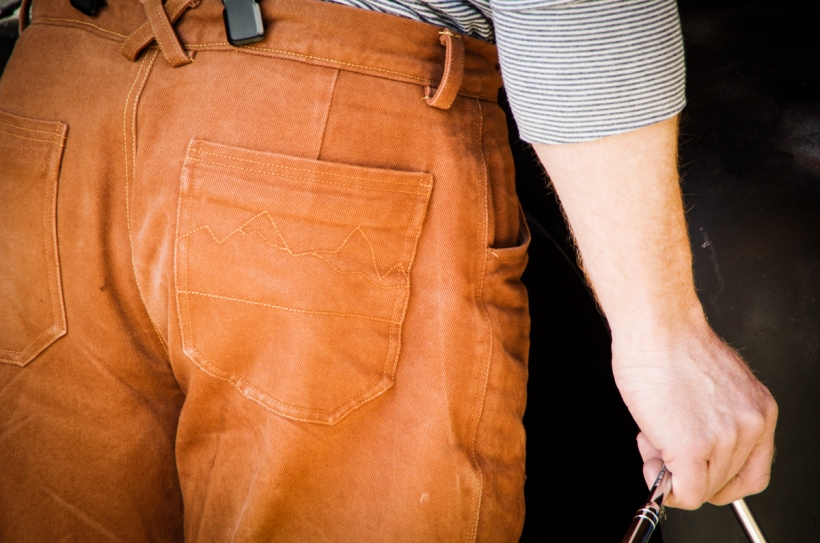
To use the pocket template, open it in your browser and print it full size. The template is the largest patch pocket size. Place the pocket template over your pocket fabric. Trace the design with a tracing wheel or mark relevant points with pins and then ‘connect the dots’ by free hand drawing between each pin.
I used jean-weight top stitching thread for my pockets but if you would rather use regular polyester thread, you can create a more subtly visible design or you can stitch over your design two or three times to make the design more pronounced. You could even use two or three different colors of thread as you re-trace the design to create a bit of depth and visual interest! I only added this stitching to the right hand pocket so that the pants were asymmetrical – but you can do whatever you wish (or create your own design!).
Creating a Screw Driver Pocket
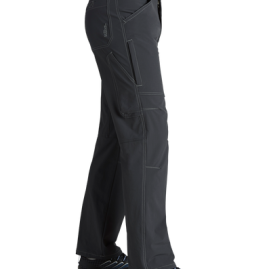
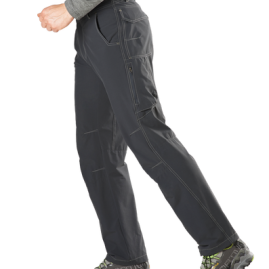
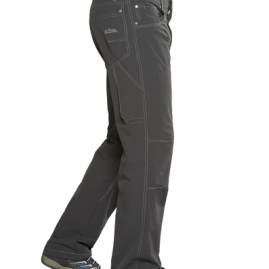
Variation Two of the Jutland Pants includes two slim cargo pockets with flaps that feature velcro closures. These can be handy for carrying small items such as screws, nails or even dog poop bags :P. I designed them so that they would not look bulky and hang off the pant legs awkwardly (as I find some cargo pockets are prone to).
(Various pant leg pocket styles on Kühl Pants. Click on each image to see a larger version.)
While symmetrical cargo pockets are pretty standard on this style of pants, don’t let this limit you! Why not create your own pockets perfectly suited to the wearer’s needs? Replace one cargo pocket with a welt cell phone pocket, a zipped pocket, a large pleated patch pocket, or, as I am about to show you, a long screw driver pocket!
This pocket is very long and large enough to hold screw drivers deep within the pocket so they don’t slip out. If you would like to create a shallower pocket so that it ends well before knee level, simply slice off the bottom of the pocket template.
To use the screw driver pocket template, download it and print it at full size. This template does not include seam allowances but it is graded for all pant sizes so first, to prepare your pattern piece, cut out your desired size and add seam allowances to all edges.
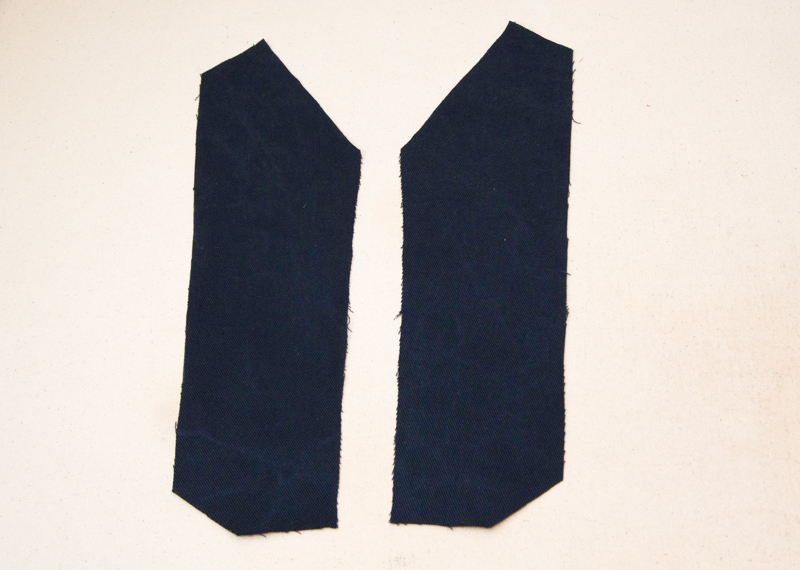
Cut two pocket pieces from your fabric. The pocket is double layered for strength and ease of construction. If you would like to reduce bulk you could cut one pocket from your self fabric and one from your thinner lining fabric.
The pocket sits on the back leg of the pants so you will need to construct the pocket and stitch it to the pant leg before stitching the side seam. Note that this is long before you add the cargo pockets as directed in the instruction booklet (the cargo pockets are top stitched in place over the completed side seams). You will also need to add the screwdriver pocket before adding the back patch pockets.
Okay, time to sew the pocket!
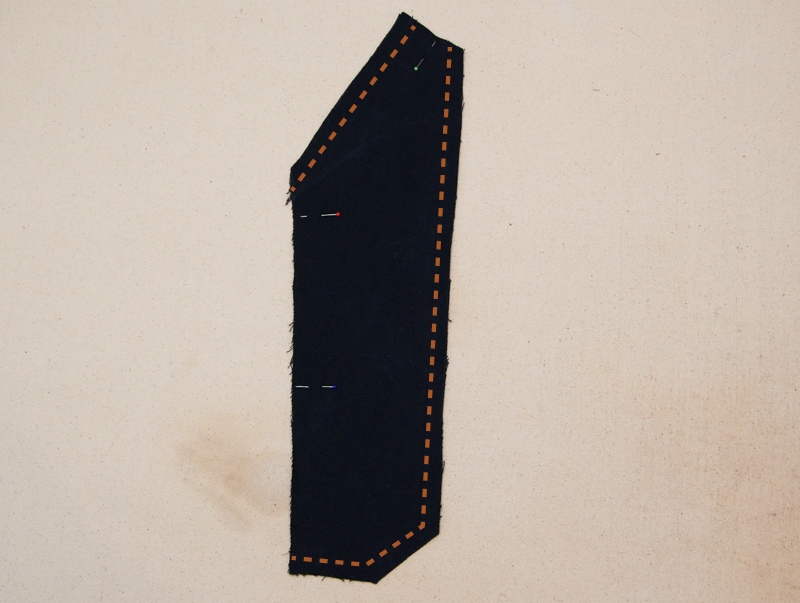
- With right sides together, pin the two pocket layers together. Stitch along the pocket opening, the back edge and the bottom edges of the pocket (the areas indicated with an orange stitching line in the image above). Do not stitch along the remaining pocket edges.

- Trim and grade the seam allowances to reduce bulk.
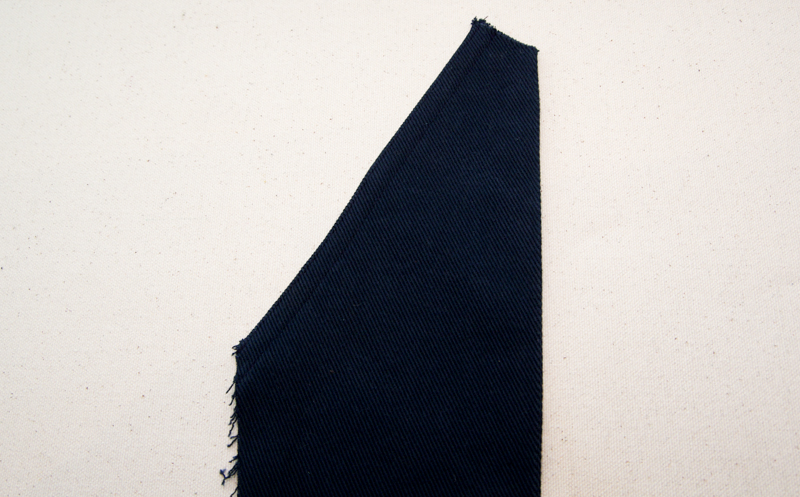
- Flip the pocket so right sides are out and press flat. Top stitch and edge stitch along the pocket opening.

- Pin the pocket to the pant leg so that the raw pocket side lines up with the pant side seam, the pocket bottom lines up with the cargo pocket placement dots, and the top edge overlaps patch pocket placement marking. Baste along the raw edges within the seam allowance. Top stitch and edge stitch along the finished edges.
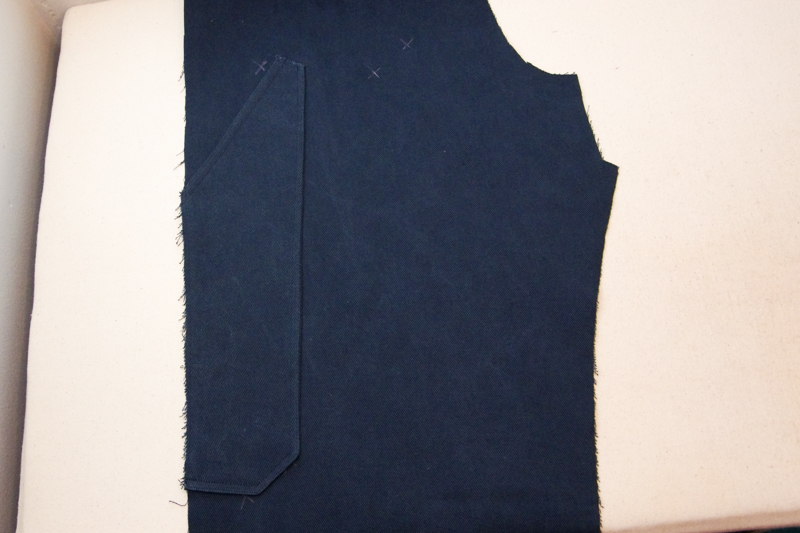
- Continue constructing the pants as directed – add the back patch pocket so it overlaps the top edge of the screwdriver pocket. Stitch the side seams. Note that the layers of the screw driver pocket and the knee patches will possibly create too much bulk to create flat fell seams. You can simply stitch the seam and then create faux flat fell seams by pressing the seam allowances to the back and then top stitching and edge stitching the seam allowances in place.

