Eastwood Pajamas Sew-Along: Day 3 - Inseams and fly
With our fabric cut and patch pockets added we are ready to move on to the inseams today. No matter the variation you are sewing, proceed by place one pajama front and one pajama back with right sides together. Pin along the entire inseam.

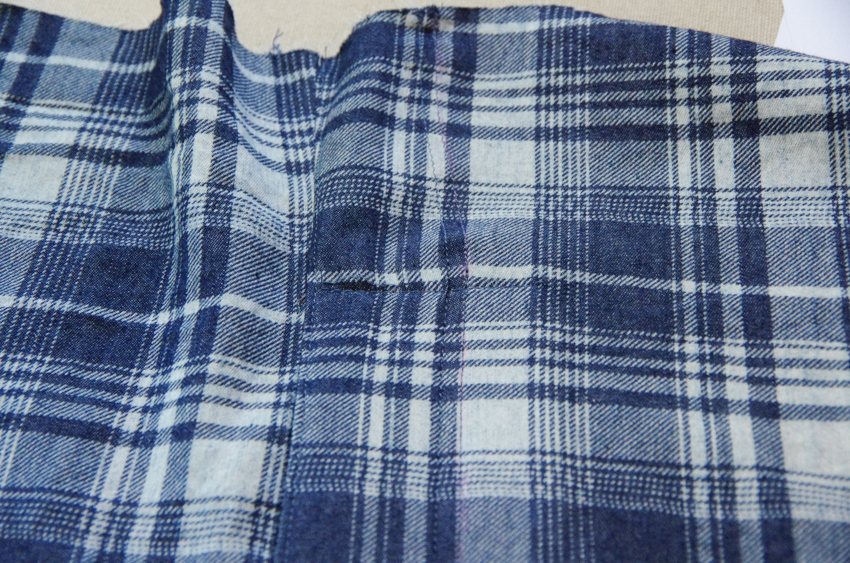
Stitch the seam using a 5/8" seam allowance and press open. You can finish the seam allowance in whatever method you have available to you - pinking shears, zig zag stitch or a serger as I have done. Repeat this process with the second pajama leg.

Now that the inseams are sewn, our paths diverge depending on what variation you have chosen. If you are sewing Variation 1 (with no fly), simply place one of your pajama legs on your work surface with right sides up.

Add the second leg on top so that right sides are facing. Pin the two layers together along the entire curve. Ensure that the inseams are matching.
Stitch using a 5/8" seam allowance along the entire curve. Optionally, you can add strength to the crotch by stitching the whole curve once more. Press the seam open along the front and back of the curve (you won't be able to press open the crotch area since the curve is too steep, but that's ok, it is just the flat front and back that need pressing).
Variation 1's seat seam is now complete! I'm not going over Variation 2 during this sew-along (the mock fly), but you can have a look at this great tutorial by MellySews. The main difference with this tutorial is that their fly extensions are already attached to the pants front...we just need to sew ours on first.
Now, let's delve into the button fly included within Variation 3. To prepare for sewing the fly, we first need to attach the fly extension to the left pajama front (if you were wearing the pants). Before attaching it, finish the curved edge of the extension in your preferred manner (pinking, zig zag or serger).

Now place it on the pants front with right sides together and line up the bottom with the fly placement notch.
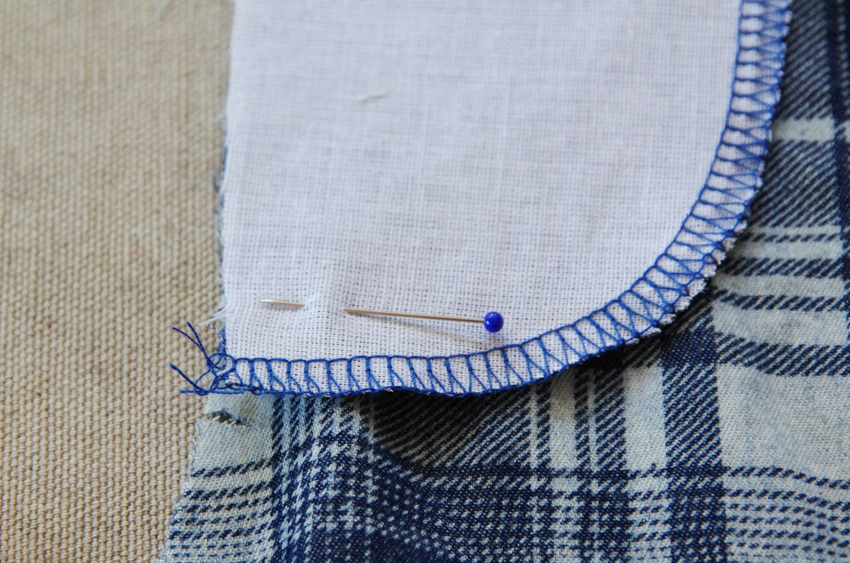
Stitch the extension in place using a 5/8" seam allowance.

Now finish the seam allowance using your preferred method again. If you are serging or zig zag stitching, be sure to catch the fly extension seam allowance while you stitch.

Don't forget to finish the right leg seam allowance too!

Press the seam allowance towards the fly extension:

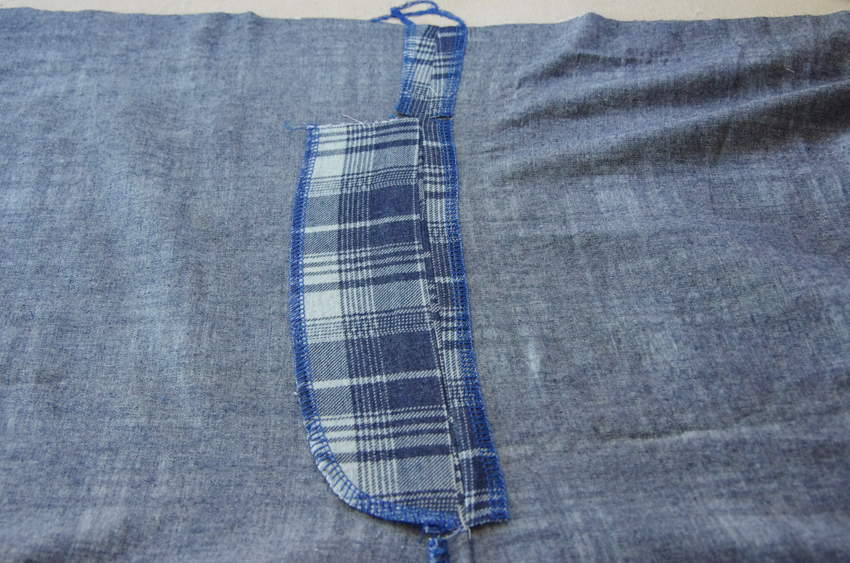
Now its time to sew the seat seam. Line up the two pant legs with right sides together. Be sure to align the inseams. Pin thoroughly. Begin stitching at center back with a 5/8" seam allowance and stitch around to the bottom of the fly extension. Backstitch and then switch to a long basting stitch for the entire length of the extension. Switch to a regular stitch length and backstitch before proceeding up to the waistband.

See how the stitching ignores the fly extension and continues up the seat seam?

Clip both seam allowance at the bottom and top of the fly extension to make it easier to press the seam allowances in the correct direction. Here are the bottom seam allowances clipped:

And the top seam allowances clipped:

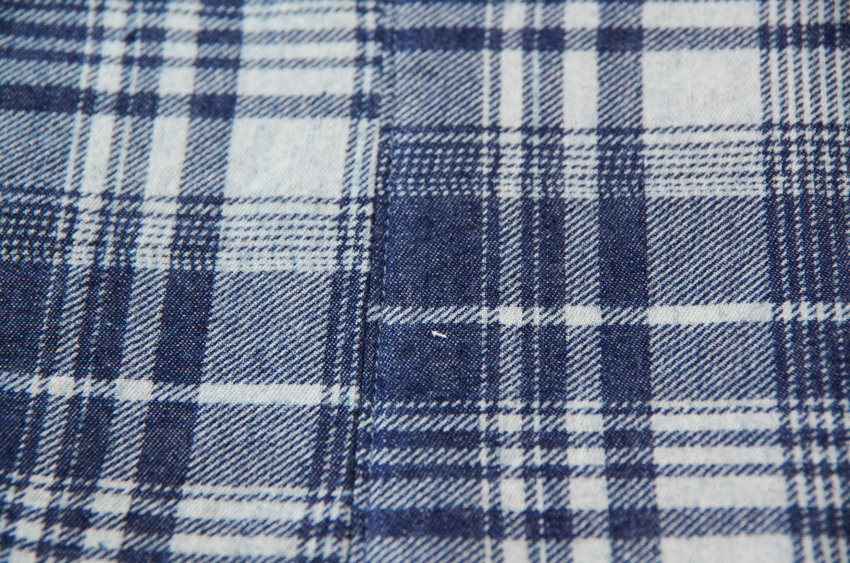
Press the seam allowance and fly extension open. Press the rest of the seat seam (below the fly extension) towards the left leg (if you were wearing the pants).
Flip your pajamas to the right side and edgestitch 1/8" from the seam along the entire length of the seat seam. The stitching should only be on the left leg (so you are stitching to the right of the seam when you're looking at the right side of the pj front as pictured below).
With the seat seam finished, let's prepare the rest of the fly pieces now. Bring out your Buttonhole Placket and Button Shield pieces.
Fold the buttonhole placket (the one with the curved bottom) with wrong sides together and finish the curved edge in your preferred way (zig zag stitch or serging...pinking doesn't work in this case because we need to attach the two layers together).
Before proceeding to the button shield, don't forget to finish the placket by adding a buttonhole to suit the length of your chosen button! Place the buttonhole as per the marking on the pattern piece. As always, I forgot to add the buttonhole at this point, but don't worry, I'll show you that it is still possible (but a bit finicky) to add the buttonhole at the very end when your pajamas are fully constructed.

Create the button shield by folding the piece with right sides together. Stitch along the bottom angled edge with a small 1/4" seam allowance. Flip right side out and press. Finish the long raw edge by serging or zig zag stitching.

With our pieces ready, it's time to finish the fly! Begin by placing the PJ front on your work surface with the wrong side facing you. Lay the Buttonhole Placket on top of the fly extension so that the curved edge is aligned. The Buttonhole Placket will not quite reach center front...that's how it is supposed to be, don't worry! Pin the Placket in place through all layers.

With everything pinned in place, flip the pjs so you can see the right side. Lay the Fly Topstitching Template on the left front (if you were wearing the pjs). Place the bottom of the template 1/4" up from the bottom of the extension...you can do this by feeling for the bulk of the extension with your fingers.

Trace along the curved edge of the template with chalk or a pencil. Make sure your marking tool will easily wash off of the fabric! Continue the topstitching line all the way up to the waistband edge. I like to ensure I keep the same width from center front by moving my template up and continuing to trace it.

Topstitch along the marked line. Create another row of topstitching 1/4" closer to center front.

Now we'll add the button shield. This will be stitched to the right seam allowance only. Lay the PJs on your work surface with the wrong side facing you. In the instructions I show the front spread out but in the photo below I've shown them folded in half so only the right seam allowance is visible. This is to give you another perspective - either way that you lay out your PJs, what I'm trying to show is that you must only pin your shield to the seam allowance and not to the pants front.
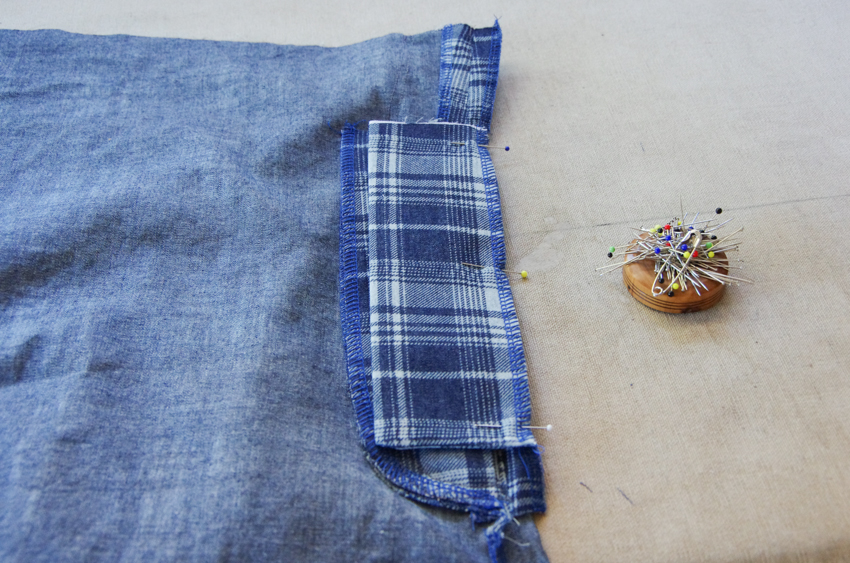
Stitch the shield to the seam allowance using a 3/8" seam allowance.

From the right side of the PJs, remove the basting stitches along the fly. Careful not to go too far and remove your backstitching!

You'll notice, when you open your fly, that the right front (if you were wearing the pants) has a pressed pleat. By removing this we will offset the button shield so it is not visible when the PJs are worn.

To remove the pleat, pull the button shield flat (spread the pleat apart), and then press.
Keep the button shield in place by edgestitching 1/8" from the seam on the right pant leg. Extend your stitching as close as possible to the top and bottom of the fly.

The next thing you might notice is there is still a gaping hole at the bottom of your fly...that won't do! Close off the bottom (and secure the button shield from flapping about) by stitching a horizontal line 1.5" up from the bottom of the fly.

Next, create a second row of topstitching along the seat seam extending from the waistband at center back up to the horizontal line that you just added to the fly:

Finish securing the fly pieces in place by temporarily basting across the top edge of the fly. This will later be secured when the waistband is folded over.
And there we have it! A completed button fly with three tidily sewn layers - the lowest layer holds the button, the middle layer holds the button hole and the top layer nicely conceals it all.

If you like, you can stitch your button on at this point or you can wait to add it when I do as the very last stage of constructing the PJs.

Next we will be sewing the inseam pockets and side seams! See you then!