Eastwood Pajamas Sew-Along: Day 4 - Side seams and pockets
Today is an easy day in comparison to the functioning button fly... we are assembling nice deep inseam pockets and sewing up the side seams!

Begin by finishing the side seams in your preferred manner (pinking shears, serger, zig zag stitch...you could even get fancy by binding them if you like). I've serged mine.

Next, finish all edges of the four pocket bags. Again, I've serged mine but pinking or zig zag is perfectly acceptable!

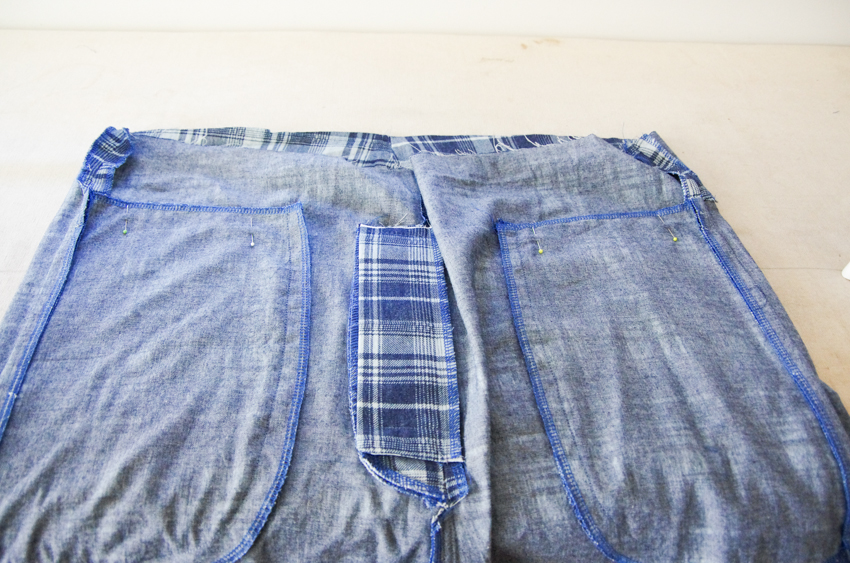
Line up each pocket bag to the pocket markings on the front and back of the pajamas. Right sides are together. Pin along the side seam.

Stitch the pocket bag to the pajamas using a scant 5/8" seam allowance. We want this to be a little smaller than a full 5/8" seam allowance so that the stitching does not interfere with a future step.

Press the seam allowance towards the pockets (or, worded differently: Press the pocket bags away from the pajama legs).

Pin the pajama front and back with right sides together. Pin the entire length of the legs and ensure both the hem and waistband are lined up. As I mention in the instruction booklet, you'll notice that the angled waistband differs on the front and back. It is important to manipulate the fabric so that the raw edges line up even though the two pieces aren't the same shape.
We will stitch the side seams and pockets in three steps:

I like to begin with the longest stretch first: Stitch up from the hem and end at the bottom pocket notch...this is the single notch part way up the side of the pocket bag.

Backstitch thoroughly to make a strong pocket opening.

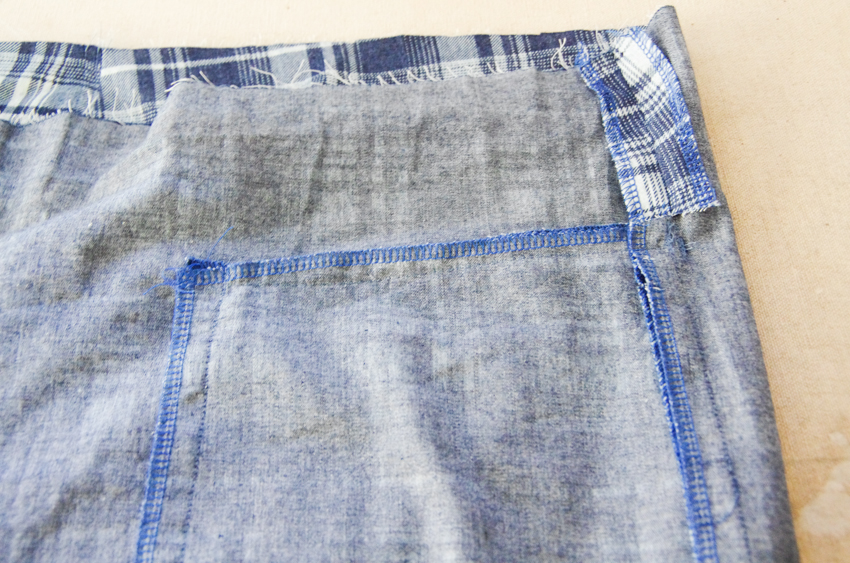
Next, stitch around the pocket bag beginning at the bottom corner of the pocket - make sure to begin your stitching right on the stitching line that you created in the last step. Stitch up to the top of the pocket and backstitch (you don't need to stitch across the top of the pocket as this will be enclosed within the waistband).

Stitch down from the top of the waistband until the top pocket notch - this is the double notch.

Backstitch thoroughly.

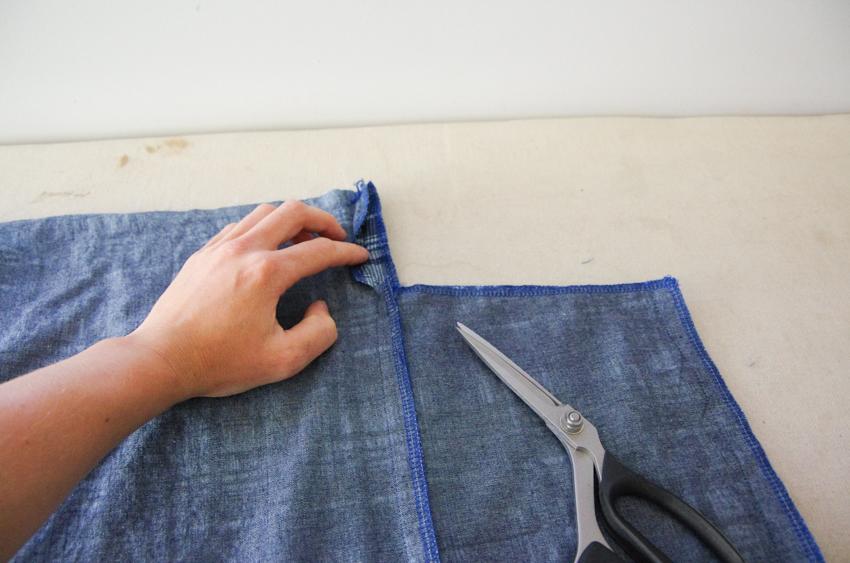
Flip the pajamas over so you can cut into the back seam allowance at the top and bottom of the pocket bag.

This will allow you to press the waistband seam allowance and pant leg seam allowance open. Do this now!

Turn the pajamas right side out and press the pocket bag towards to front of the pajamas.

I like to do this from the right side of the pajamas so I can ensure the side seam looks crisp with no folds.

Turn the pjs inside out once again and pin the pockets in place along the top. Use a long basting stitch to sew them in place so they don't flap around in the next steps.

Finish your pockets by adding a bar tack at the top and bottom of the pocket opening on the front of the pajamas. This bartack will go through the pajama front and the pocket bags (not the pajama back). An attractive looking bartack can be made with a narrow zig zag with almost no length so that the stitching is very dense.

I was using my industrial machine for this project so I simply backstitched thoroughly since my machine only performs a straight stitch. No matter the stitch style, this will really help to increase the lifespan of your pjs if the wearer likes to put his hands or phone in his pockets.

Next, we proceed to the waistband and hemming which means we will be finishing our pajamas!
