Eastwood Pajamas Sew-Along: Day 5 - Waistband and finishing details
Today is the last day of our Eastwood Pajamas sewing process! Time to tackle the waistband and the finishing details.

Let's begin by binding the raw edge of the waistband. You can use 1.5 m pre-made double fold binding if you like, or you can make your own! Regardless which option you choose, feel free to use any finished width you prefer working with. In the instruction booklet I explain how to make a narrow binding with a finished width of 3/8". To do this, begin by cutting a 1.5 m long strip of fabric measuring 1 1/4" wide - this doesn't need to be on the bias, I just tore along the grain to get a straight line.

Fold in each edge 1/4" and press. You can use a bias tape maker to make short work of this step if you like! I just pressed by hand.

Fold your strip more or less in half and press. I like one half to be larger than the other, this way, I can sew from the narrow side and be sure that I caught my wider side with stitching.
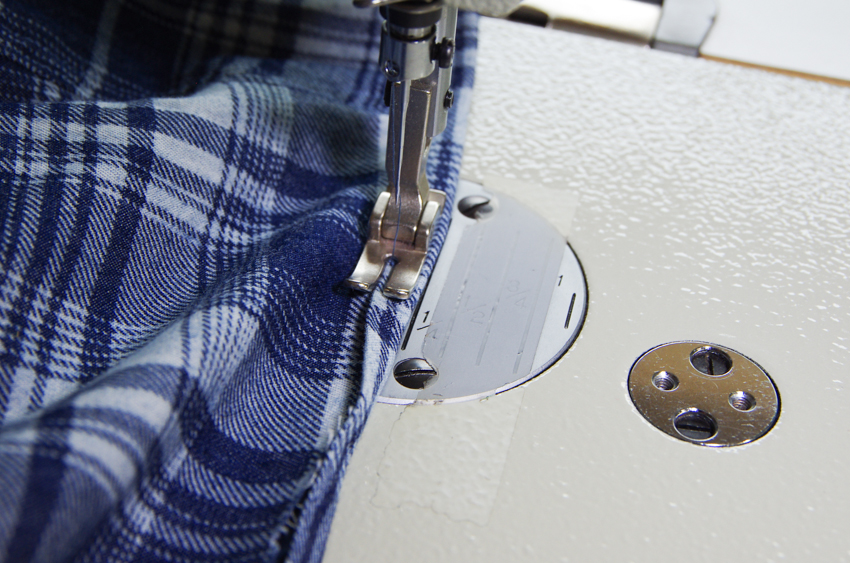
Beginning at center back, apply your binding to the waistband. I simply sandwich the waistband in the binding and then stitch with small adjustments as I go...I find pinning narrow binding to be too finicky and this way leads me to better results.

When you circle the waistband and arrive once again at center back, you'll need to trim the excess binding but leave yourself 1-2" of overlap.

To enclose the final raw edge, open up the binding and finger press the raw edge over. Close the binding once again and finish your stitching. The waistband is now tidily bound!

If you plan to add a drawstring, it is necessary to prepare the buttonholes before proceeding with sewing the waistband. Begin by placing a 2" X 2" scrap of interfacing over each buttonhole marking. Make sure the buttonhole markings are transferred in a visible manner. I refreshed my markings on top of the interfacing with pink chalk and stitched my buttonholes from the wrong side of the garment.
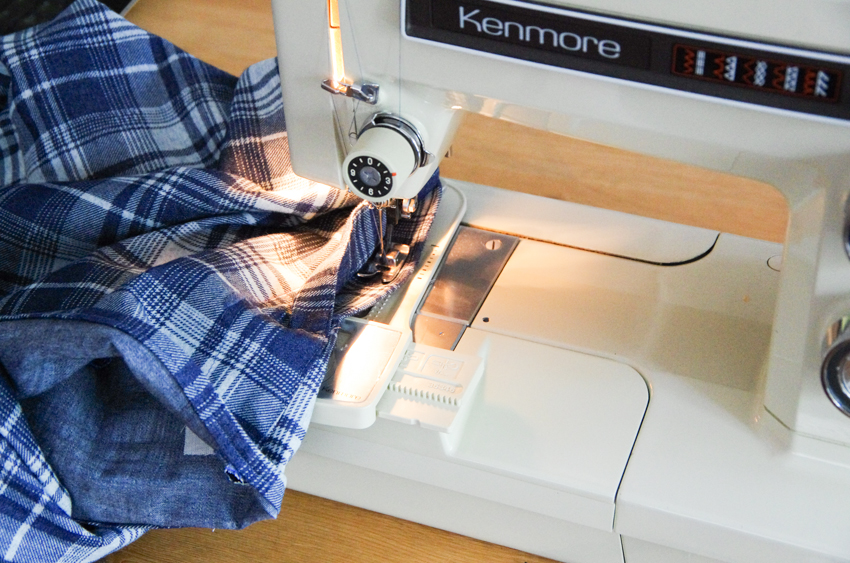
While completing the waistband buttonholes I also added the fly buttonhole that I forgot earlier. This is a nice time to add it if your buttonhole function is time consuming to set up...this way you can tackle all three buttonholes at once! As you can see in the photo above, I just pushed the other layers of the fly out of the way and added the buttonhole to the middle layer.

I usually stitch my buttonholes twice, use a Clover buttonhole chisel to open them, and then stitch them once again to enclose any fraying fabric or threads.
Now we move on to installing the elastic! If you are sewing Variation 1, use your favourite trick to insert the elastic into the casing - perhaps you have a certain tool you like to use (we have a number of them in our shop) or you like to attach a safety pin to your elastic so you can feel the ridge of metal through the fabric layers as you bunch your elastic along. Those sewing Variation 2 or 3 can follow along with what I do here:
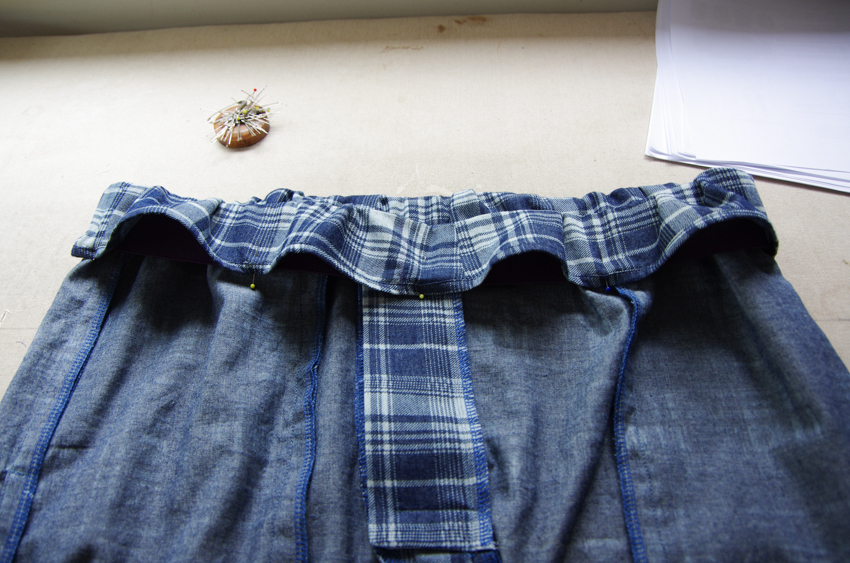
Begin by turning the waistband under at the notch (2 1/4" from the fabric edge). Press. Sorry, I forgot to snap a photo of this step! The photo above is from a little later in the sewing process. It shows my PJs with the elastic added and pins in place...but you can still see what the folded over waistband looks like.

Cut your elastic to length using the provided chart or by wrapping it around the prospective wearer. If you are not following the chart, be sure to add 2" extra to your custom size for overlap! Overlap 2" as pictured above (on an elastic sample I made while developing the pattern) and stitch a square with an X through it to securely create a loop.
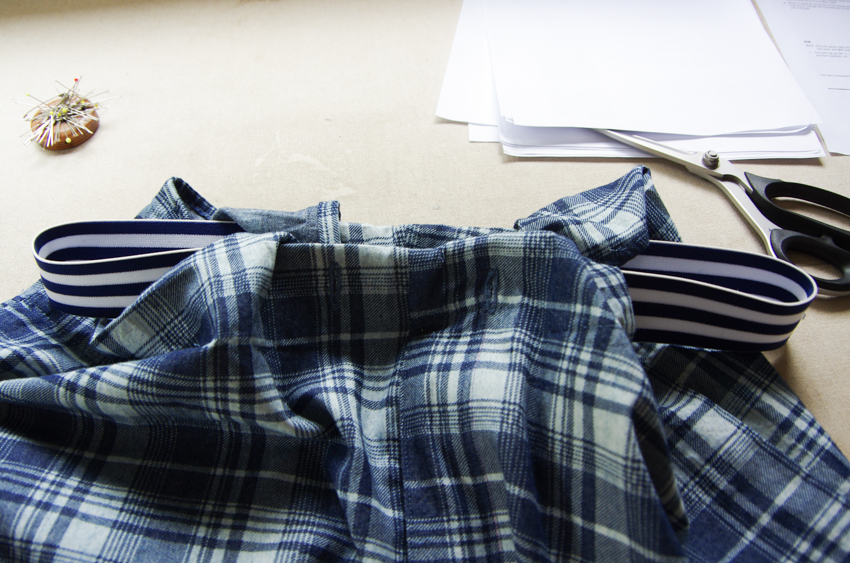
Insert the elastic between the waistband layers. Pin it in place as follows: First, divide the elastic in half and pin it in place at the center back and center front seam. Next, divide the elastic in quarters and pin it in place at the side seams - you can see I've just divided the elastic in quarters but have not yet inserted it at the side seam in the photo above.

Divide each pinned segment in half so the excess fabric is evenly distributed. Pin. You can see there is quite a lot of excess fabric!
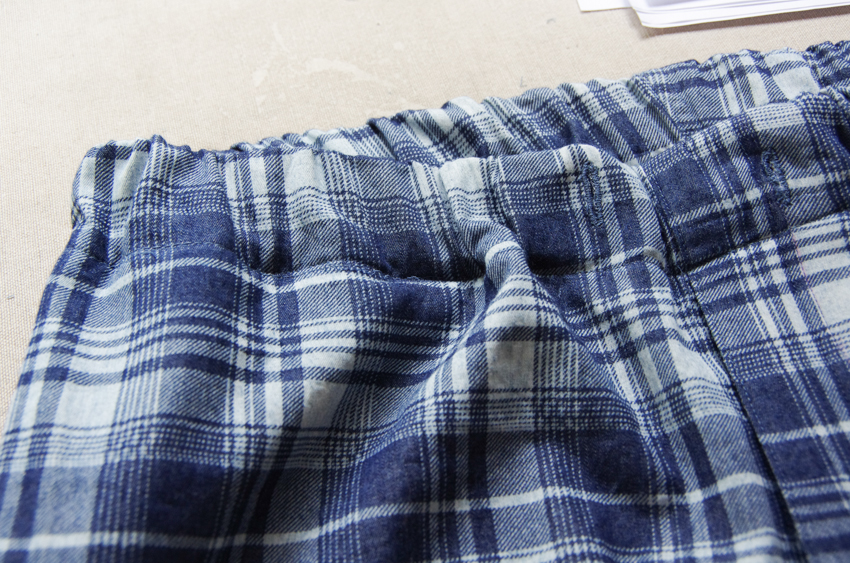
From the right side of the pajamas, create the first stitching line 1 3/4" from the top of the waistband. This will be below your elastic and just above your binding. Don't stitch over the elastic during this step and make sure to pull the fabric taut as you stitch so as not to create puckers. To keep your elastic in place, keep your pins in if possible...if you can't without stitching over the heads, take them out as you go and re-pin before the next line of stitching.

Create the next row of stitching 1/4" up from the first line. This time, you will be stitching on the elastic. Stretch the fabric very taught (this will also stretch the elastic) as you sew. Above you can see how the fabric looks before I stretched it taut and below you can see how it should look once taut:
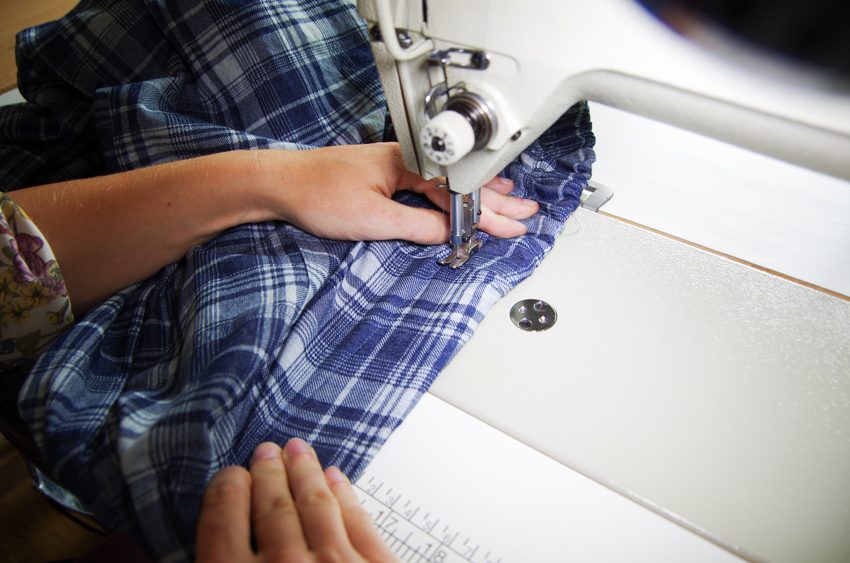

Add a third row of stitching 1/4" from the top of the waistband to completely secure the elastic.
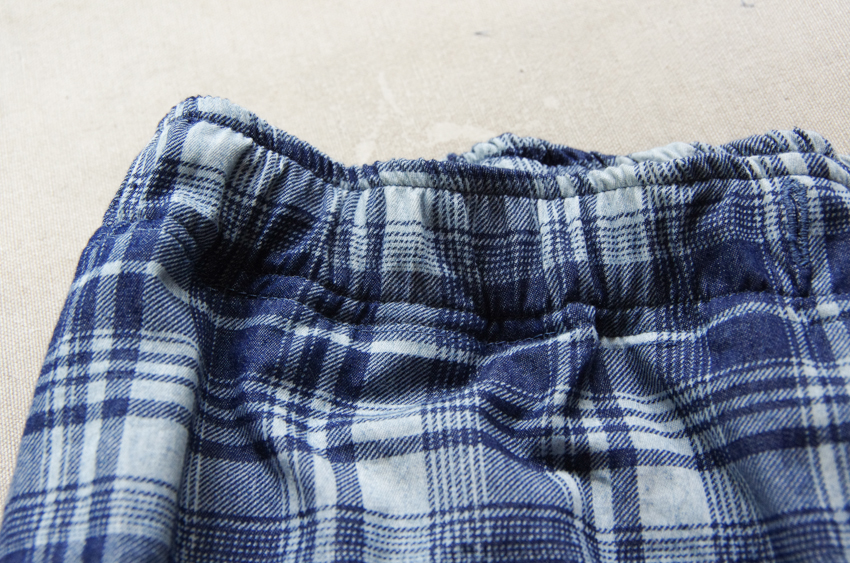
If you aren't adding a drawstring, your waistband is now finished! To add a drawstring, begin by cutting 1.7m of twill tape, grosgrain or cording. I'm using a cotton grosgrain ribbon for my drawstring.

Finish the ends as suits your material - stitch or knot cottons and melt man-made materials to prevent fraying.
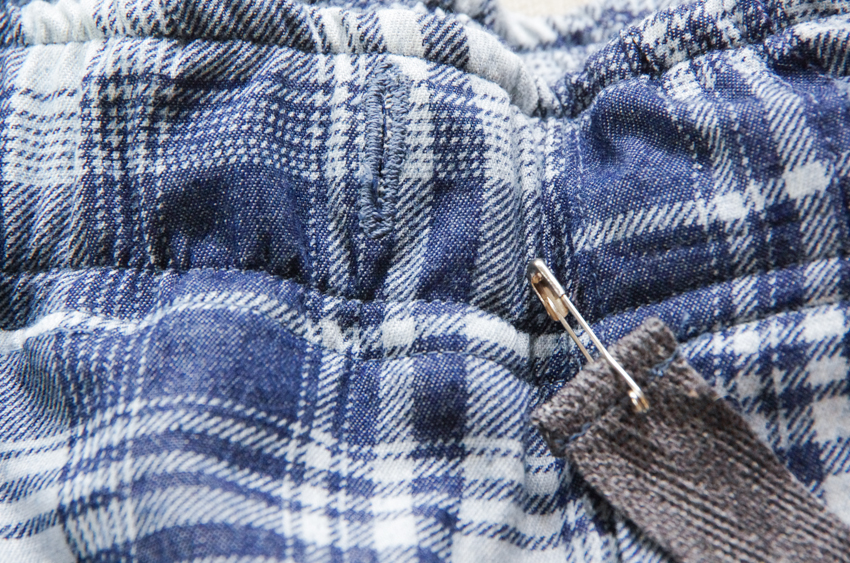
Insert the drawstring through one of the buttonholes using a safety pin clasped onto the end of the ribbon as something for you to feel for as you guide the ribbon through the casing.

Remove the fly and pocket basting, tie your drawstring in a bow and your PJs are beginning to look VERY close to finished!

Hem the PJs by folding up the raw edge 3/8". Press.
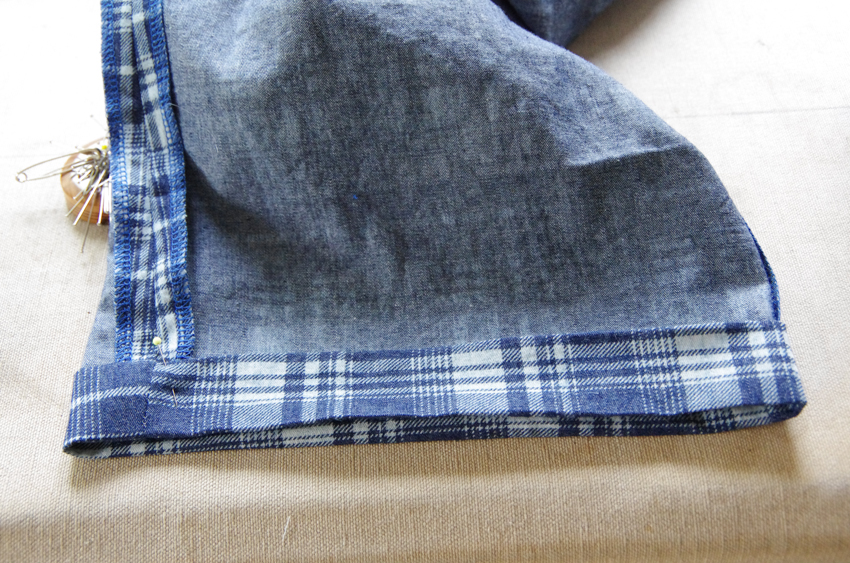
Fold up again, this time using the hem notch as a guide (your finished hem will be just over an inch wide). Edgestitch the hem and then topstitch 1/4" away from your first line of stitching.

If you've left your handstitching until last (as I am wont to do), now is the time to add your fly button! Add it to the innermost layer of the fly to correspond with the buttonhole.
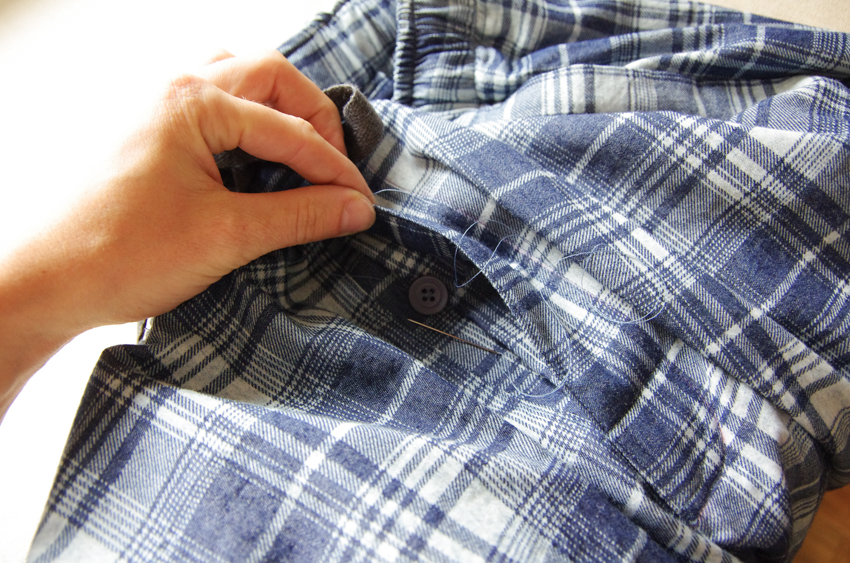
And there we go! Our Eastwood Pajamas are finished!


I hope you enjoyed this sewing process! Thanks for joining me.
