Jeans Sew-Along: The Front Pockets
Today's jeans sew-along post includes a fun bit of origami! We'll be stitching our french seamed front pockets. Let's begin by preparing the pocket facings.
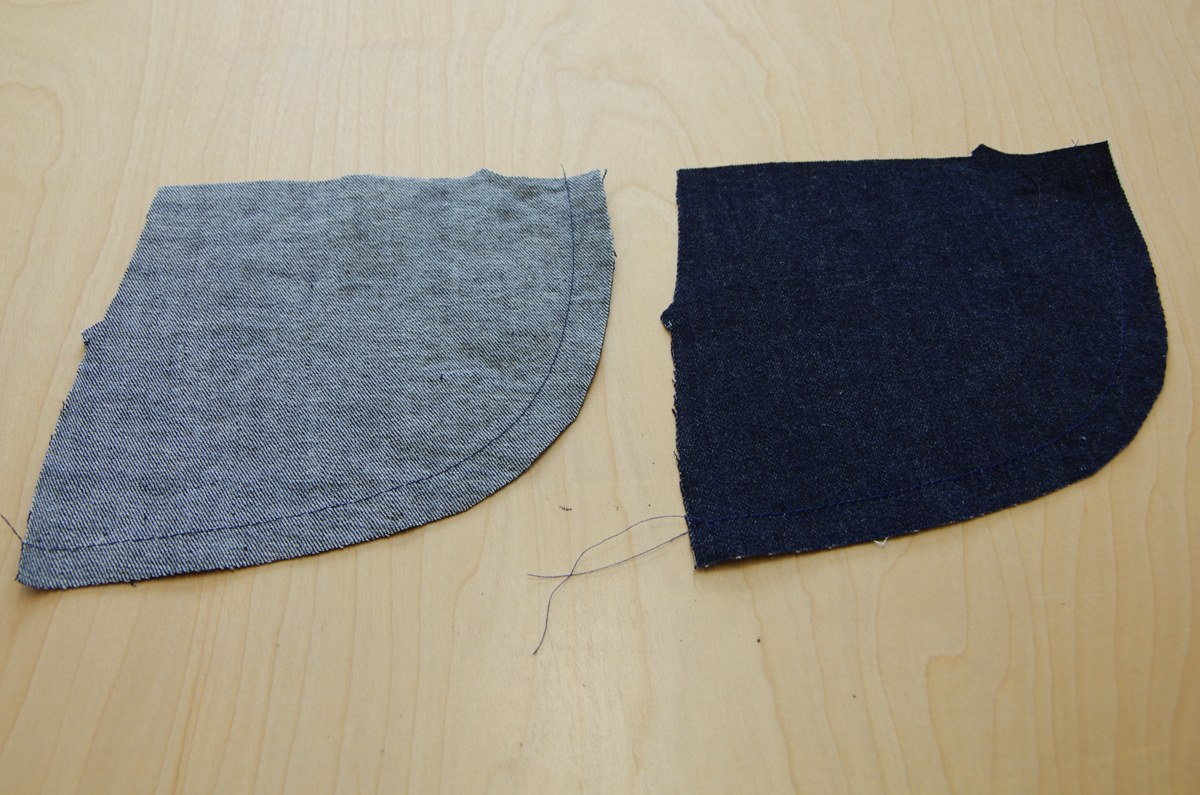
If you are sewing the Quadra Jeans, staystitch along the curved edge of each facing using a 5/8" seam allowance.
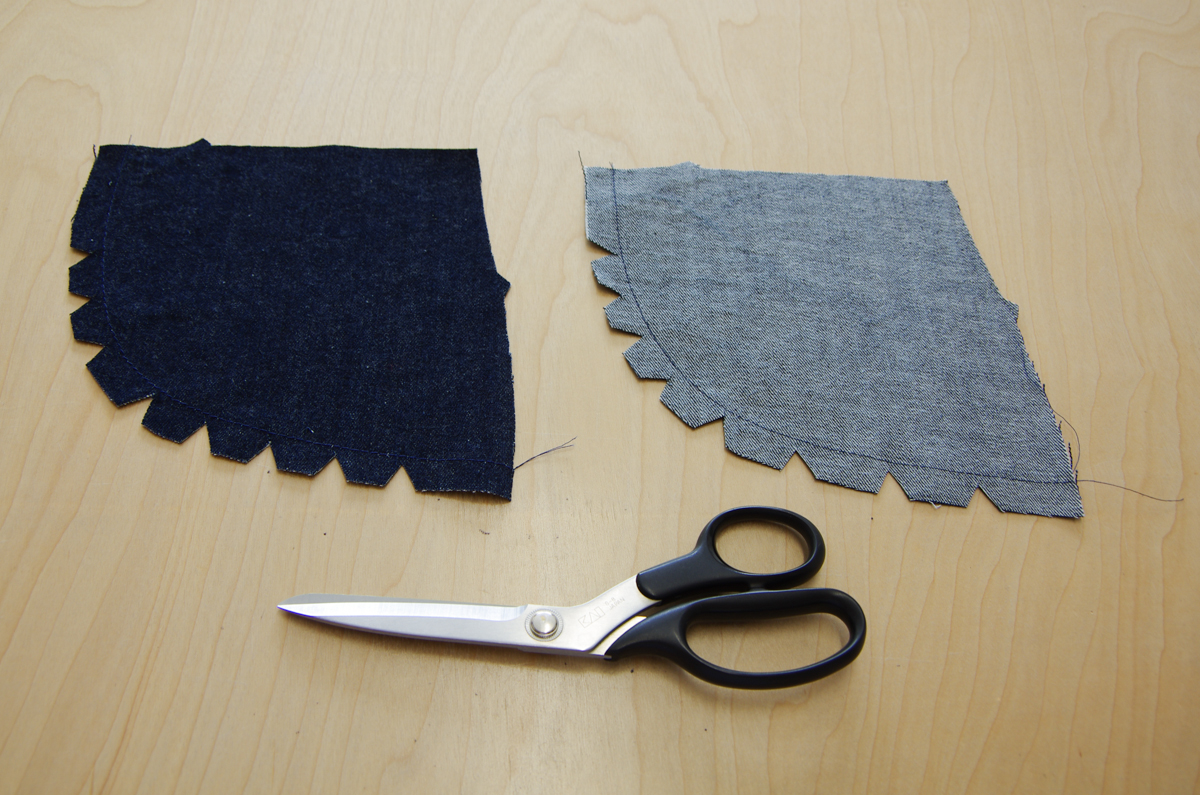
Clip along this curve to make it possible to press the seam allowance to the wrong side.

Press thoroughly. If you are stitching the Fulford Jeans, press the straight bottom and side of each facing under - there is no need to staystitch or clip because these edges are not curved.
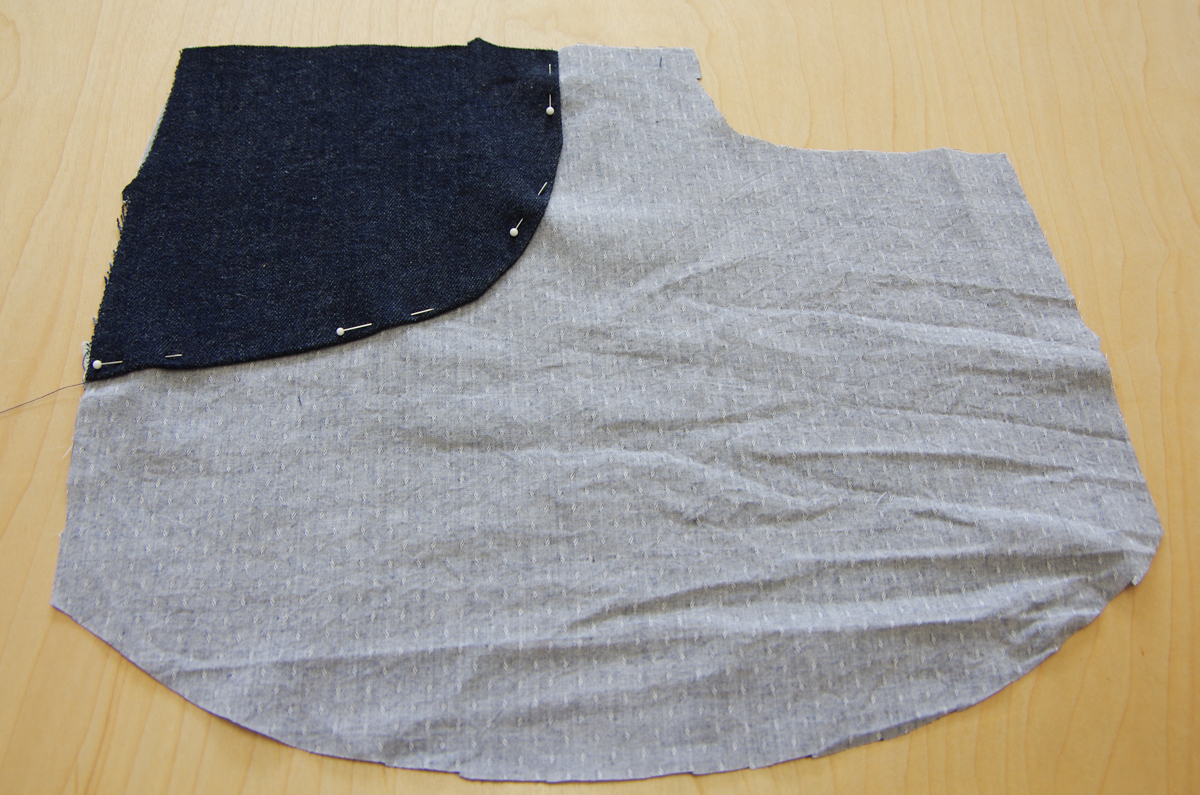
Place the facing on top of the pocket bag with wrong sides together. Pin in place.

Baste around the two unfinished edges and edgestitch along the curved folded edge (Quadra) or along the two straight folded edges (Fulford).
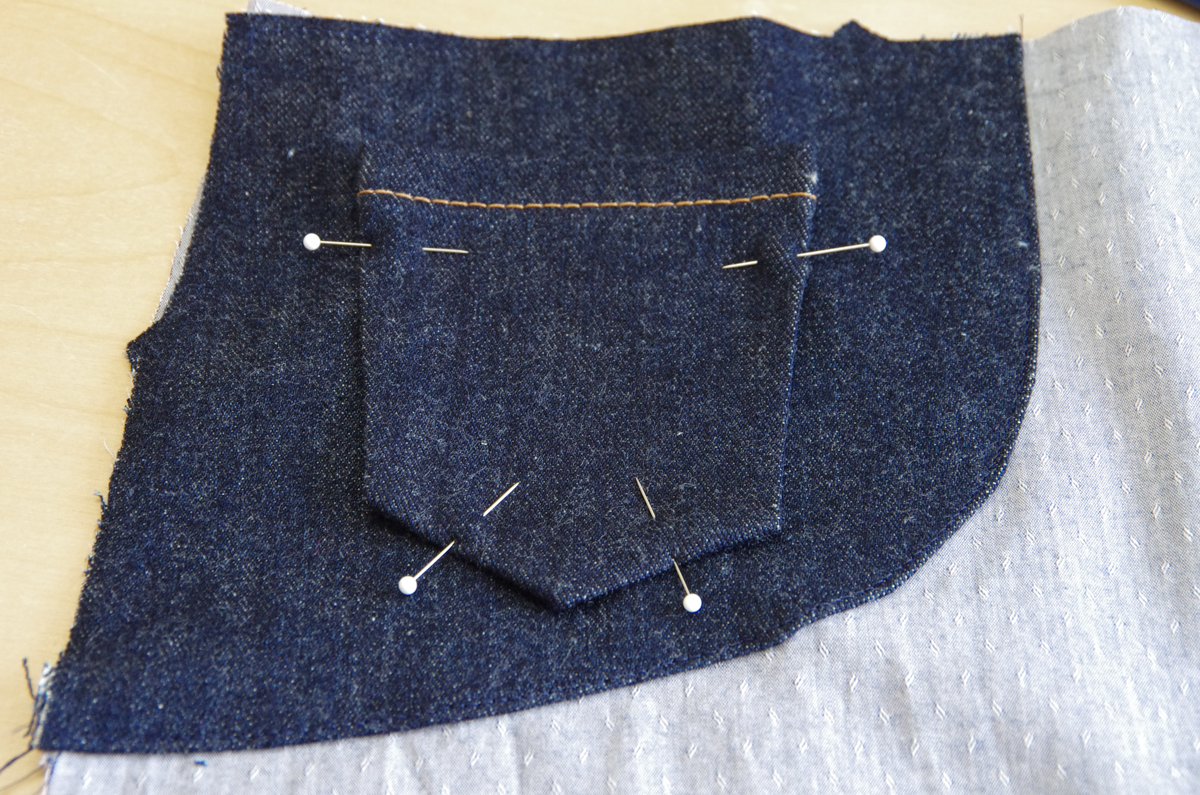
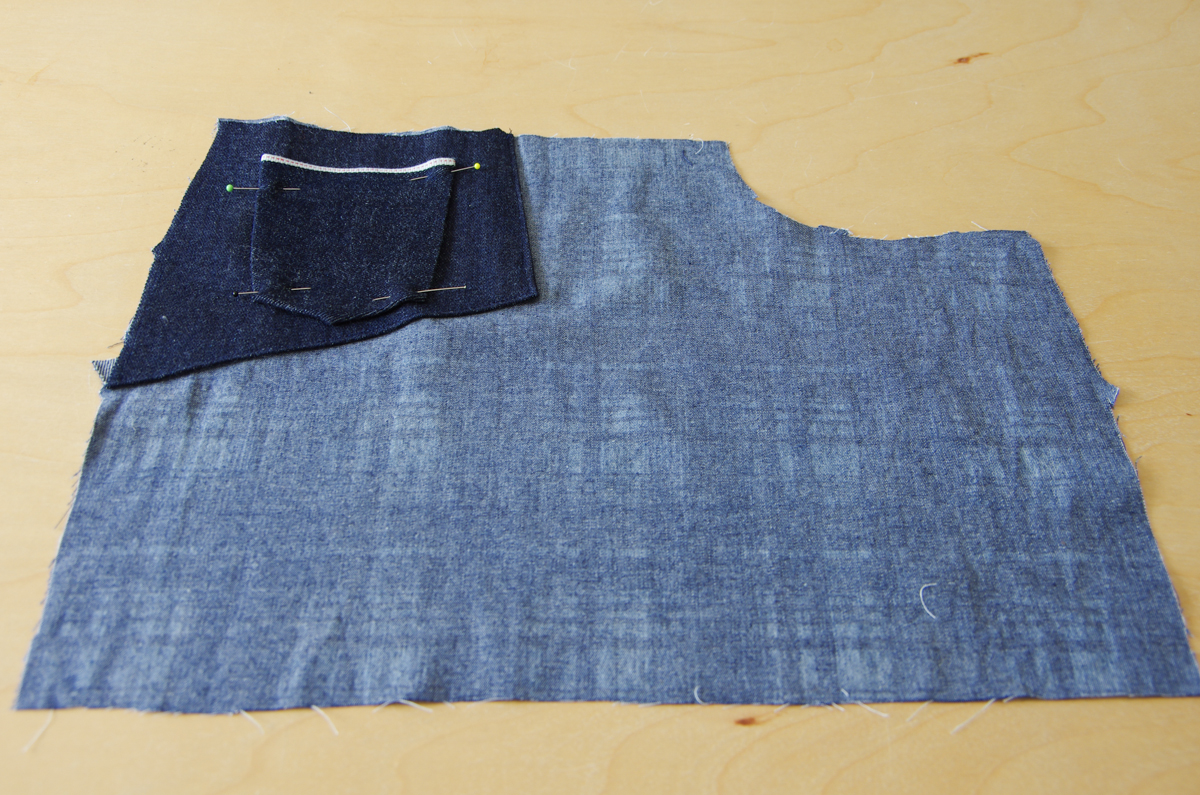
Pin the coin pocket to the right pocket facing (if you were wearing the jeans). You will know you've grabbed the correct pocket bag if the facing is attached to the top left. Use the pocket placement markings found on the facing pattern piece to align your pocket. Above you can see the Quadras photographed first and the Fulfords second.
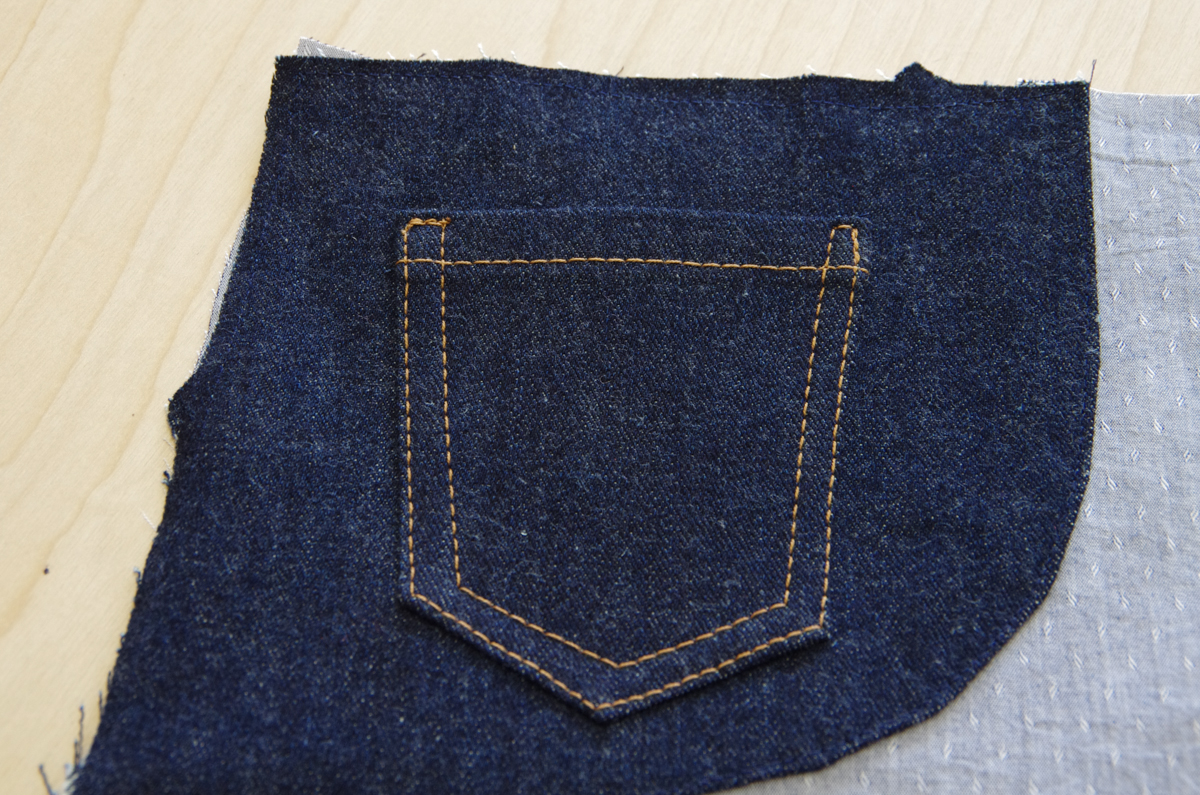
Edgestitch and topstitch around the pocket.
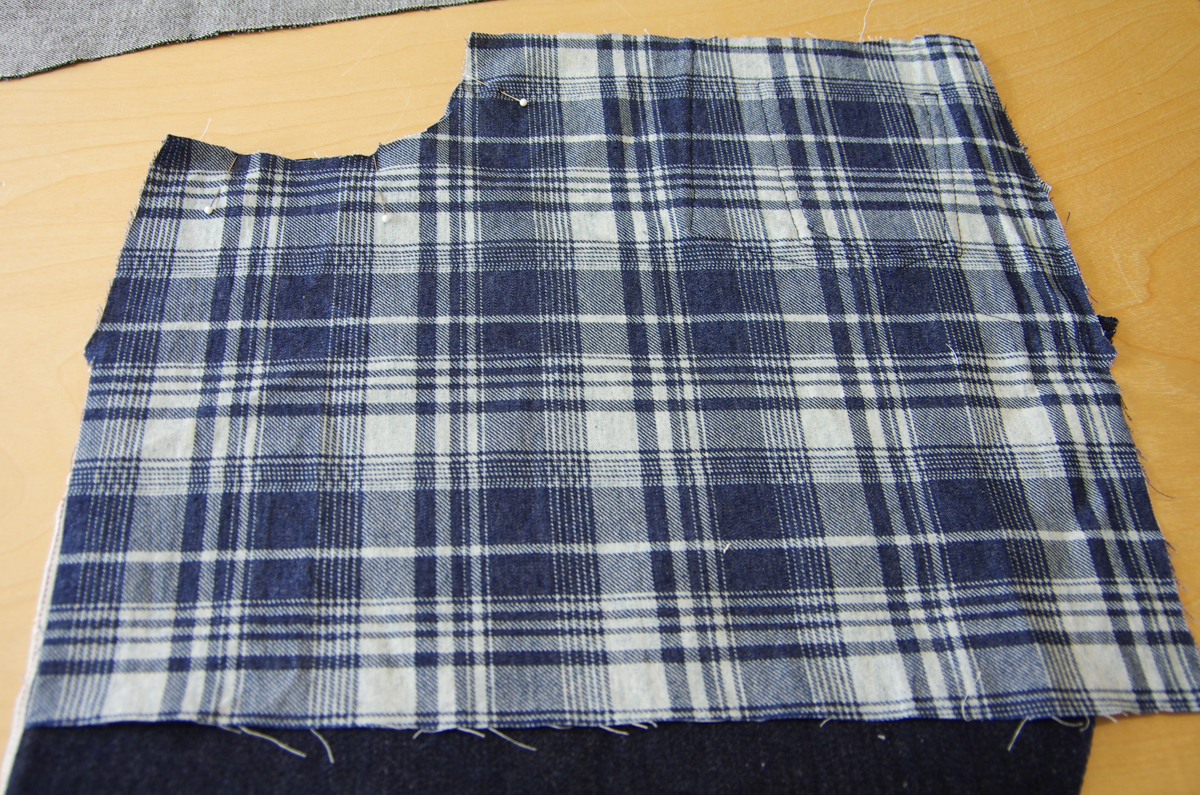
Now we can attach our pockets to the jeans front! Place the pocket on top of the jeans front so that the wrong side of the pocket bag is facing the right side of the jeans. This will mean you cannot see your coin pocket if you've placed the pocket bag correctly. Pin along the curved pocket opening.
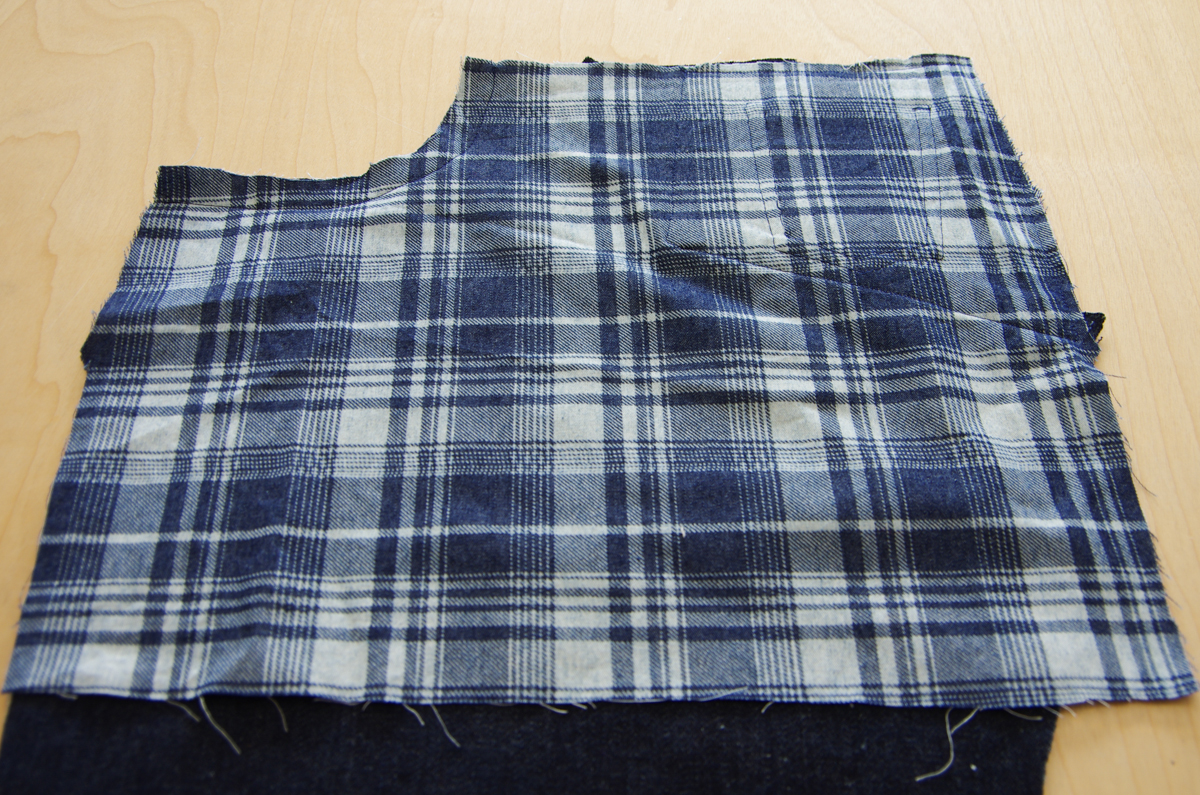
Stitch along the curved pocket opening using a 5/8" seam allowance.
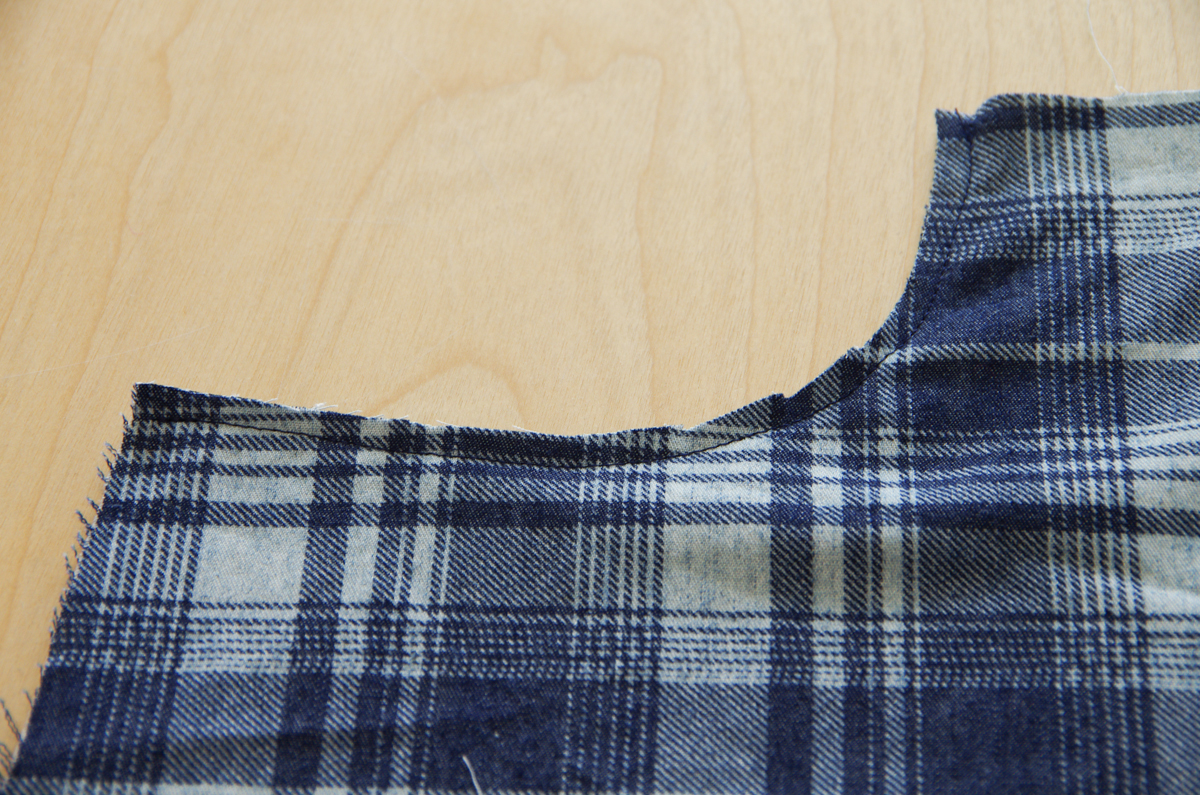
Trim the seam allowance to 1/4" or less so that the raw edge will be enclosed by topstitching later.

Open up your pocket bag and jeans so that the seam allowances and pocket bag are together and the jeans front pushed out of the way. Understitch - this means you will stitch through the pocket bag and both seam allowance layers. The stitching is about 1/8" from the original seam. This understitching will prevent the pocketing from being visible from the right side of the jeans and will make the next topstitching steps easier.

Above is how the understitching looks when the pocket is folded to the wrong side of the jeans front.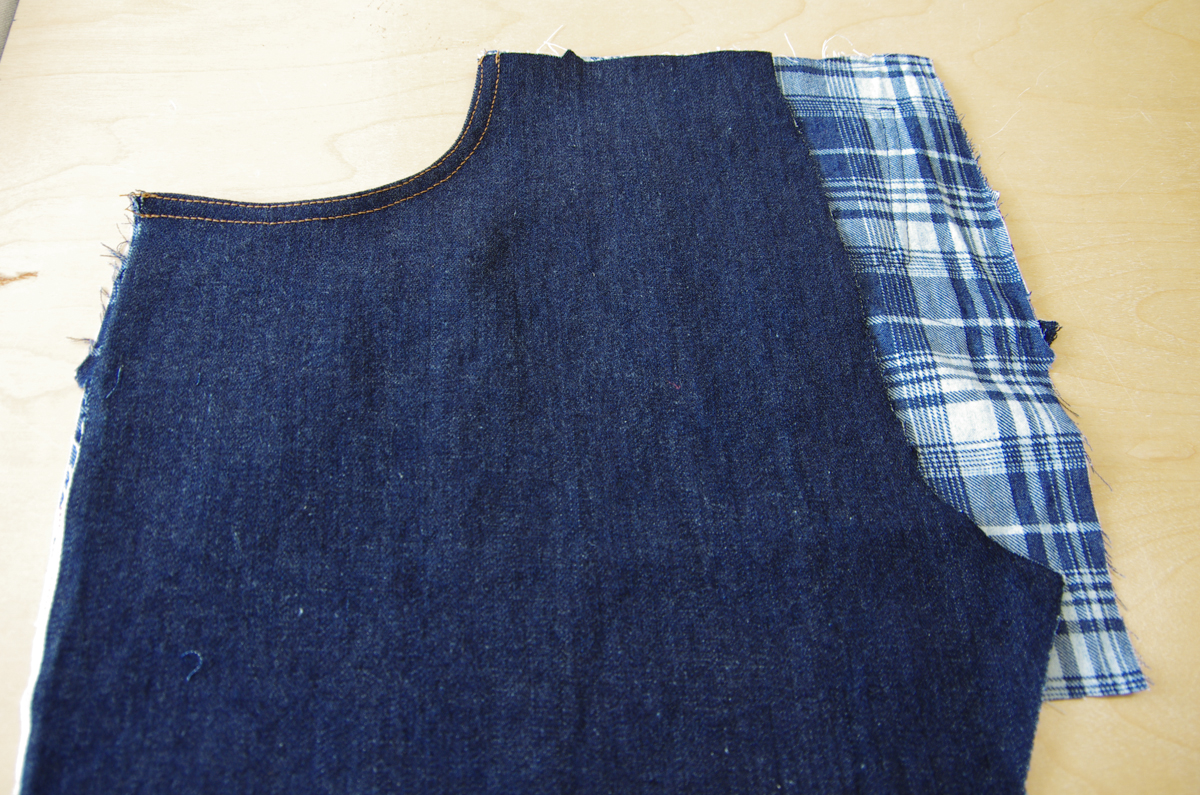
Finish the curved edge of the pocket by edgesittching and topstitching through all layers.
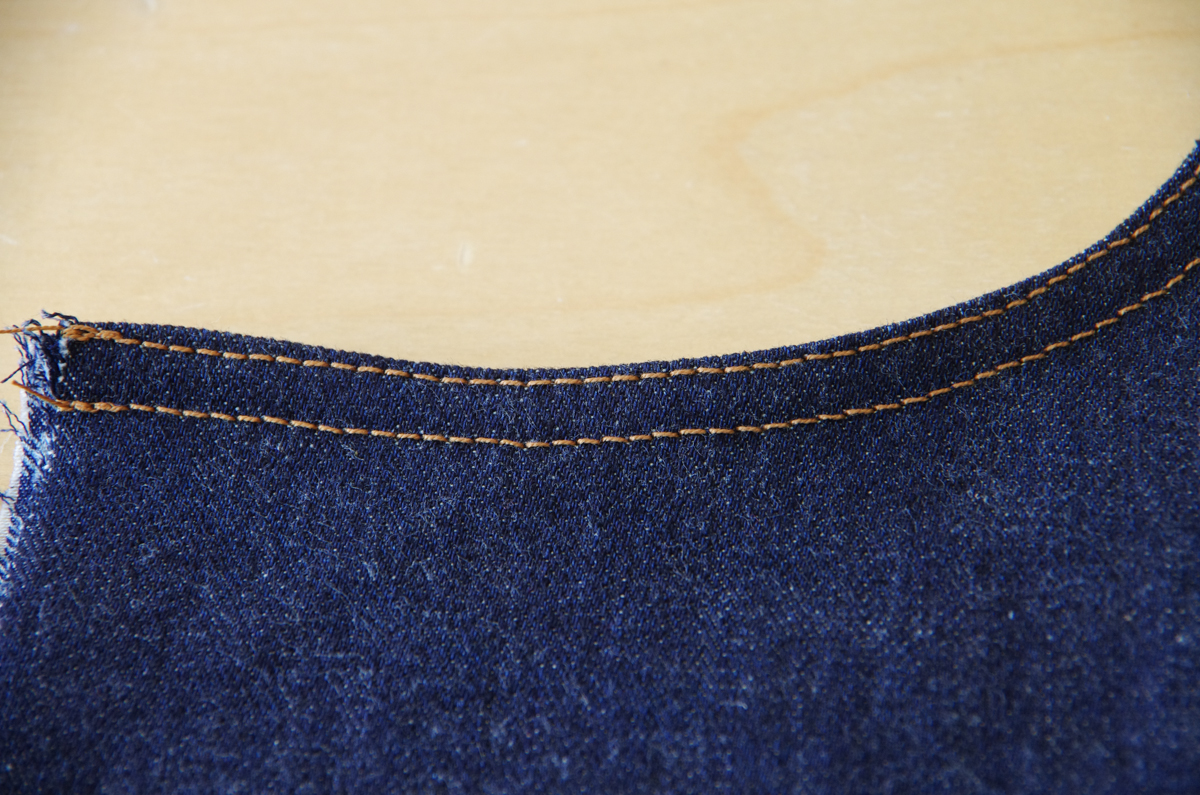
Now that the pocket opening is finished, the next step is to finish the bottom of our pocket with a french seam. If you are sewing the Quadra Jeans your french seam will be slightly curved. If you are sewing the Fulford Jeans your french seam will be straight as pictured.
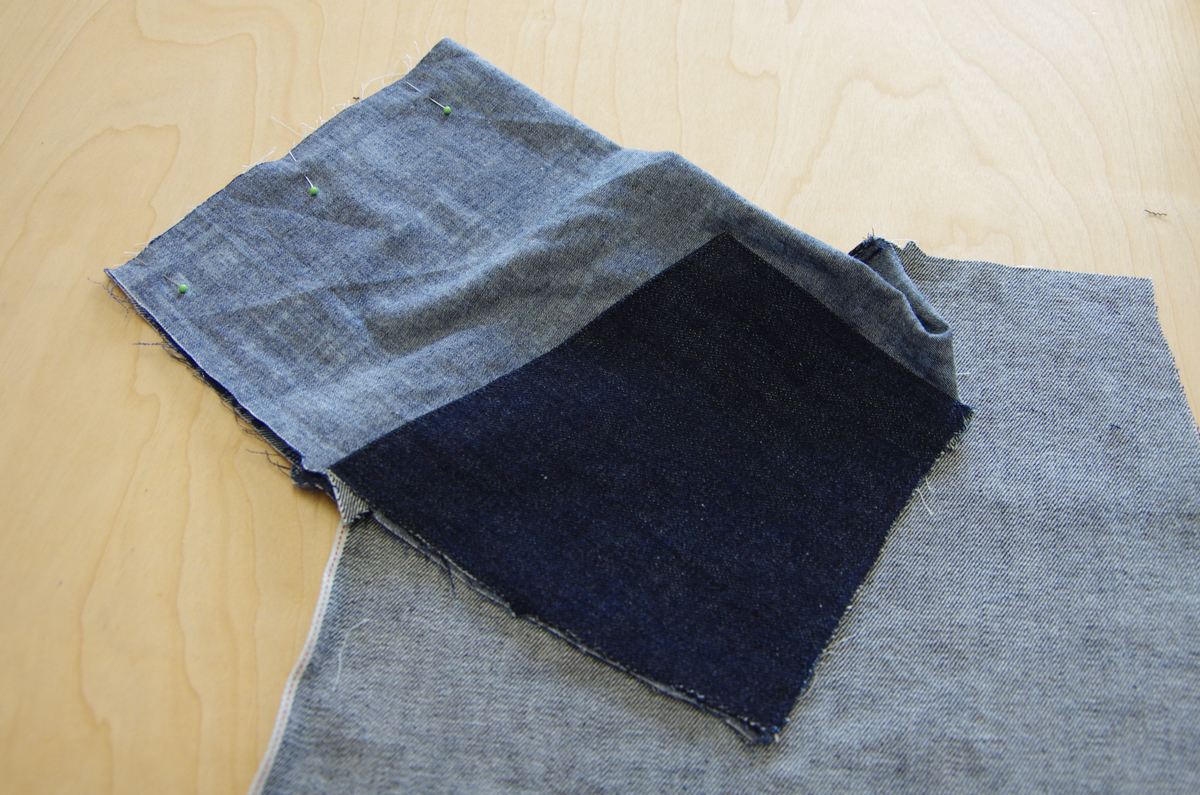
Fold the pocket bag in half along the marked fold line with right sides together. Make sure the bottom edge of the pocket is lined up and pin. Stitch using a 3/8" seam allowance. The side seam stays free of stitching for now.

Trim the bottom of the pocket so the seam allowance is only 1/8" (pictured on the left above and in the photo below).

Flip the pocket around so that wrong sides are together and your bottom seam looks finished. Be sure to poke out the corner and press.

Although the bottom of the pocket looks finished, you will notice there is still a raw seam allowance inside the pocket! That won't feel very nice when the wearer puts his hands in his pockets! Close this up by stitching along the bottom of the pocket using a 1/4" seam allowance.

You've now completed a french seam! To prepare the pocket for the next steps (so it doesn't flap around), pin the pocket in place at the side seam and along the top of the jeans.

Baste the top and sides of the pocket to the front of the jeans.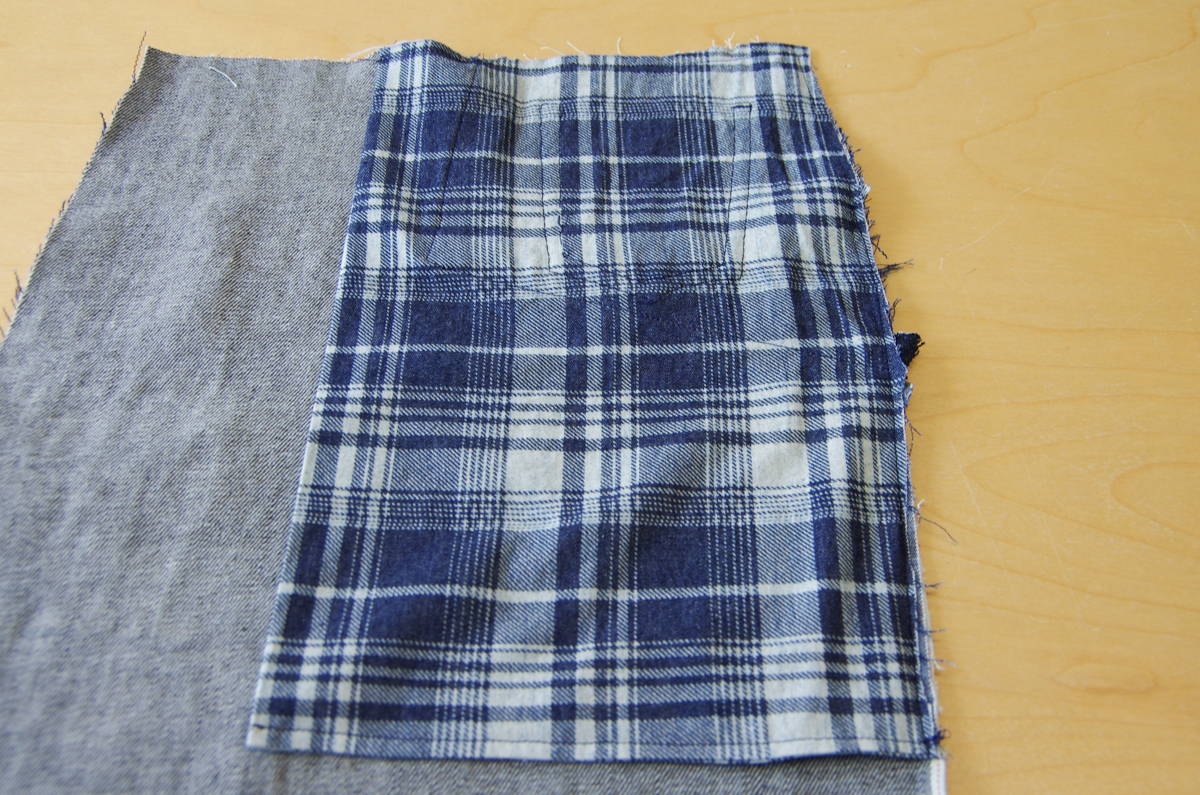
When we go to sew the side seams and waistband later on in the sewing process, the pockets and jeans front pieces will now be treated as one unit. Your front pockets are done!
Next we will move on to sewing the yoke, the inseams and the side seams.
