Jeans Sew-Along: Setting up your machine and sewing the patch pockets
Today we begin to sew! Let's set up our machine with topstitching thread so we can complete the first step - sewing the patch pockets.
Load a full bobbin of regular polyester thread to use regardless of whether your needle is threaded with regular or topstitching thread. Most machines create neater topstitching when the thick topstitching thread is only through the needle (and not on the bobbin).

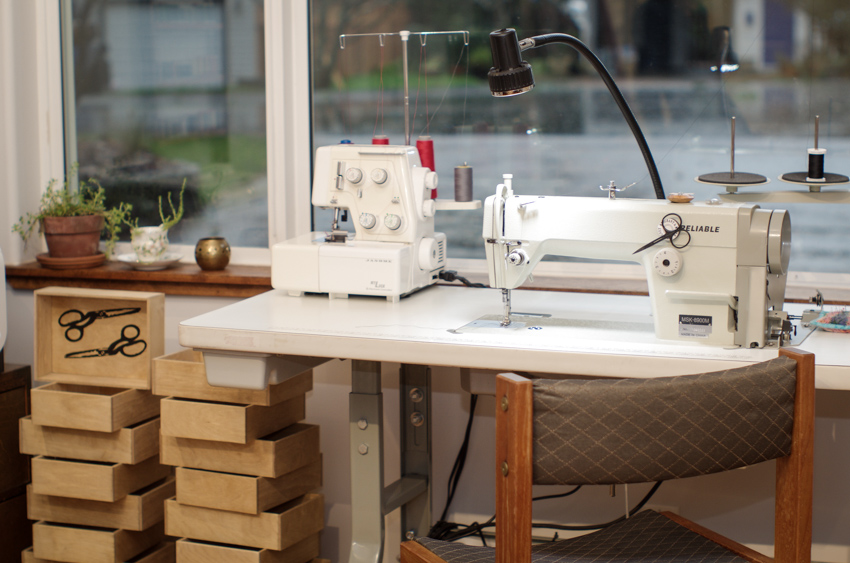
Set your stitch length a little longer than normal. On my machine (the industrial machine pictured above), my normal stitch length is 2.5 but when I topstitch I increase the length to 3.5. I used to only increase it to 3 but noticed that the results look more professional (and similar to storebought) when I use a longer length.

Test out the stitching on a couple layers of denim. Do you see skipped stitches, unbalanced tension or snarled threads? You may need to change your needle, adjust your foot tension, or adjust your bobbin tension. Tilly & the Buttons has a great post on troubleshooting these things that includes a detailed video. A photo from this post is included above.
Is your machine all set? Let's get sewing!

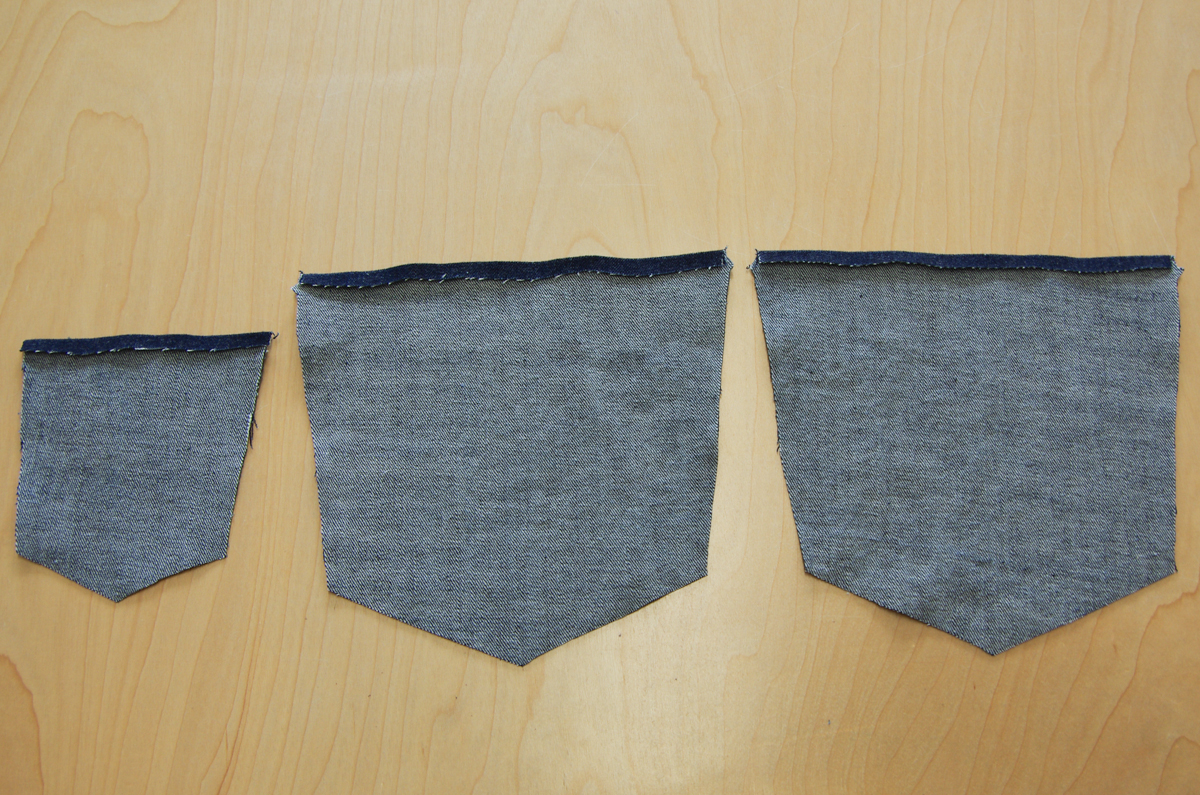
Let's begin by assembling our patch pockets. We'll work on the back patch pockets and the coin pocket at the same time. Press the top edge of each pocket to the wrong side 1/4". Press under again 1/2" to enclose the raw edge entirely.
Edgestitch across the top of the pocket 1/8" from the hem as pictured below. If you are sewing the Fulford Jeans, create a second row of topstitching 1/4" from the edgestitching.

Alternatively, if you are sewing with a selvage denim, you might like to highlight the selvage on your coin pocket! I did this for the Fulford sample by cutting the coin pocket out sideways (so the grain is going across the pocket rather than from top to bottom. I placed the paper pattern piece so it extended 3/4" over the selvage since I would not be hemming the top of the pocket:

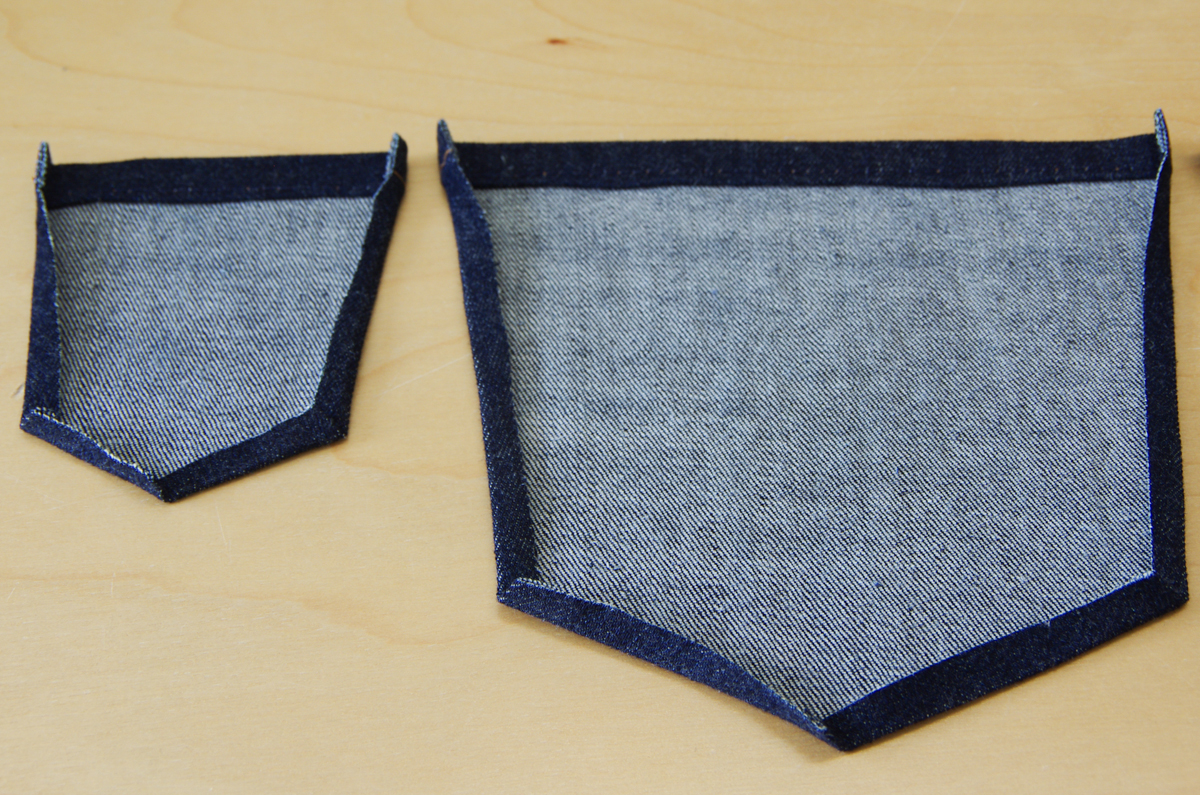
Press the remaining pocket edges under using the 5/8" seam allowance.

If you would like to reduce bulk and create a pocket with no raw edges inside, you can trim the seam allowances to 3/8" or less so that they will be enclosed by the topstitching later.

Now we are ready to attach our back pockets to the pants (we will be attaching the coin pocket in a later post when we construct the front pockets).
I like to mark the pocket placement on my jeans back pieces by using pins. Place the fabric pieces with right sides together and place the paper pattern on top. I then push a pin through all the layers at each pocket marking. I then push a pin through the opposite direction using the sharp point of the first pin as a guide.

I now have two pins going through the pocket placement marking.

When I pull the layers apart, one pin stays with the paper and one pin stays with the fabric. Now I add another pin to the top fabric layer so that both back pieces have their own marking pins:

Place the top corners of the patch pockets so they line up with the marked placement points. Pin the pocket in place and then create your topstitching as instructed.

The Quadra Jeans feature tapered stitching along the pocket sides. You might like to mark this with chalk to ensure you taper your topstitching evenly.

The Fulford Jeans do not include tapered stitching so you simply need to keep your second row of stitching an even 1/4" away from your first row.

Finish off both the Quadra and Fulford pockets by placing a bartack between the two rows of stitching. The bartack is a narrow zig zag stitch with very little length. If your machine has trouble doing this or you do not have a zig zag stitch available to you, you can backstitch thoroughly using a straight stitch. The results are not quite as pretty but will still give you the needed strength.

Next post we will move on to our front pockets! See you then!
