Belvedere Waistcoat Sew-Along: Day 11 - Adding Buttons
This marks the final Waistcoat Sew-Along post! Today you get to try on your finished waistcoat!

All that remains is to sew our buttonholes and stitch on our buttons. I will run through how to do this as per the instruction booklet but first, based on a few emails from you guys, I’ve assembled ideas to help you avoid buttons…but really, I highly encourage you to try your hand a buttonholes because they aren’t that difficult and are essential for an elegant and classic waistcoat. As you can see, button alternatives are quite a statement and only work for certain situations:

Another idea is to close the waistcoat with ties or buckles. I couldn’t find any examples of this style of closure for menswear but I have added our Lazo Trousers buckles to the waistcoat I am making for myself so you can see how this idea could look in reality!

To add regular buttons and buttonholes:

Begin by refreshing or freshly making your buttonhole markings. If you are sewing Variation 1 you will be stitching 6 buttonholes and for Variation 2 you will be stitching 5. This is really a matter of preference though – you could change the spacing of the buttonholes and reduce to three or four if you desired!
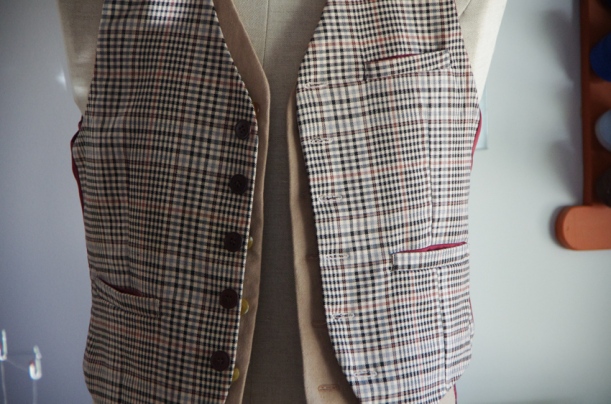
The buttonholes will be on the left hand side of the waistcoat (if you were wearing the garment). You can see I have a stack of examples on my dress form to prove this button and hole placement! I guess that’s what happens when you sew endless samples for a pattern, you end up with more waistcoats than any one person could wear.
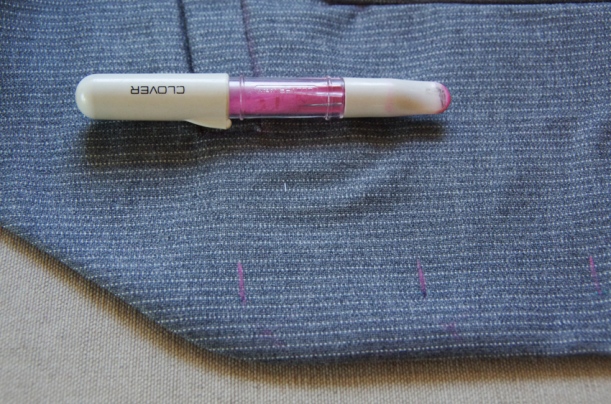
Position them approximately 3/8″ to 1/2″ from the edge of the waistcoat front…you can choose your distance based on the fit you would like to achieve. Stitching them closer to the edge of the waistcoat will give your wearer a little bit more room while stitching further from the edge will create a more snug fitting waistcoat.

Choose a buttonhole size that is slightly longer than the diameter of your buttons. This makes it easy for the wearer to button and unbutton his waistcoat. Check out this Craftsy article to determine exactly what size of buttonhole you need.

I like to stitch around my buttonholes twice to create tidy and dense rows of stitching…of course, this can really depend on how your individual sewing machine and buttonhole stitching mechanism functions.
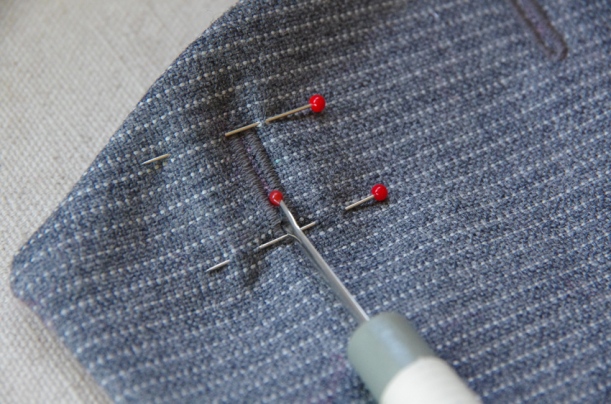
Slice open the buttonholes using a seam ripper with pins placed across either end of the buttonhole to prevent your seam ripper from slicing too far.
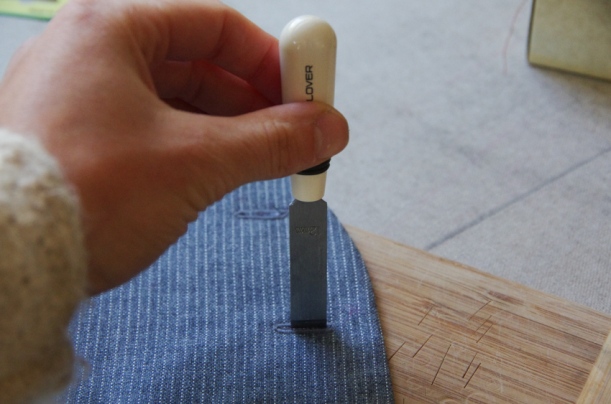
Alternatively, you can use a buttonhole chisel and cutting board. You could even snip with delicate buttonhole scissors.

Stitch your buttons on to the right hand side of the waistcoat (if you were wearing the garment) so that they correspond to the buttonholes. I like to re-check my markings by overlapping the waistcoat fronts and placing a pin through the buttonhole. This way I can be sure the button will line up perfectly with the hole.
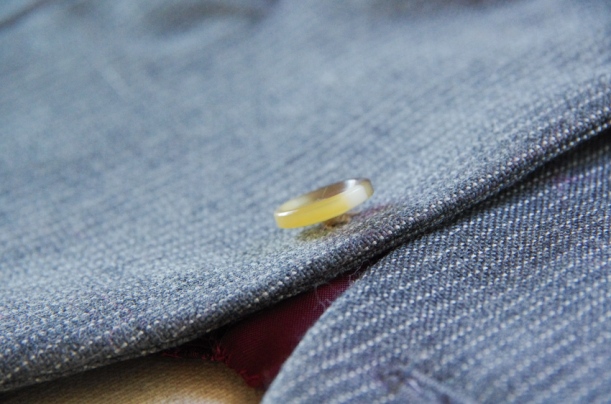
You might like to check out my tutorial about sewing on a button – I explain how to use beeswax to strengthen your thread and how to make a thread shaft for a strong button that is slightly raised from the garment fabric so that it is easy to use.
If you have sewn the tabs on to your waistcoat, add buttonholes to the tabs and then a total of four buttons to the waistcoat back. Position one set so they match the tab buttonhole without cinching the waistcoat back.

Place the other set so that they cinch the waistcoat back just enough to add some extra shaping.
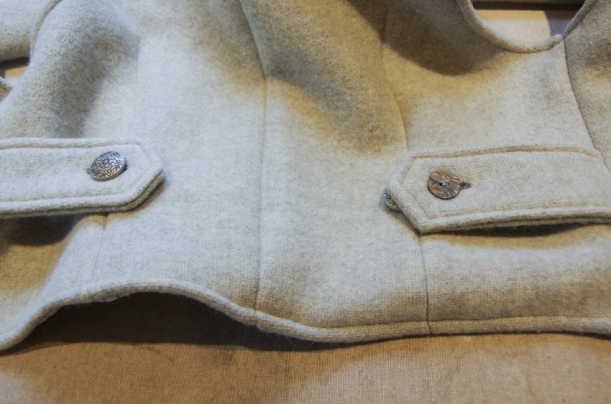
You can see the cinched version on the left hand side of the photo above and the relaxed version on the right hand side.

And that’s it! With a final press and perhaps a handstitched label on the back facing, your waistcoat is finished!

I will be sharing a parade of Belvedere Waistcoats on the blog next Friday, June 16th in honour of Father’s Day. Would you like your Belvedere in the parade? Email me at info@threadtheory.ca with photos or comment below with a link to your blog, Instagram or Facebook post. Alternatively, use #belvederewaistcoat on Social Media to share your finished project.

I can’t wait to see what you have created! Thanks for sewing along.