It's Hammer Time: Jean Rivets
Today in the Thread Theory Tutorials department, we're going to be installing jean rivets using our new Jean & Pants Essential Notions kit! It is also a long-overdue guest post by yours truly, Matt.
We're going to take my (very) worn in Jedediah Pants and spruce them up a bit with pocket reinforcing rivets.

First of all, let's gather our tools! This project will involve a little more than your usual sewing endeavor...

You will need:
- A hammer (mine is ridiculously overkill. Any small hammer will do)
- Something pointy (I used my awl, but you can use a small nail too)
- A marking device (fabric chalk is great, but a pencil or pen works just as well)
- Side cutters (these are semi-optional; more on that later)
- Some wood (not a lot to say about that)
- Steel (this one is pretty important; details to follow)
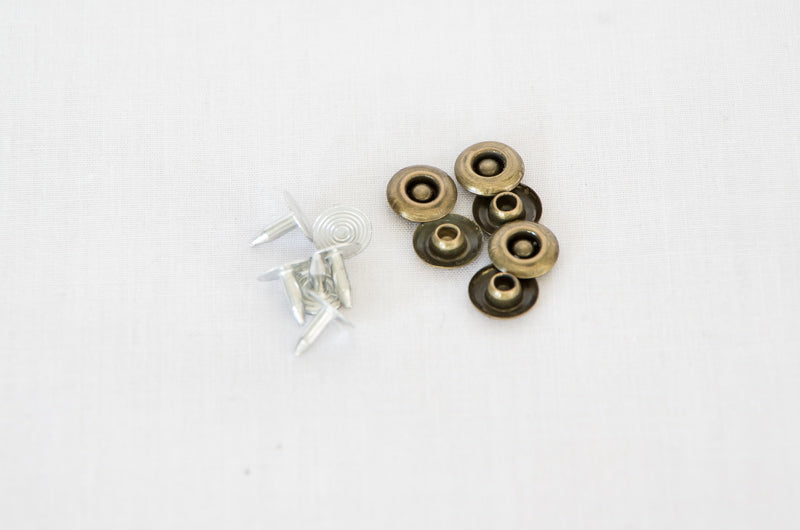
... And most importantly, rivets! These are from our Jeans & Pants Essential Notions kit. For this tutorial, the silver part will be referred to as the "pin" and the brass part will be the "cap".
Your pointy object will be used to make a hole in the layers of fabric for the pin part of the rivet to be pushed through. A pin will work for marking the location, but an awl or nail is much more ideal as it will spread the fibers of the fabric and make the pin-pushing step much easier.

The first step of this project is to decide where you want your rivets to be placed. I opted to put one at each corner of my slash pockets to add a bit of reinforcement. If your pants have a small change pocket, you can install them on that as well. Back patch pockets? Yep, those too! Once you've installed a couple, you'll want to put them on every pair of pants you own!

Next, mark the center of the rivet cap using your pencil, pen, jiffy marker, fabric chalk, etc. It isn't very important what you use here as your mark is going to be well covered by the rivet when we're done.

Next, prepare your pants both emotionally and physically for the pain they are about to endure. Also, get your chunk of wood to use as a backing board.

The chunk of wood is an optional tool, but I found it really makes this step easy, and you don't run the risk of stabbing your finger with your awl (which isn't fun... Trust me).
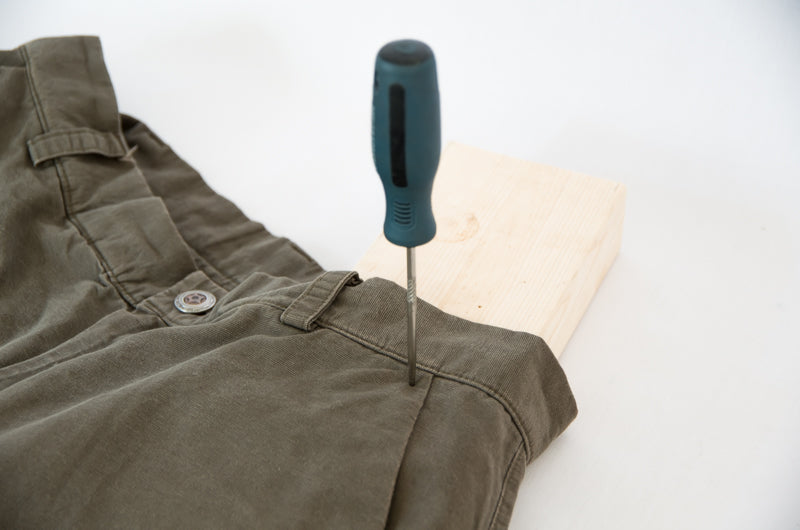
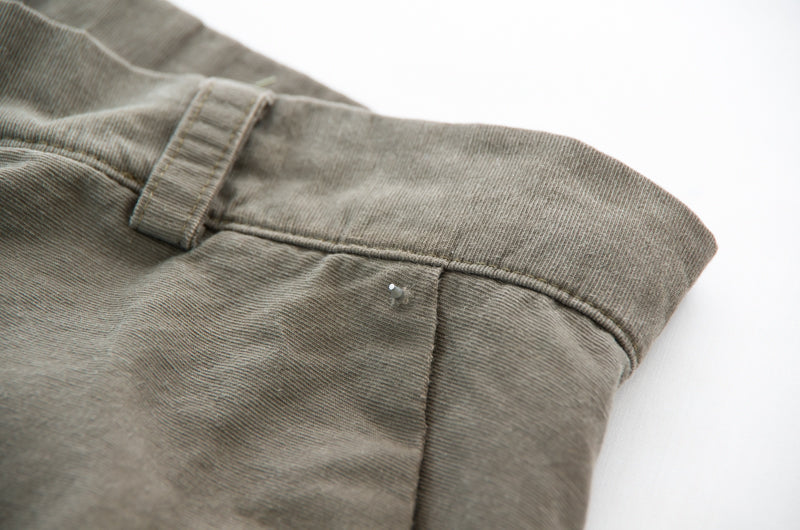
Now push your awl (or nail, or other pointy object) through until the hole in the fabric is approximately the same size as the pin.

Line up the pin with your awl hole...

... And push it through!

Congratulations, you're half way there!
Now for some more fun tools! While pushing the pin from the bottom, use your side cutters to trim away most of the excess tip. You want just a tiny bit of metal (about 1/16") protruding from the hole. This will give the rivet a nice snug fit when the pin is squashed into the cap.
Note: There are some tutorials around that suggest using the full length of the pin and cutting scraps of fabric to act as a "spacer" for the underside of the pin. While this is a great technique if you don't have side cutters, I find that cutting the pin gives a much more "snug" rivet and results in a sturdier finished product. If you don't have side cutters, many pliers have a cutting section. If you don't have pliers, you could try using a very sturdy pair of scissors... Not your fabric scissors, though!

Just a little nub.

This gives you an idea of the amount of pin I cut off.

Now fit your cap over the tip of the pin. It should sit nearly flush with the fabric. If it is sitting too high off the fabric, try cutting a bit more off the pin.

Time to get out your steel! I used a piece of scrap from an old knife-making project; you can use anything you would like, and it really only needs to be slightly larger than the rivet cap (although the larger it is, the easier it is to keep the cap on the steel). The steel is actually very important. I thought it would be fine to use a piece of hardwood, and I was sorely mistaken. When you hammer the aluminum pin into the brass cap, the brass actually deforms and mushrooms with the aluminum. If your backing is only wood, the aluminum pin will just puncture the brass cap and sink the whole assembly into the wood. I did some more experiments on harder wood and concrete (making the mistakes so you don't have to!) and neither worked well compared to steel. If you can't find any scrap steel, most fabric stores have snap kits that include a little tool that functions the same as the steel.

Flip the whole assembly onto the steel so that the pin head is pointed up at you (your target!) and the cap is on the steel, centered under the pin.

Now comes the fun part! Get out your hammer and start swinging! The most important things are to hit it nice and flat and to not use too much force; it is much better to do several gentle taps than one solid whack that could ruin the whole thing. After a few solid taps, lift it up and try to twist/pry the cap while holding the pin. If you sense that is moving at all or doesn't feel completely locked in place, put it back on the steel and give it a few more good taps. After a couple rivets, you'll get the hang of it and will be able to tell when it is good and set.

Ta-da!!! The rivet is cinched right down onto the fabric and I'm completely unable to pry it up or twist it.

Here's a close-up shot so you can see how flush to the fabric it is; if you trimmed your pin short enough, it should look just like this!

Lastly, here's a shot of an un-hammered rivet and the rivet we just finished installing. Notice how the brass has deformed with the aluminum pin; this is what locks the rivet in place and keeps it from coming apart!

I hope your rivet installing is as fun and satisfying as mine was! It is an excellent way to put a finishing touch on Jeds, jeans, or even bags and purses! I hope you liked my tutorial!