Tailored Peacoat Series: #3
![]()
Today, on the third day of our Tailored Peacoat Series, Dana will be teaching a few tricks to put into practice while sewing your Goldstream Peacoat facing and lining:
The Facing and Lining
I overcut coat linings, with the exception of the front edge that is attached to the facing. Fabrics, especially slippery lining fabrics, tend to shift and not always do what you want them to, so its very helpful having a bit of extra fabric to work with. I sewed the front facing to the front lining, stopping about an inch from the hem, trimming the seam allowances to 1/4” and inserting a strip of bias cut from the wrong side of my lining fabric. The bias strip is purely decorative, but can be a nice little bit of color. Instead of doing an interior patch pocket, I made double piped pockets.

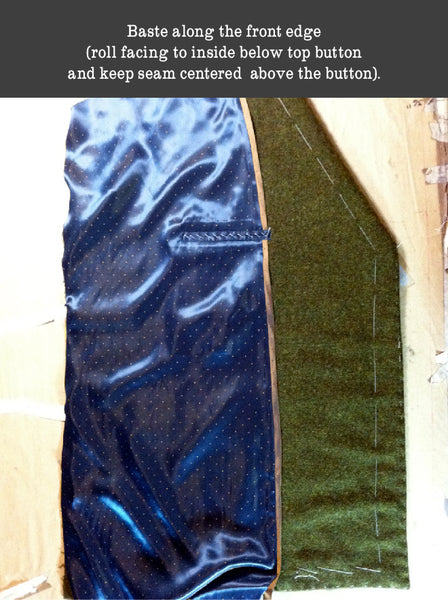
Sew the coat front and the facing/lining together, from the collar notch where you stopped trimming the canvas to the end of the facing at the hem. Its easiest to sew with the coat side facing up, and stitching about a needle’s distance from the canvas. Grade the seam allowance and press the seam open. Baste the front edge, rolling the facing to the inside below the top button mark. When you get to the lapel, baste so the seam is in the center.
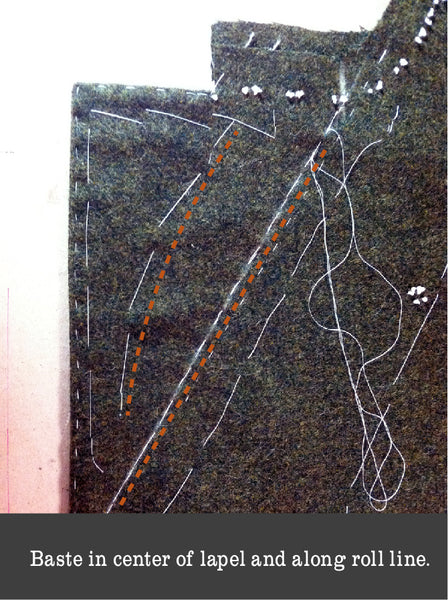
Once the edges are basted, run a line of basting in the center of the lapel, then baste the roll line, stopping about an inch below the neck edge.
Fold the lapel over, and working from the inside of the coat, baste a couple lines, working from the edge of the coat towards the lining. Folding the lapel will ensure it has enough room to roll easily when worn.
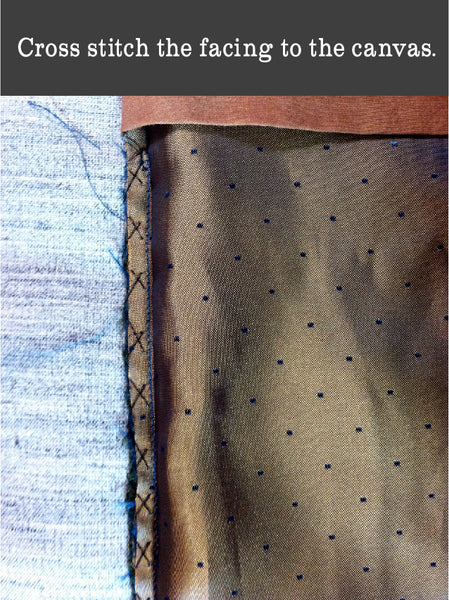
Baste close to the facing/lining seam, then fold the lining back and cross stitch the facing to the canvas, working around the pocket.
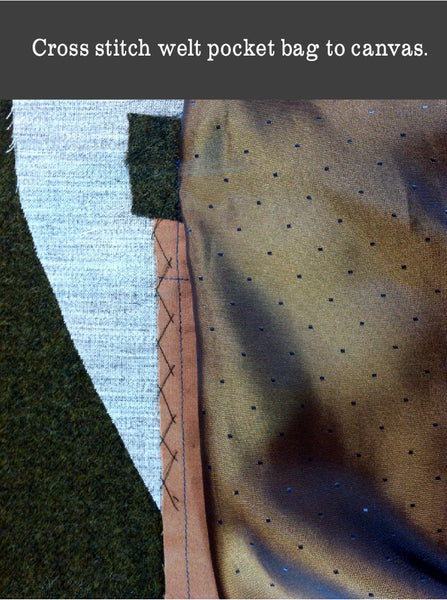
Fold the lining back far enough so the pocket can lay flat, then cross stitch the side of the pocket to the canvas.
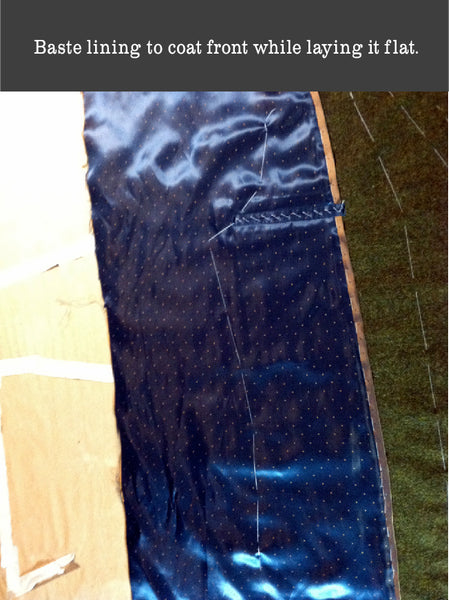
Lay the lining flat, and baste it down, leaving plenty of room for the armscye, side seams, and hem.
From the front of the coat, trim the lining even with the wool around the shoulders, armscye, and side seams.

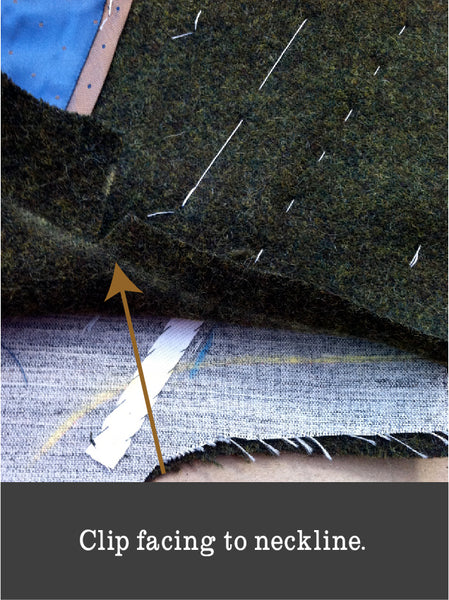
At the neck edge, clip the facing to the neckline about 1” past the roll line.
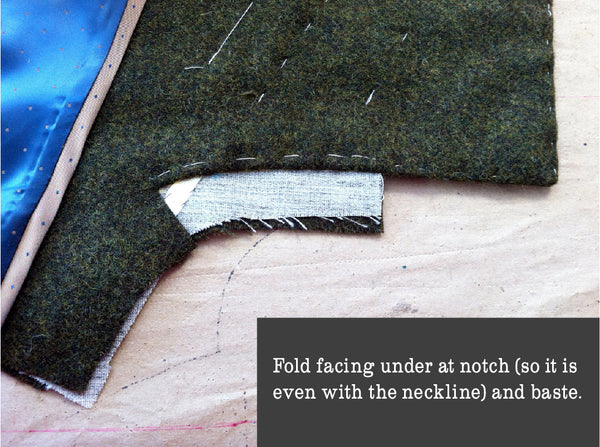
Then, fold the fabric under and even with the neck edge. Baste, then slip stitch, down.
The fronts are done!
The Back and Lining
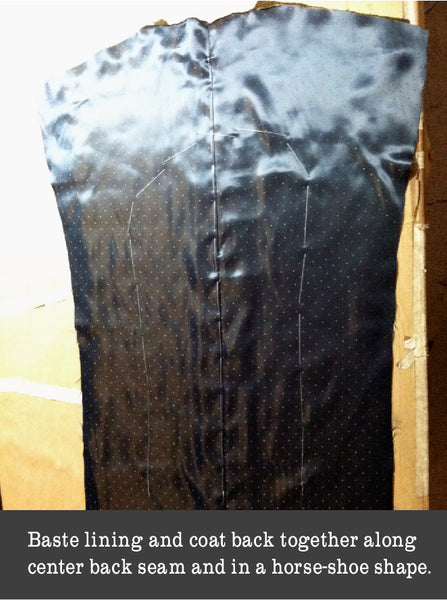
I cut the back lining from the same piece as the back, since I’m not using the back facing. I did leave enough in the lining for an ease pleat center back. Once the center back seam and center back of the lining are sewn, baste them together along the center back seam, then in a horseshoe shape, leaving room for side seams, shoulder pads, and hems.
Now that all the lining and facing pieces are assembled and basted to the main coat, we are ready to sew the main coat seams and insert the shoulder pads tomorrow!