Tailored Peacoat Series: #5
![]()
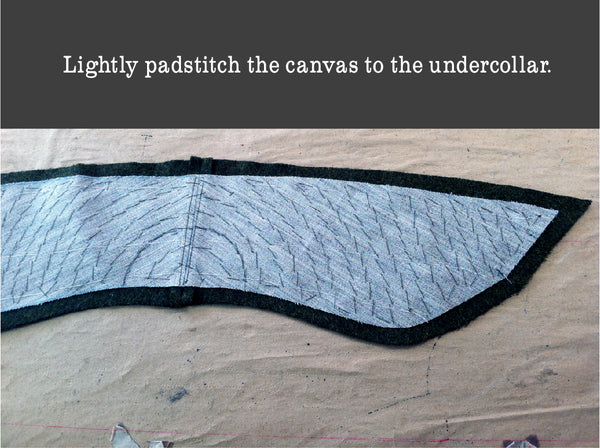
I split the under collar at the center back. I cut two pieces on the bias from hair canvas, trimming away the seam allowance, and also cut two bias under collar pieces from wool. If you are suave like Matt (Matt appreciates that statement, thanks Dana! :P) and want to pop the collar of your coat, I would cut the under collar from a single piece, but you can still cut the interfacing on the bias.
I lightly pad stitched the canvas to the under collar, making sure I didn't go all the way through the wool - but my wool is quite thick and fuzzy, so if your fabric is thinner or has a tighter weave and you’re worried your stitches might show, its okay to skip pad stitching.
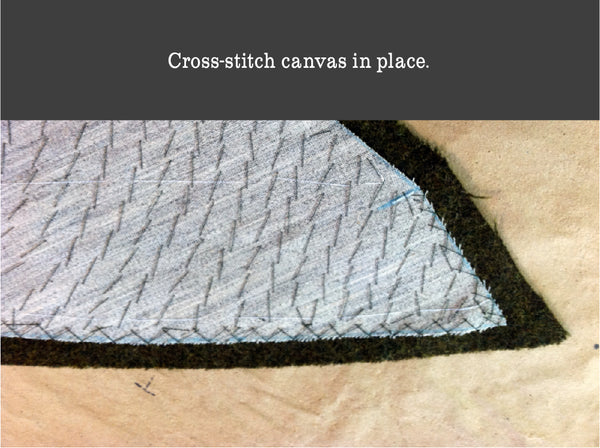
Cross stitch the canvas to the wool to keep the edges in place.
Fold the seam allowance up from notch to notch along the neck edge and baste in place.
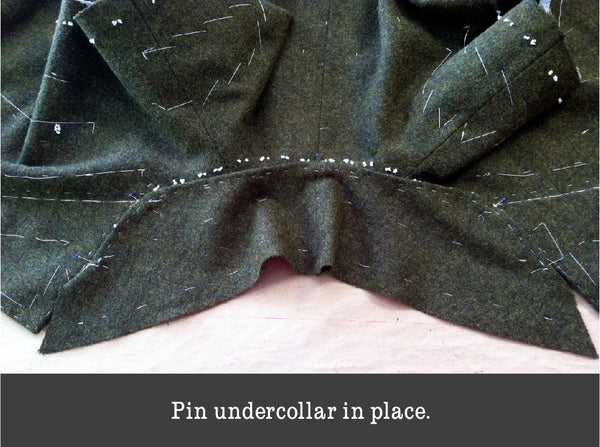
Lay the coat out with the neck facing you, and with the wool side of the under collar up, pin the collar to the neck edge matching center back and the notches. I also put a pin at the roll line.
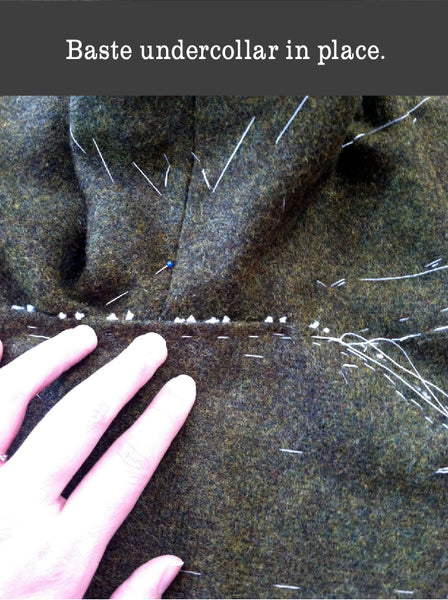
Making sure the canvas and linings are laying nicely inside the coat, and easing as needed along the neck edge, baste the collar to the coat.
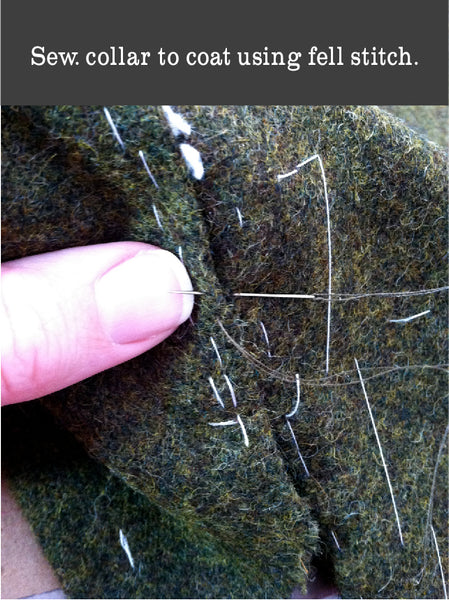
Check to make sure the lining isn't doing anything weird (sometimes it likes to jump around) --- (Remember that Dana didn't use the back neck facing so she is dealing with lining fabric at the neck seam) --- and sew the collar to the coat using a fell stitch and double thickness of thread (to see how to do the fell stitch, have a look at the second stitch on Colette Patterns' "Basic Hand Stitches" guide). Don’t be afraid to catch the facing and lining.
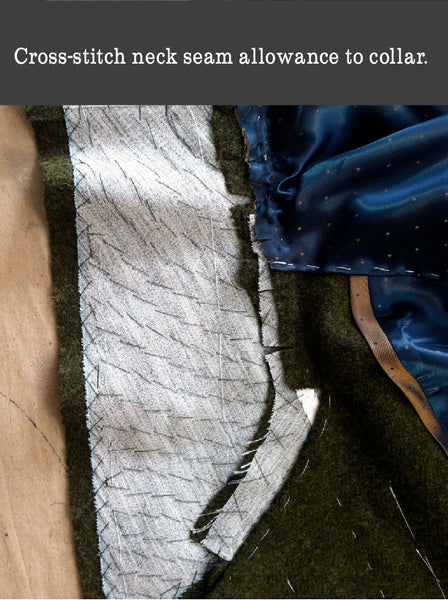
From the inside, cross stitch the neck seam allowance to the collar, clipping where needed to get it to lie flat.
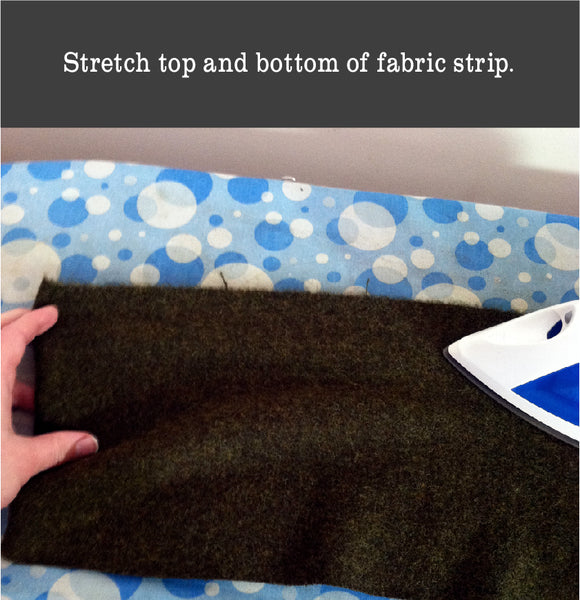
Cut a piece of fabric about 1 ½ inches wider and 2 inches longer than the under collar. Fold it in half, and using a hot steam iron, stretch the top and bottom long edges.
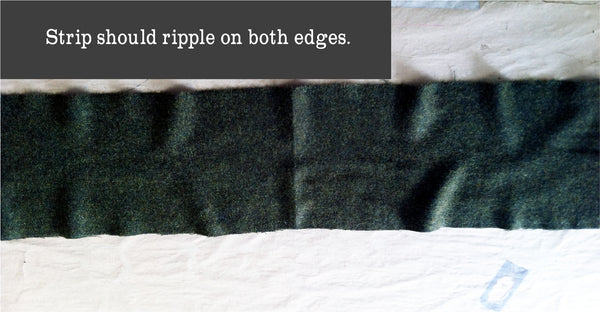
Don’t stretch the center of the strip. When you’re done, it should ripple on both edges.
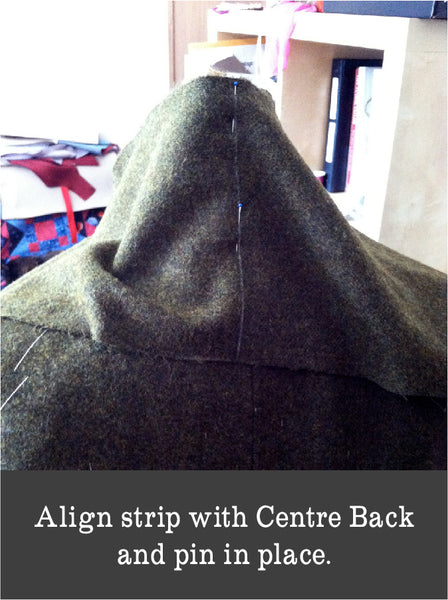
Mark the center of the strip. Align the center of the strip with the center back of the collar and pin in place. Its easiest to do this with the coat on a dress form, but you can also drape it over your knee or hand/arm.
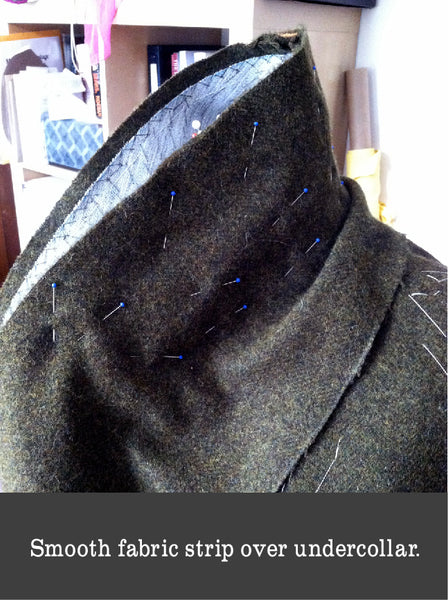
Working from the center back to the front, smooth the fabric over the collar, keeping the straight edge at the top even with the seam allowance of the under collar, and pinning as you go. You’re trying to build some ease into the upper collar so it will roll nicely.
Its okay to trim some of the excess fabric if its getting difficult to work with, just make sure you have plenty for seam allowances.
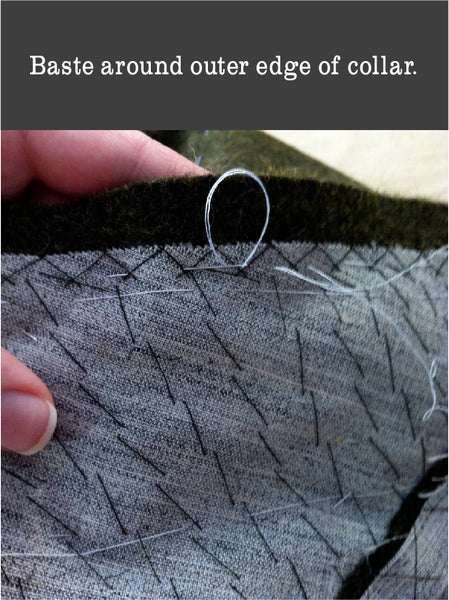
Once the upper collar is pinned in place, baste around the outer edge of the collar, and remove the pins.
Sew the outer edge of the collar from notch to notch with the canvas side facing up, similar to how the front facing is sewn onto the coat front. Press the seam open and grade and trim the seam allowance. Turn the collar right side out, and baste close to the edge, rolling the seam towards the under collar, like the front edge. Put a line or two of basting in the collar, working from the edge towards the coat, then fold the collar under (like the lapels on the facing) and run a line of basting to keep the ease in the upper collar.

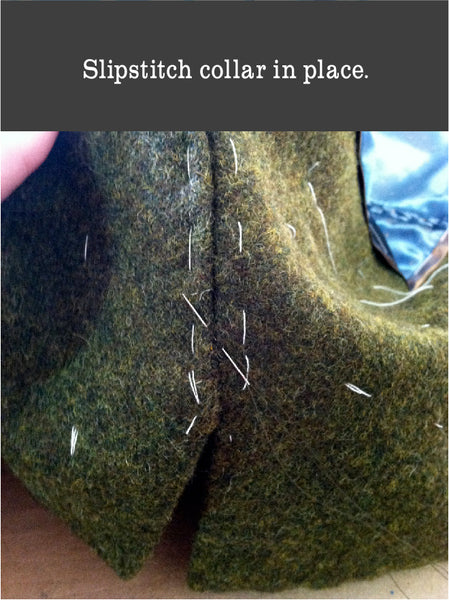
Trim the neck edge of the upper collar so you have 3/8" to 1/2" seam allowance, and turn it under and baste in place. Slip stitch in place.
Well, there you go, the collar is finished! How different from our usual approach to sewing a collar! I look forward to draping my own upper collar when I sew Matt his tailored Goldstream in time for next winter.
Thank you to everyone who has commented via the blog/email/in person about the useful nature of this series. Dana put a lot of work into all of these posts and I am sure many of us will be referring to her teachings for all sorts of coat projects in the future!
Look forward to a post on an alternative approach to setting in sleeves tomorrow!