

Eager to learn more?
Sift through our pattern hacks, sewing technique tutorals and guest blog posts by selecting from the filter below-left.
Tutorials
Father's Day Shaving Kit

In my opinion (and hopefully in my Dad's opinion), there is no better way to express your love for your Dad on Father's Day than by giving him something that you made yourself. My Dad loves everything I make for him and his enthusiasm over his handmade clothes is one the main reasons I find sewing menswear so rewarding.
This Father's Day, forgo the cliché gifts of a watch or new tools and instead make your Dad something! Not sure what to make? Or do you still prefer to buy your Dad something that he has been asking for? Then make this shaving kit/generally useful bag and fill it with your dad's favourite things! It's big enough to fit any toiletries or shaving supplies you'd like to fill it with, a selection of screw drivers or even a pile of his favourite snacks.

This bag is really quick and easy to make and results in a VERY sturdy case with a classic manly aesthetic. It is interfaced, lined and even waxed to create a bag that will only get better as it wears in with heavy use. I'll show you how to sew the bag using supplies from the Bag Making Kit that is new in our store but you can also gather your own supplies if you would prefer!

The materials you will need to create an approximately 6" wide, 9" long and 4 1/2" tall (bag are: 15.2 cm wide, 22.9 cm long and 11.4 cm tall)
Case:
- Two 13" x 12" (33 cm x 30.5 cm) rectangles of cotton canvas or similar heavy fabric for the outer bag
- Two 13" x 12" (33 cm x 30.5 cm) rectangles of lining material (either the same as the self fabric or something that is easy to wipe out and clean
- Two 13" x 12" (33 cm x 30.5 cm) rectangles of heavy interfacing (optional)
- One 12" (30 cm) zipper (either separable for a bag that opens EXTRA wide or regular closed end - choose something heavy duty). Please note that since creating this tutorial we now include a 14" metal zipper in our Bag Making Supplies Kit. This can easily be shortened to suit this tutorial's dimensions by pulling the metal teeth with pliers! The larger zipper is more versatile in this kit as it is large enough to be used for all sorts of bag types!
- Otter Wax to apply to the finished case for a hard wearing/water resistant exterior (optional)
Optional Handle:
- One 12" (30 cm) strip of leather (approx. 1 1/2" (3.8 cm) wide - try cutting a piece from a thrift store belt!) (optional)
- Two to four Chicago screws or rivets that are thick enough to go through your leather handle and all layers of canvas (optional)
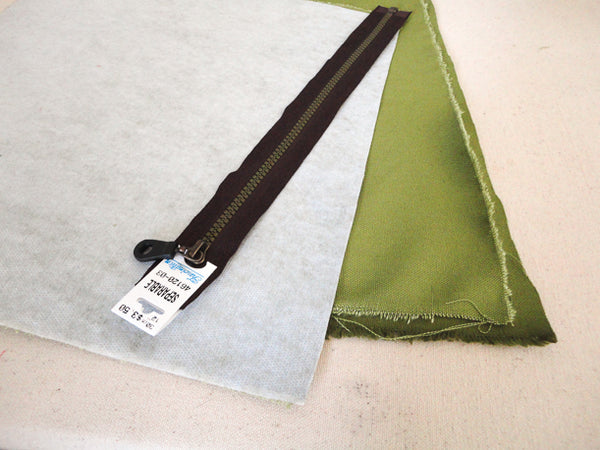
Apply your interfacing to the two outer rectangles.
Lay one of the outer rectangles right side up.
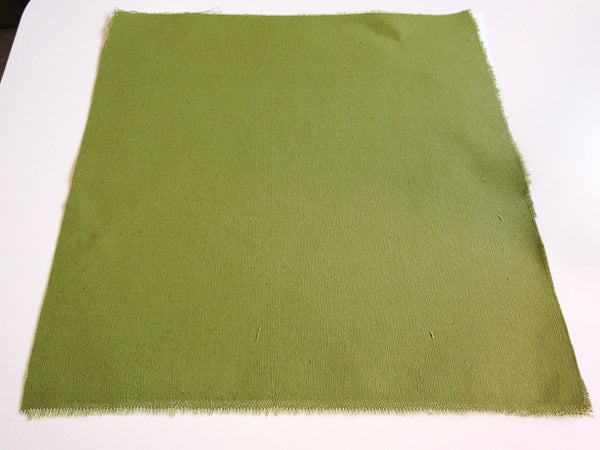
Lay the zipper with the right side down on top of the 13" (33 cm) side of the rectangle. Line up the zipper tape with the raw edge of the fabric and position the zipper so that there is 1/2" (1.3 cm) seam allowance on either end of the zipper teeth (mine needed to be shifted a little to the left in this photo):
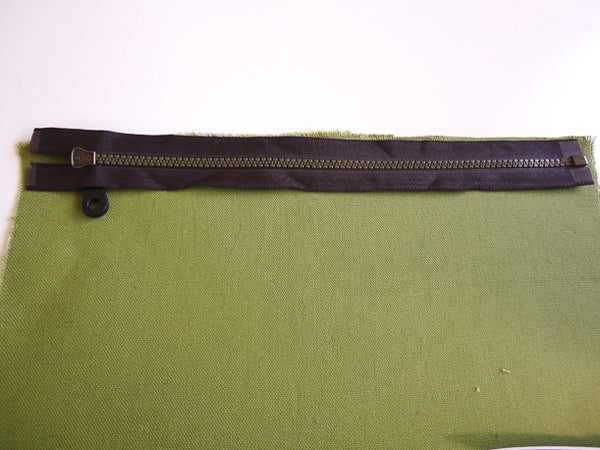
Place a lining rectangle on top of the zipper with the wrong side up and the raw edges lined up with the outer rectangle. Pin in place.
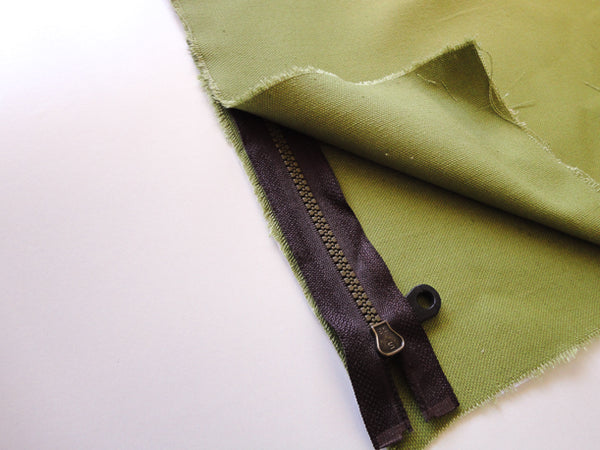
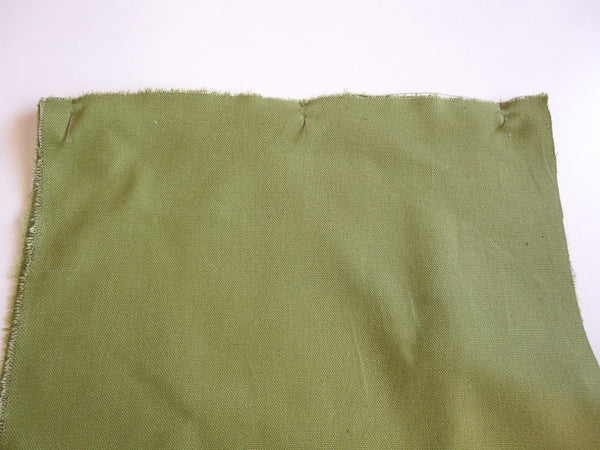
Use a zipper foot to stitch along the zipper tape. Try to avoid stitching too close to the zipper teeth (leave at least 1/8" (0.3 cm) space between your stitching and the teeth) because your lining fabric will get caught in the zipper teeth if it is too close...do what I say, not what I do because you will see later that I stitched quite close!.
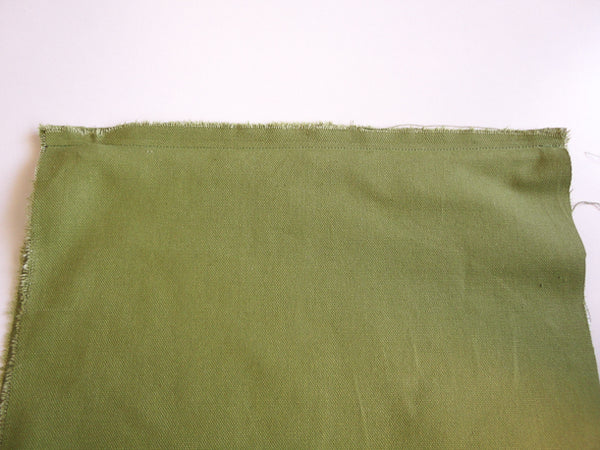
Flip your fabric pieces around so that no seam allowances are visible. If you would like, you can pull the outer and lining fabric away from the zipper teeth (pull it very taught!) and top stitch to ensure the teeth will not catch the fabric.
To add the other side of the bag to the zipper, place the second outer rectangle right side up, lay the zipper with the wrong side up on top of it and then add the lining material with the wrong side up (this is the same process that you used for the first side of the zipper).
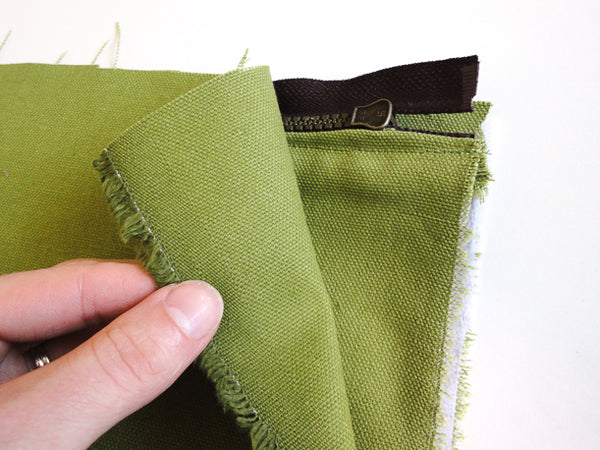
Pin in place and stitch with a zipper foot.
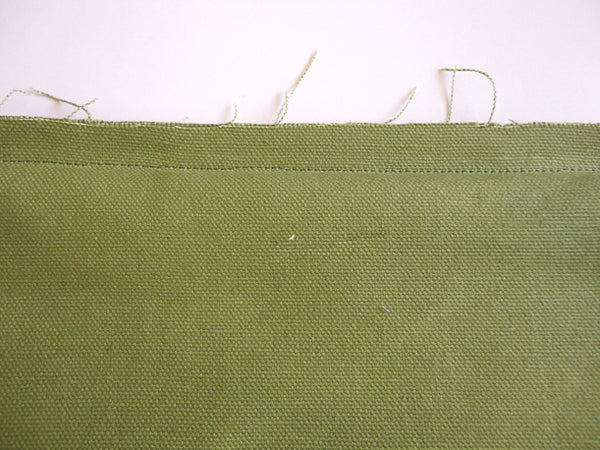
Your zipper is successfully inserted! Give it a press (but avoid pressing the plastic zipper because it will melt!).
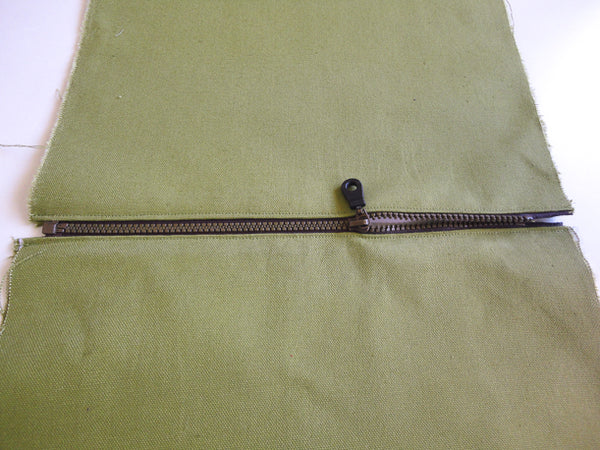
Now it is time to sew the bottom seam. This method will result in no raw edges along this seam. Position your bag so that the bottom edge of the lining rectangles meet (with right sides together) and pin. Do this for the outer fabric as well. From this point onward, make sure to leave your zipper partially open so that you can flip your bag right side out later on!
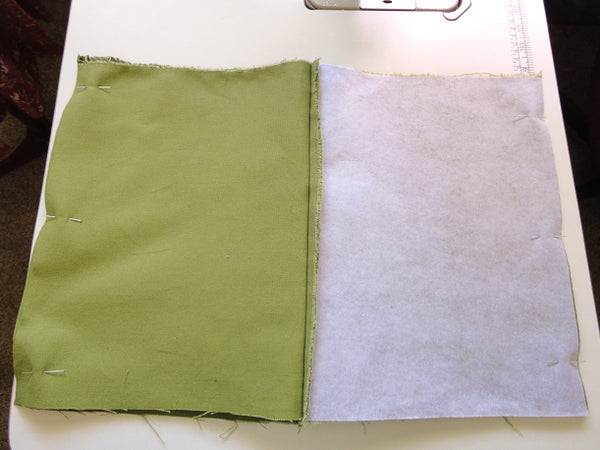
Here is a close up of how the zipper will look along the middle seam when your fabric is positioned correctly:
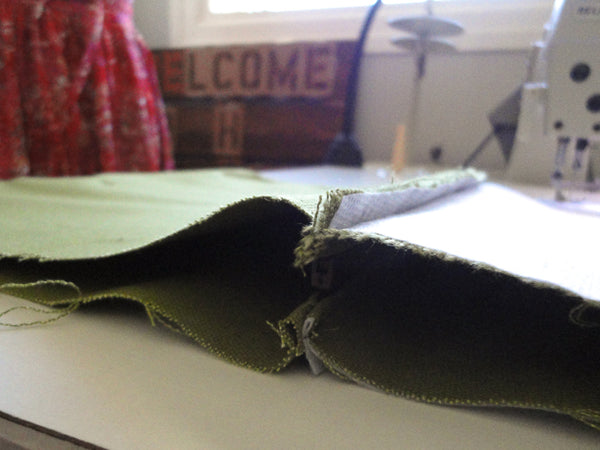
Stitch these two seams using a 1/2" (1.3 cm) seam allowance.
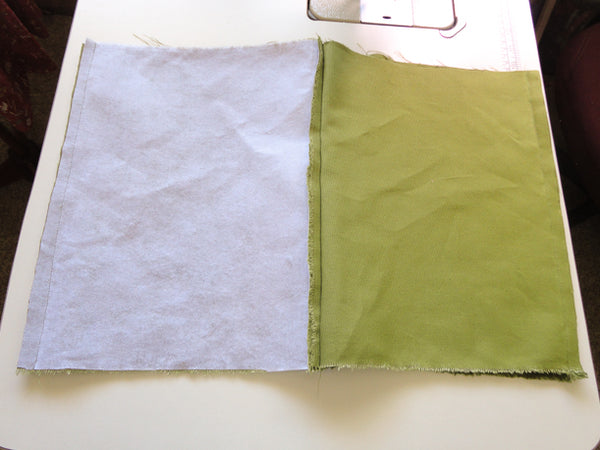
Press the seams open.
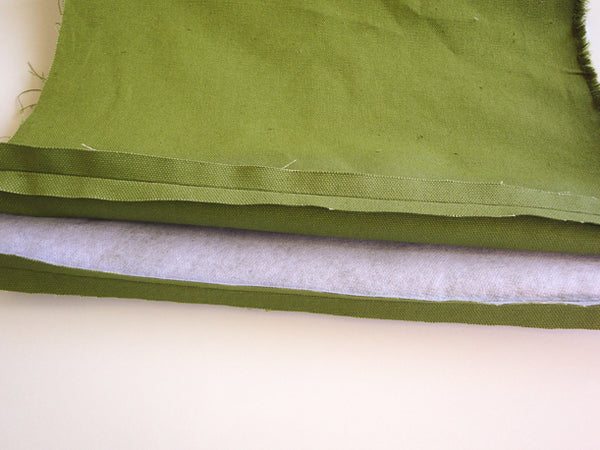
Now flip the bag around so that the right side of the lining is facing you (along with the wrong side of the zipper) and the bottom seam is lined up with the zipper. Remember to keep your zipper partially open for this step (again, do what I say, not what I do!). Pin the side seams and stitch using a zipper foot and a 1/2" (1.3 cm) seam allowance. If your zipper is positioned correctly, your stitching will cross the zipper just below the last teeth (so you will only have to sew across the fabric zipper tape and not across the plastic teeth).
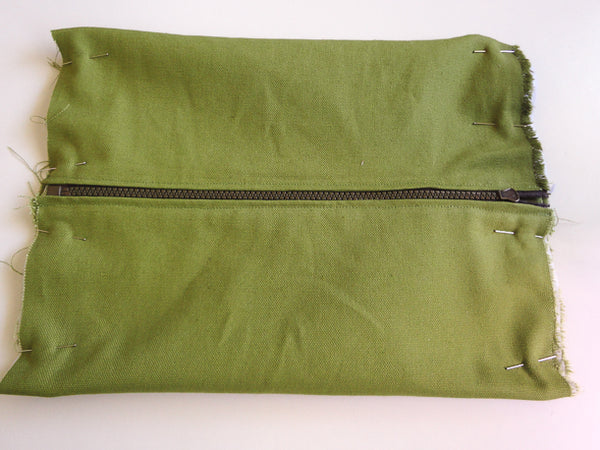
Finish this raw edge using binding or a serger.
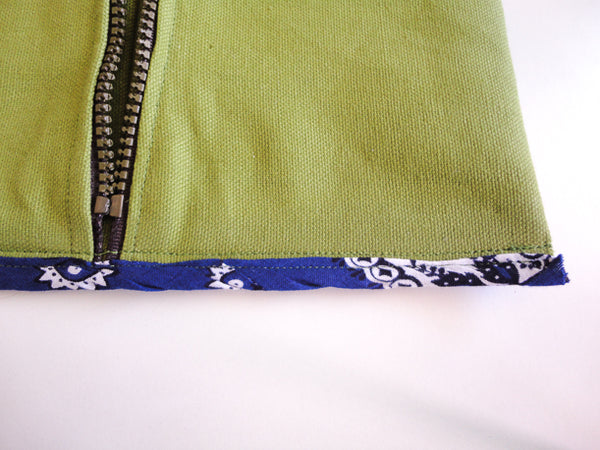
Your bag is almost done! We just need to shape the corners now.
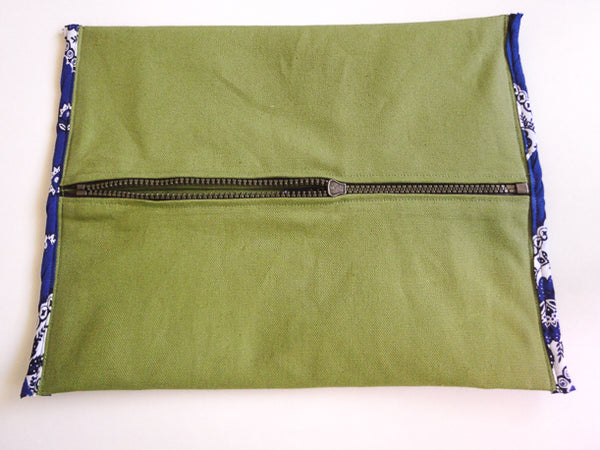
Pinch each corner as photographed below to 'puff' the bag up.
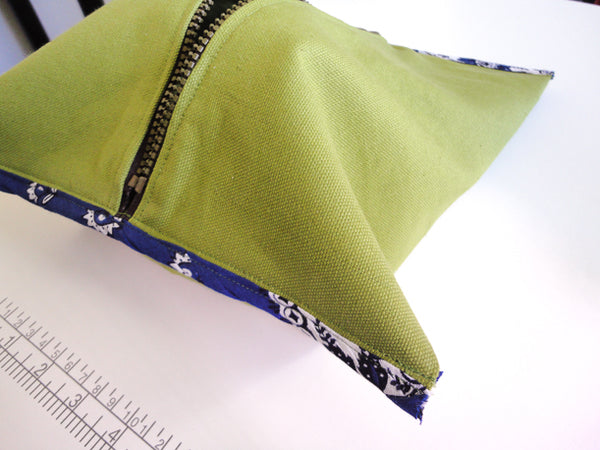
Sew across each corner to create your desired height. I sewed a 4" (10.2 cm) long line of stitching. If you sew further down the corner, your bag will be wider and shorter; if you sew further up the corner (to create a longer line of stitching) your bag will be narrower and taller.
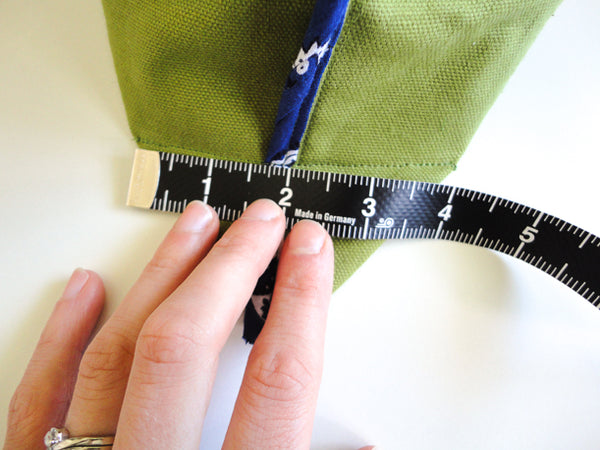
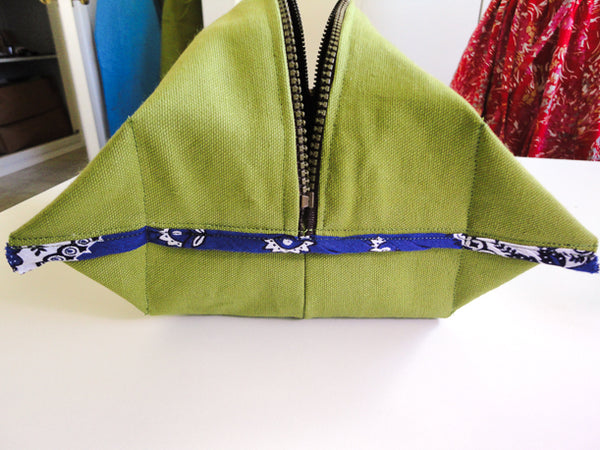
At this point, you can leave the corners in place (they add extra structure when the bag is turned right side out) or you can trim them and finish the seam allowances with binding or a serger. Turn your bag right side out and admire your work!
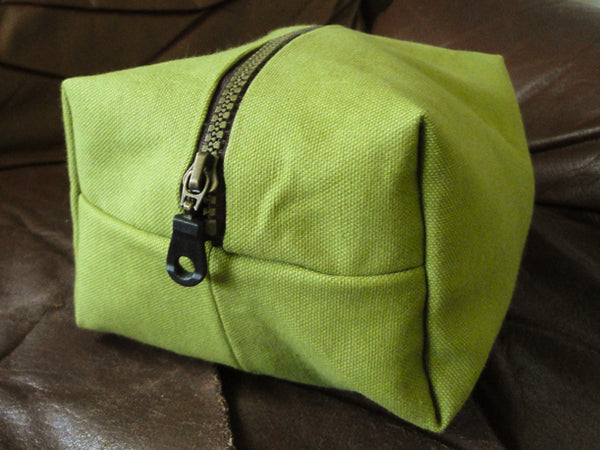
Your Father's Day bag could be completely done and ready to fill at this point...but if you want to take your work to the next level and make something even better than you could find in the store, here are a few ideas:
Apply Otter Wax to your canvas bag:
It's as simple as rubbing it on as thick as you would like. It will feel sticky and make your fabric look mottled/dirty at first, but just keep rubbing it on until the coating is even and then leave it out of the sun to cure for 24 hours. Your canvas will gain some lustre and become perfectly rugged looking. If your dad likes the look of classic oilskin raincoats and is quite hard on his belongings, this finish will suit him perfectly! It will resist water, the fabric will be stronger, and it will wear in over time rather than wear out (think of the nice crinkled and soft look of worn denim or an old waxed canvas jacket).
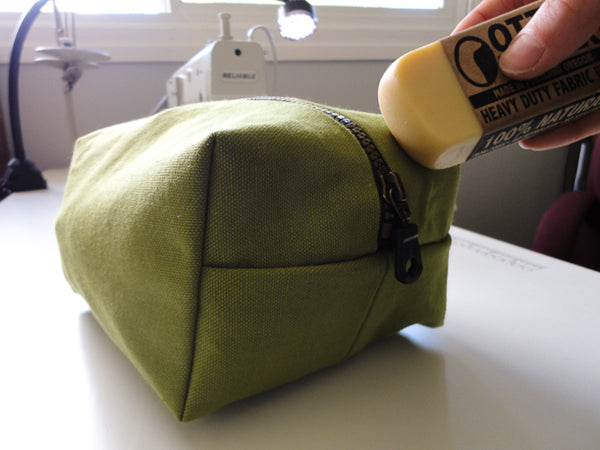
I didn't worry about getting wax in the zipper - after unzipping it a few times, the wax wears off and maybe even helps make it operate smoother! To work the wax into the seams, I used my fingers and the corner of the bar...and I came away with hands that were as smooth as if I had just gone for a manicure (yay for unexpected perks!).
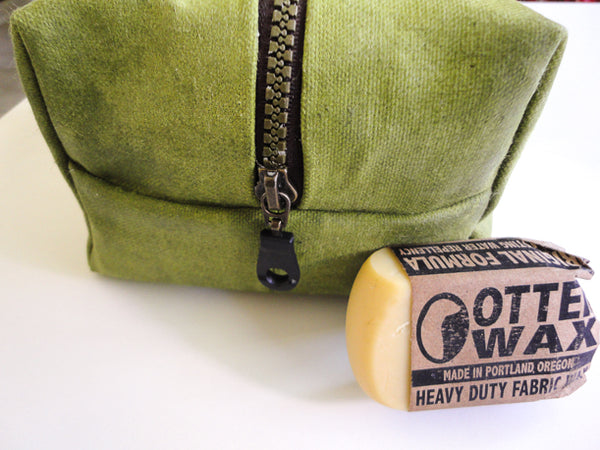
Keep in mind that Otter Wax is different from most fabric waxes in that it doesn't need heating or any other special treatment before it cures (plus it's all natural and smells deliciously like beeswax). It simply needs to be rubbed on and then left to dry/cure. If you are using a different sort of fabric wax, you'll need to follow the manufacturer's directions!
Now, your bag could be done at this point as well...but shall we take it one step further?
Add a leather handle to your bag so that your dad can easily grab it (and for an extra touch of manliness!).
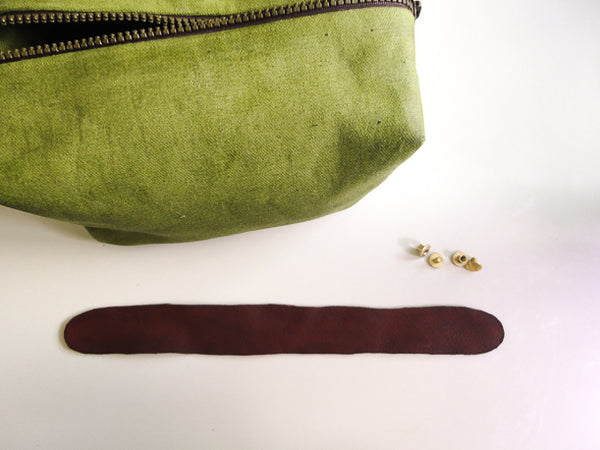
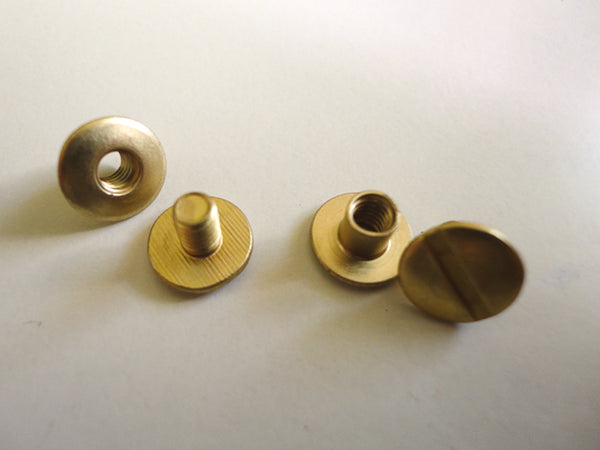
I used Chicago Screws (available in our bag making kit) to attach the handle without having to use specialized tools but you could also use rivets if you don't mind a little hammering and have the right rivet applying tools on hand!
Chicago Screws are commonly used in scrap booking but they can also be a great sewing notion! They simply screw together by hand (or with a flat head screw driver) and have nice large heads that thoroughly cover the hole punched in your fabric - I find these large heads make them more secure than small rivets because they are not likely to pull/rip through the fabric if the handle is yanked on.
I used a small scrap of leather for my handle but I think a strip from an old belt would work even better because the thickness of a belt would create a nice stiff handle. The one benefit of thinner leather is that you don't need a special leather punch to create a hole - just punch a hole with an awl and trim it to the desired width with small embroidery scissors. If you don't like working with leather, you could sew a canvas strap and apply it with rivets, Chicago Screws or simply by sewing it on.
If you are applying your leather handle as I did, just punch a hole in the leather with an awl and cut it to the correct size (keep the hole as small as it possibly can be while still being able to fit over the screw post).
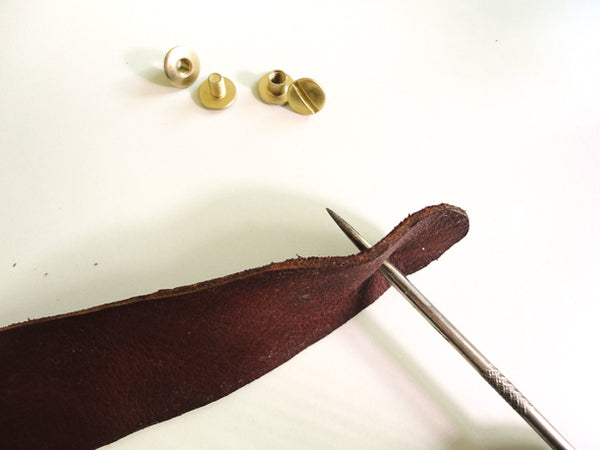
Repeat this process on your bag. I lined my handle up with the horizontal seam at the end of the bag, but you could place yours wherever you desire. You could also add two rivets or Chicago Screws to each side so that the handle is not able to swivel.
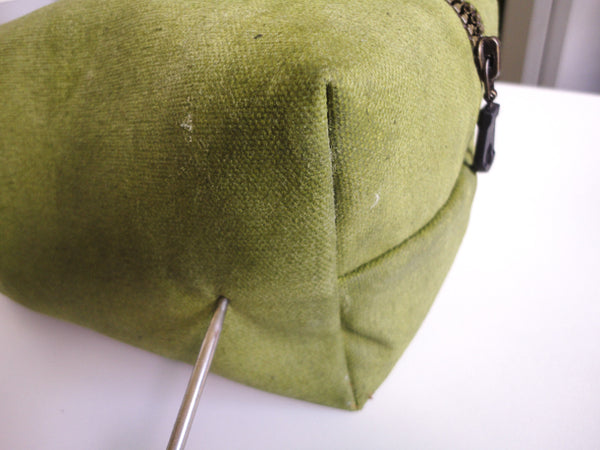
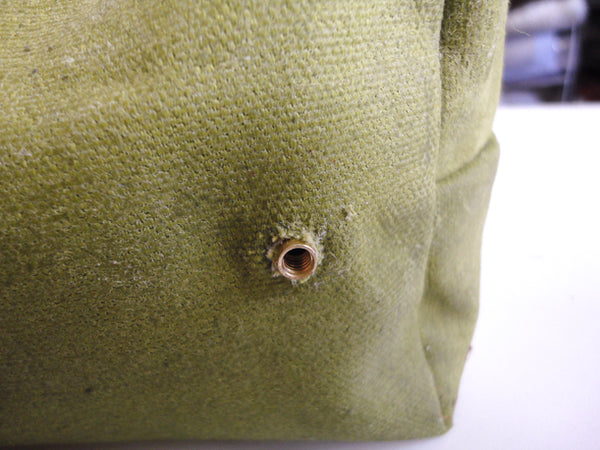
Place the female half of the screw inside the bag and push it through the hole that you made. Place the leather strap over top of it and simply twist on the male portion of the screw until it is tight. Simple as that!
Now fill your Dad's kit with whatever you think he would like - be it a luxury shaving cream, some chocolate bars, a new paperback, or even a gift certificate. I hope your Dad is as proud of you and your DIY skills as my Dad is of mine :).
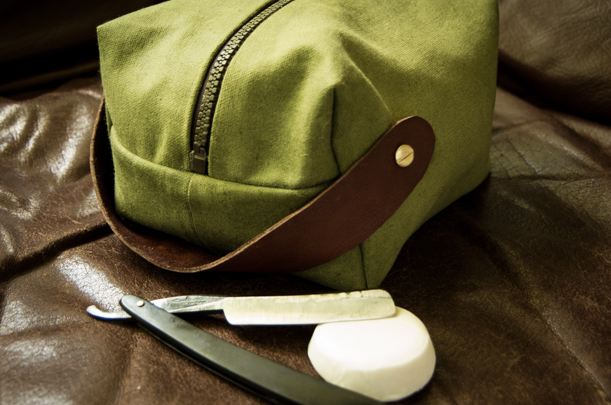
If you'd like try using some of the materials I did, you can find them all in our store! We have them all bundled as a bag making kit or the Chicago Screws, separable zipper, duck canvas and OtterWax are all sold individually.
