Sew-along with us!
Perhaps you'd like some company while you sew? We've sewn up each of our patterns and photographed each step along the way. Find the pattern you're after in the filter drop down below left.


Sew-Alongs

Jedediah Sew-Along | Getting Started

- Preparations - Fabric Requirements, Garment, and Body Measurements making bias binding from a vintage handkerchief
- Lengthening or Shortening a Sewing Pattern Tutorial - Learn how to adjust the length of the Jedediah Pants before cutting them into your fabric
- Grading to Create a Custom Fit Tutorial - If the body measurements given aren't a perfect match, consider grading to create a custom fit!
The Jedediah Pants Sew-Along will be separated into 5 segments for easy to follow, step-by-step images, and tutorials:
2. Finishing seams using bias binding and the flat felled seam method (back yoke, inseams, and side seams)
For inspiration check out #Jedediahpants on Instagram and our community Pinterest board

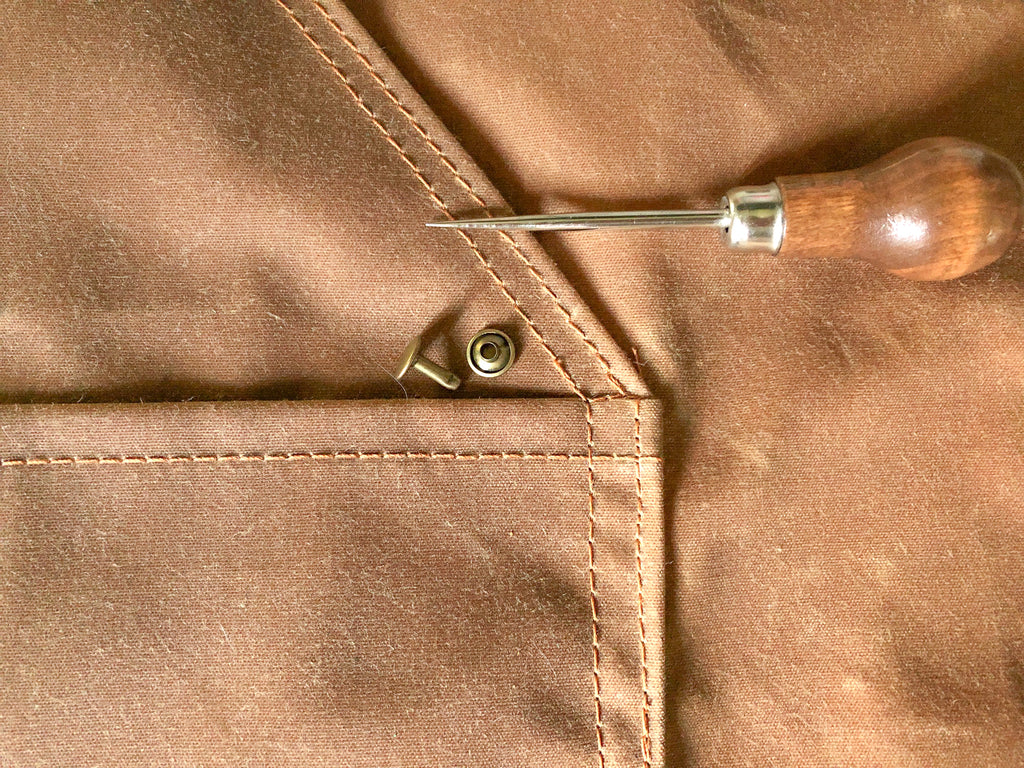
Jedediah Sew-Along | Front and back pockets


Jedediah Sew-Along | Finishing seams (back yoke, inseams, and side seams)
- Front pant
- Back pant
- Back yoke
- Scissors
- Bias binding (optional)


Jedediah Sew-Along | Sewing a fly zipper
- Zipper
- Zipper shield
- Scissors
- Fusible tape (optional)
- Marking pen and ruler
Double-check that all markings are transferred from your pattern to your front pant legs at the center front and the waist edge.

Finish the crotch seams and fly facing edges before you sew up the seat seam. Options include serging, zig-zagging, or binding.
Tip: If you are using a bulkier material you may want to avoid using binding for the seat seam — this is a better treatment for lighter weight pant fabrics.
Serging or zig-zagging the entire seam and then strengthening the seam using topstitching (this step is included later on in the instructions) will create a stronger and less bulky finish for these close-fitting pants.

Stitch until 1/2" (1.3 cm) below the zipper placement mark at the center front. Check that your seams line up nicely and reinforce this seam by stitching over it one or two more times (this is an area that needs to be very strong). Refrain from pressing this seam until you are finished sewing your fly.

The Left Front (if you were wearing the pants) will act as the TOP, the most visible part of the fly. Fold and press the left front fly extension to the wrong side at the notch FURTHEST from the curved fly facing edge.


With the right sides together, line up the right-hand side of the zipper tape with the finished edge of the LEFT FRONT fly extension. Use a zipper foot to stitch the zipper to the FLY EXTENSION ONLY. Make one line of stitching close to the zipper teeth, then make another closer to the edge of the zipper tape.


Jedediah Sew-Along | Belt loops and waistband
- Belt loops
- Waistband + waistband interfacing
- Bias binding (optional)
- Pants
- Button
- Seam ripper or buttonhole making tool


- Press under one long edge to the wrong side at 3/8" (1 cm).
- Finish one long edge with a serge or zig-zag stitch


Apply binding to the other long waistband edge.


Pin both layers of the waistband in place with the inner waistband lying unfolded from the stitched corner onwards (as shown). From the right side of the pants, topstitch along the lower edge of the waistband.

Flip the belt loop up and loosely curl the top edge under 1/4" (0.6 cm).


Jedediah Sew-Along | Hem and cuffs

Stitch 1/8" (0.3 cm) away from the folded hem edge.
If you are sewing the Pants Variation you are DONE! Give your garment a final press and your pants are ready to wear!

Your shorts are DONE! Give them a final press and they are ready to wear!
Day 3: Jedediah Sew-Along | Guest Post - How to sew back pockets with no interior raw edges
Today we have another guest post treat - this time from Katie, the author of the blog, The Creative Counselor. She is the test sewer who made this version of the Jedediah Pants. She used a gorgeous recycled hemp and organic cotton blend and widened the legs to create a totally different style of pants than our slim fit originals - I love how well these pants display the versatility of a well fitting pants pattern - all you have to do is adjust the width or length of the legs to create endless varieties and styles!

Day 1: Jedediah Sew-Along | Guest Post - How to Save Fabric when cutting out your Jedediah Pants
Meg, of Made By Meg was one of the test sewers for our Jedediah Pants pattern. She was the sewer who produced this spectacular pair of denim pants (with musical themed pocket linings!):